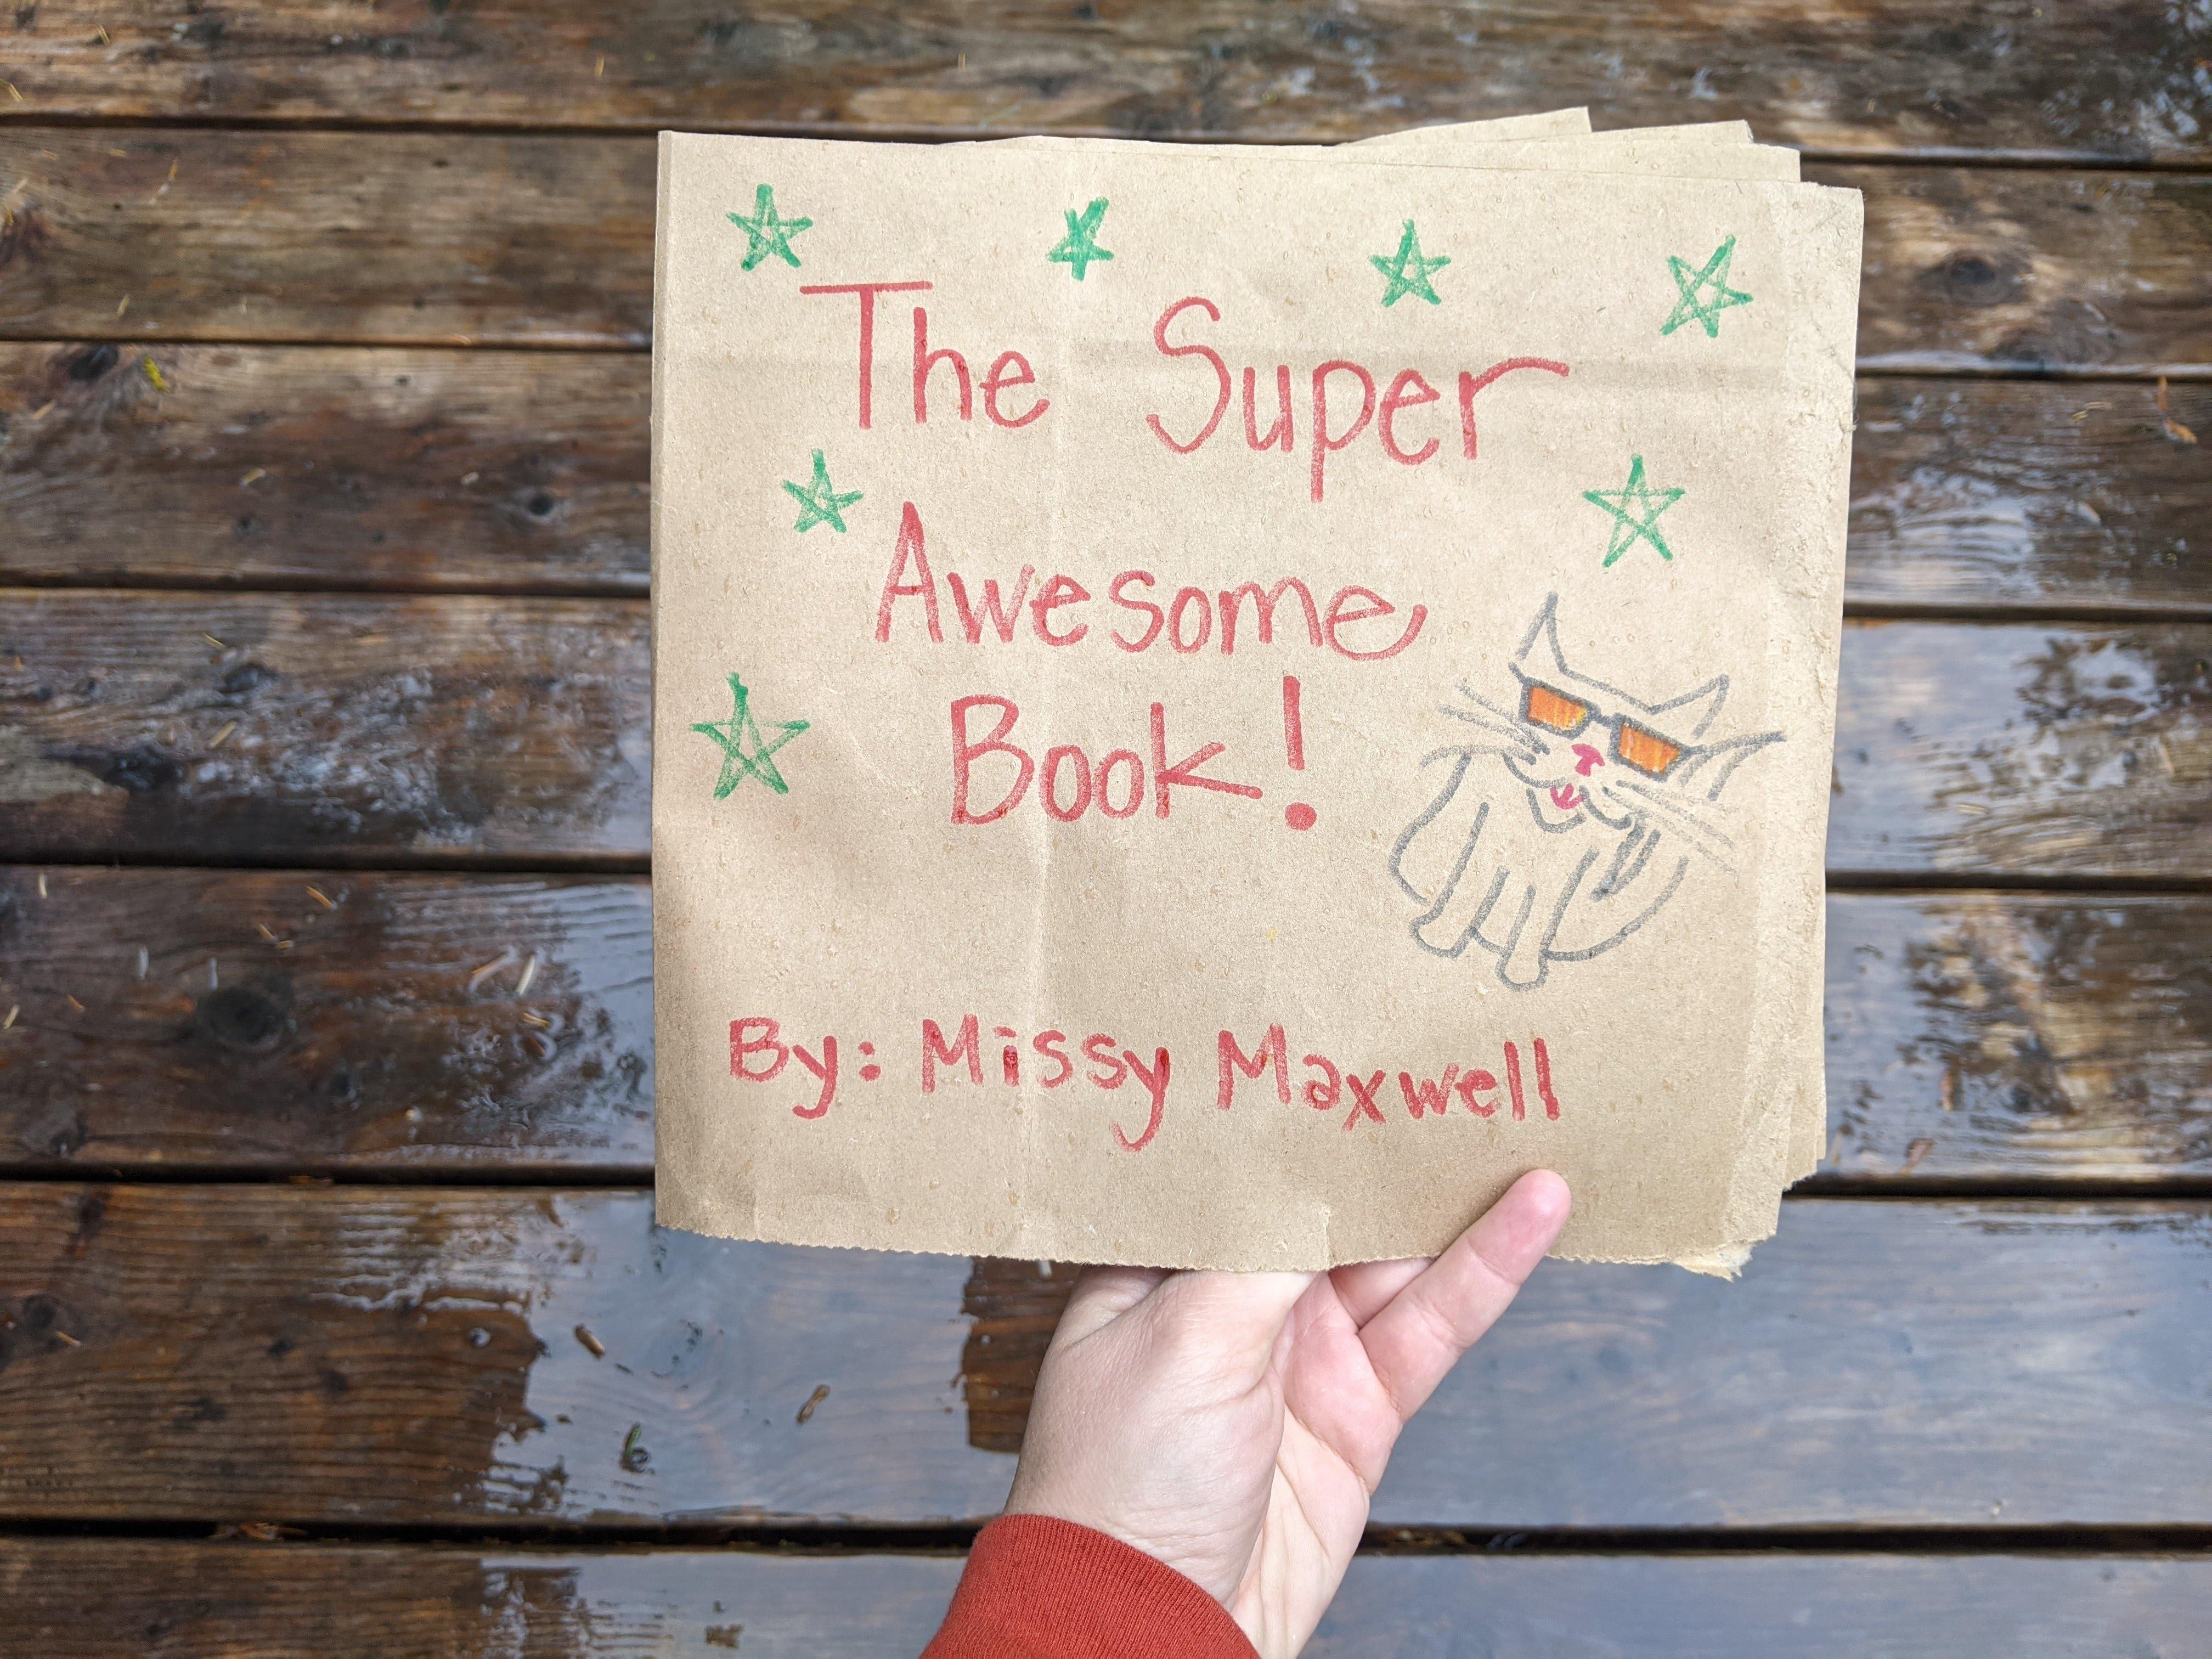
Hey everyone! My name is Missy and I’m an artist and blogger for PBS KIDS Utah. When I was in school, I’d make one of these simple paper bag books and fill it with information I needed to remember for upcoming tests. I’d use them as study guides. I think they would also make a great place for you to write and illustrate your very own stories. Here's how to make a paper bag book for kids!
Supplies:
- A paper grocery bag
- Scissors
- Markers
- Glue
Instructions:
- Take apart the bag. Take the handles off (if it has them). Carefully pull apart the glue on the bottom of the bag. And cute the seam on the side.
- Lay the paper bag out completely flat. It will look like a long rectangle.
- Fold it in half, hamburger style.
- Fold it in half, hamburger style, again.
- Turn it so it’s a horizontal rectangle. Now fold it in half, hamburger style, once more.
- Unfold the whole thing (you will have created 8 squares. 2 rows, 4 squares long).
- Identify the fold that runs lengthwise between the 2 rows of 4 squares. Now use your scissors to cut a whole in the middle (the length of 2 squares where the top middle squares meet the bottom middle squares).
- Re-fold along that center line. Hold the paper upright from each end and pinch toward the middle. This creates the pages.
- Lay the whole thing flat and re-crease the folds. One fold on the left and 4 folds on the right, like a book.
- Now you can use your glue to secure and define the pages better.
- Create a story in your mind. Give it a title.
- Use your markers to draw a cover and write the title of your story.
Wrap-up:
Now you have your very own book! You can write your story inside and illustrate that story by drawing the pictures. If your story is longer, you can make a second paper bag book and staple them together. This paper bag book would also work with a small paper bag, like a lunch sack or white copy paper. Be creative and have fun!


