
Missy's Paper Bag Book

Email share

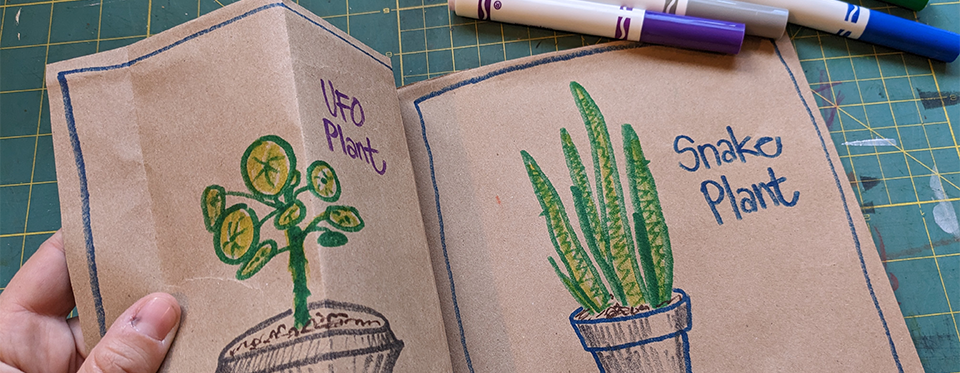
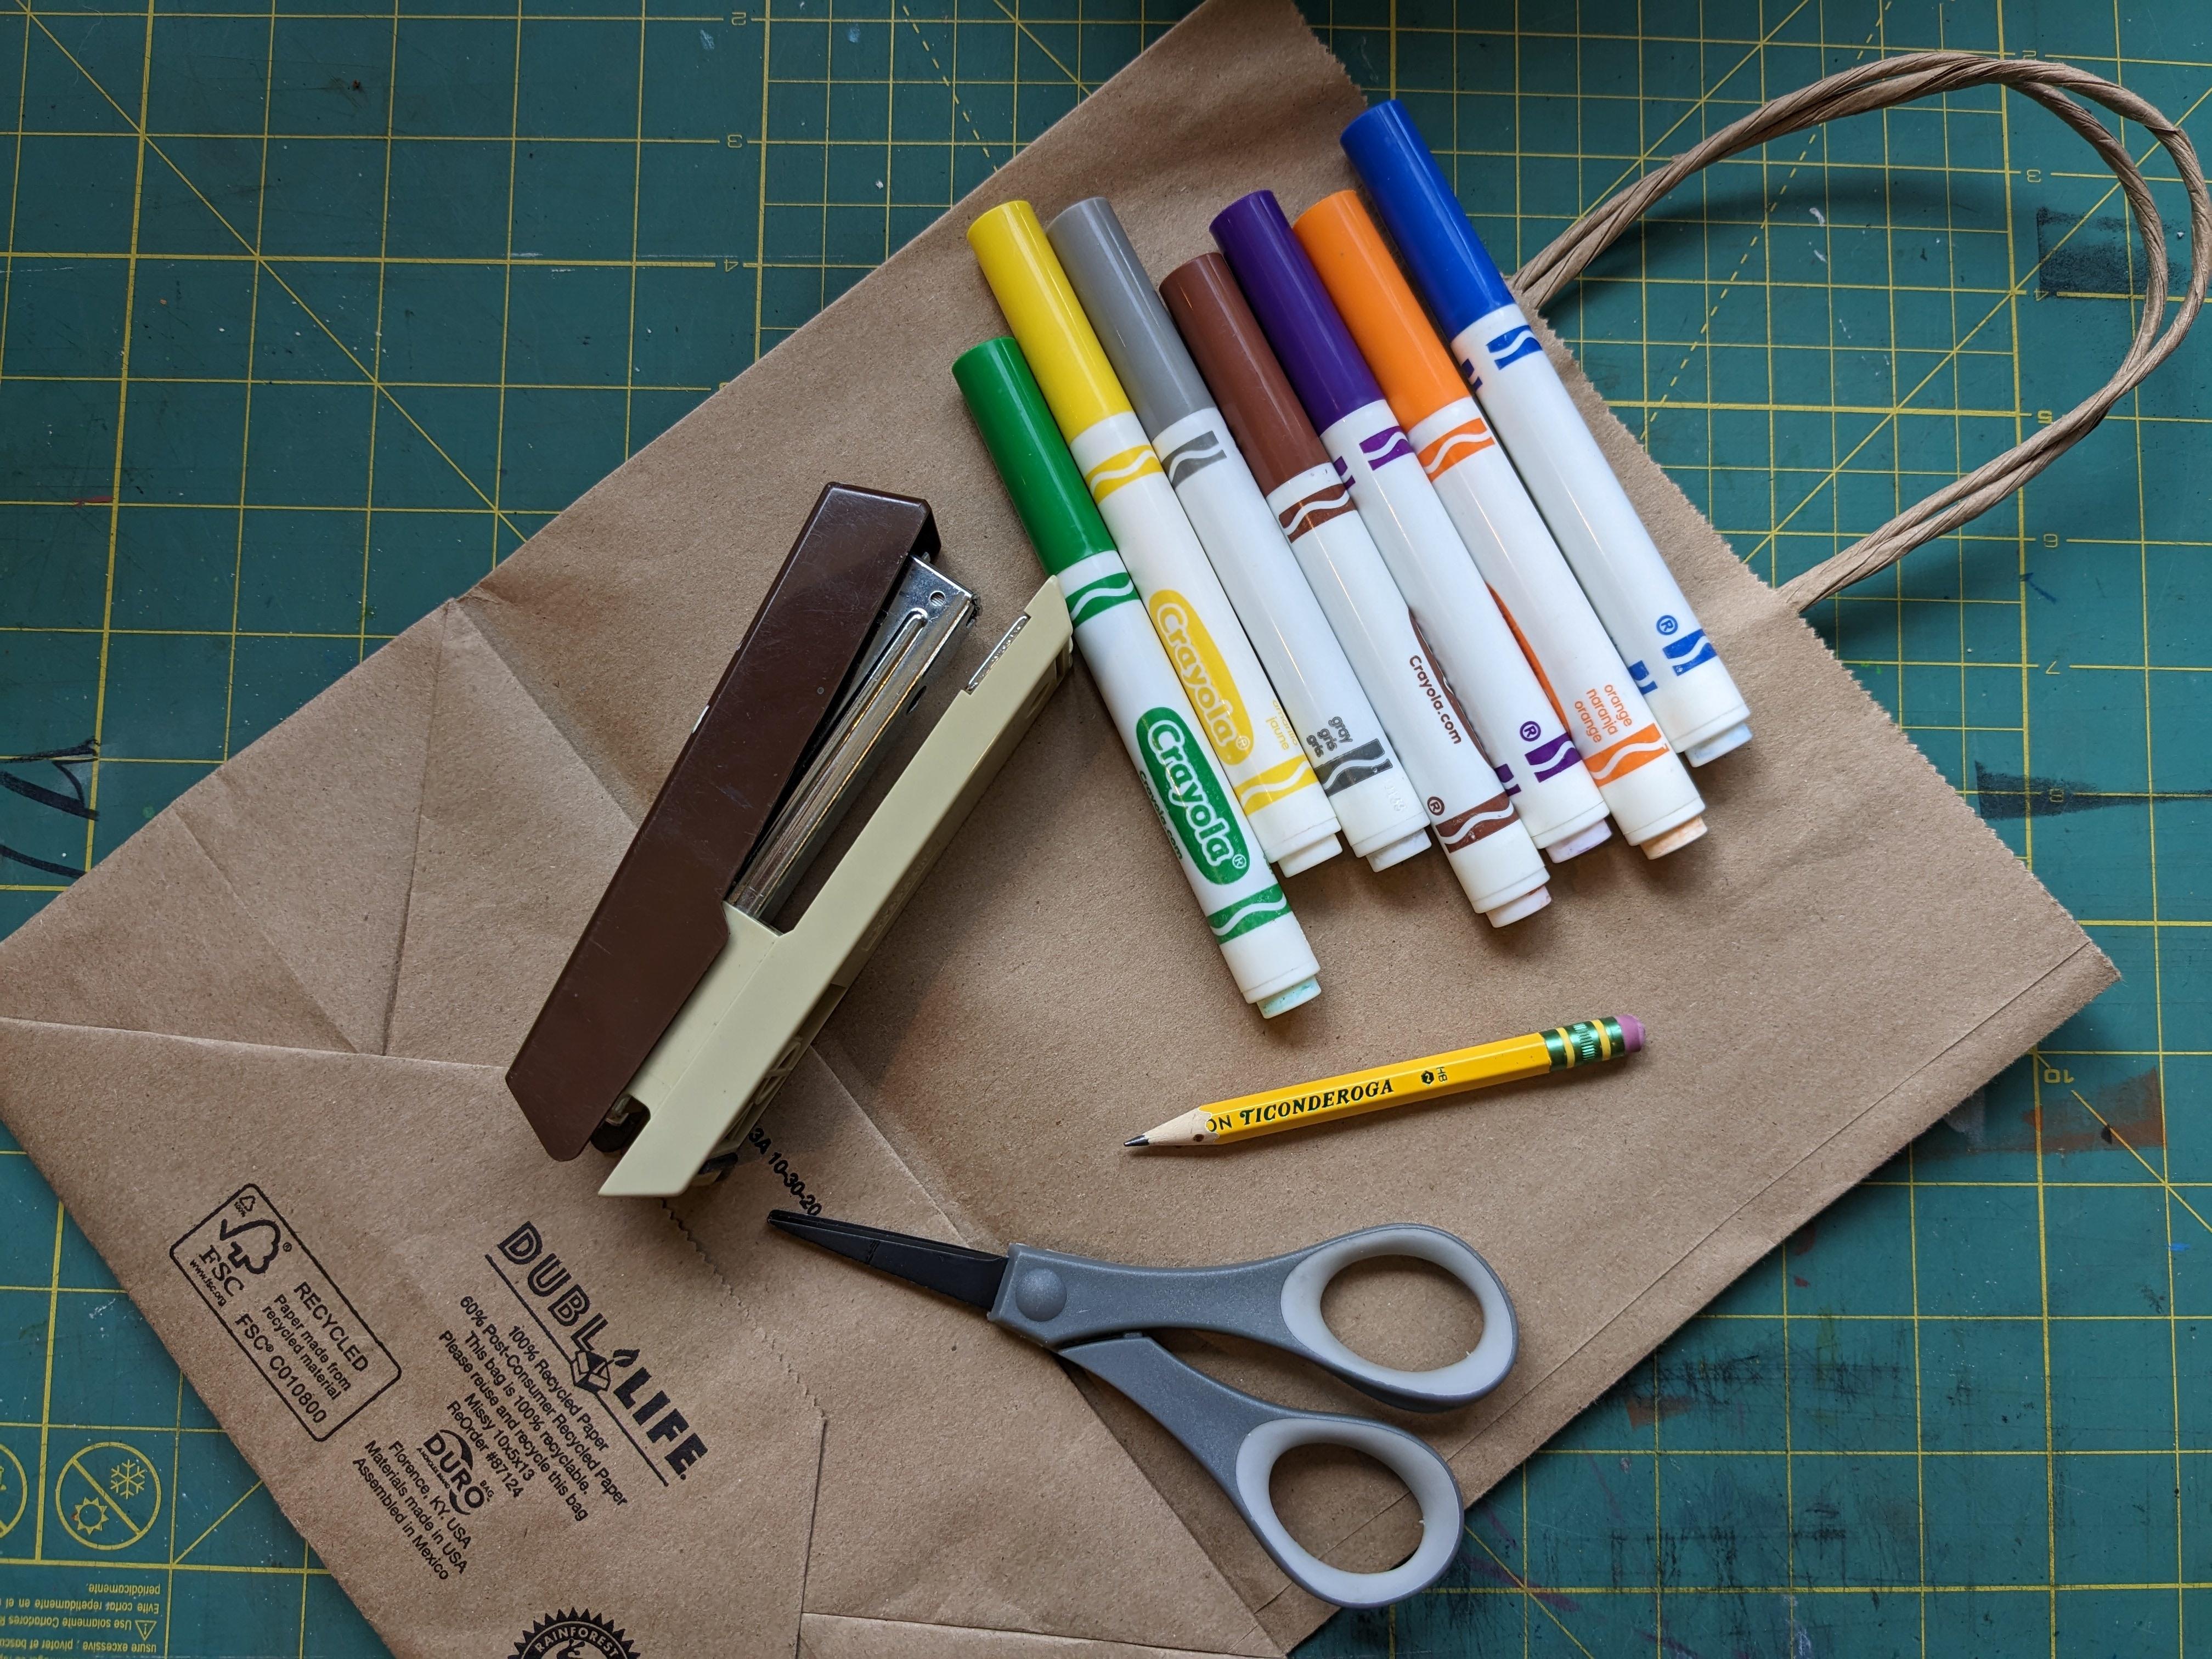
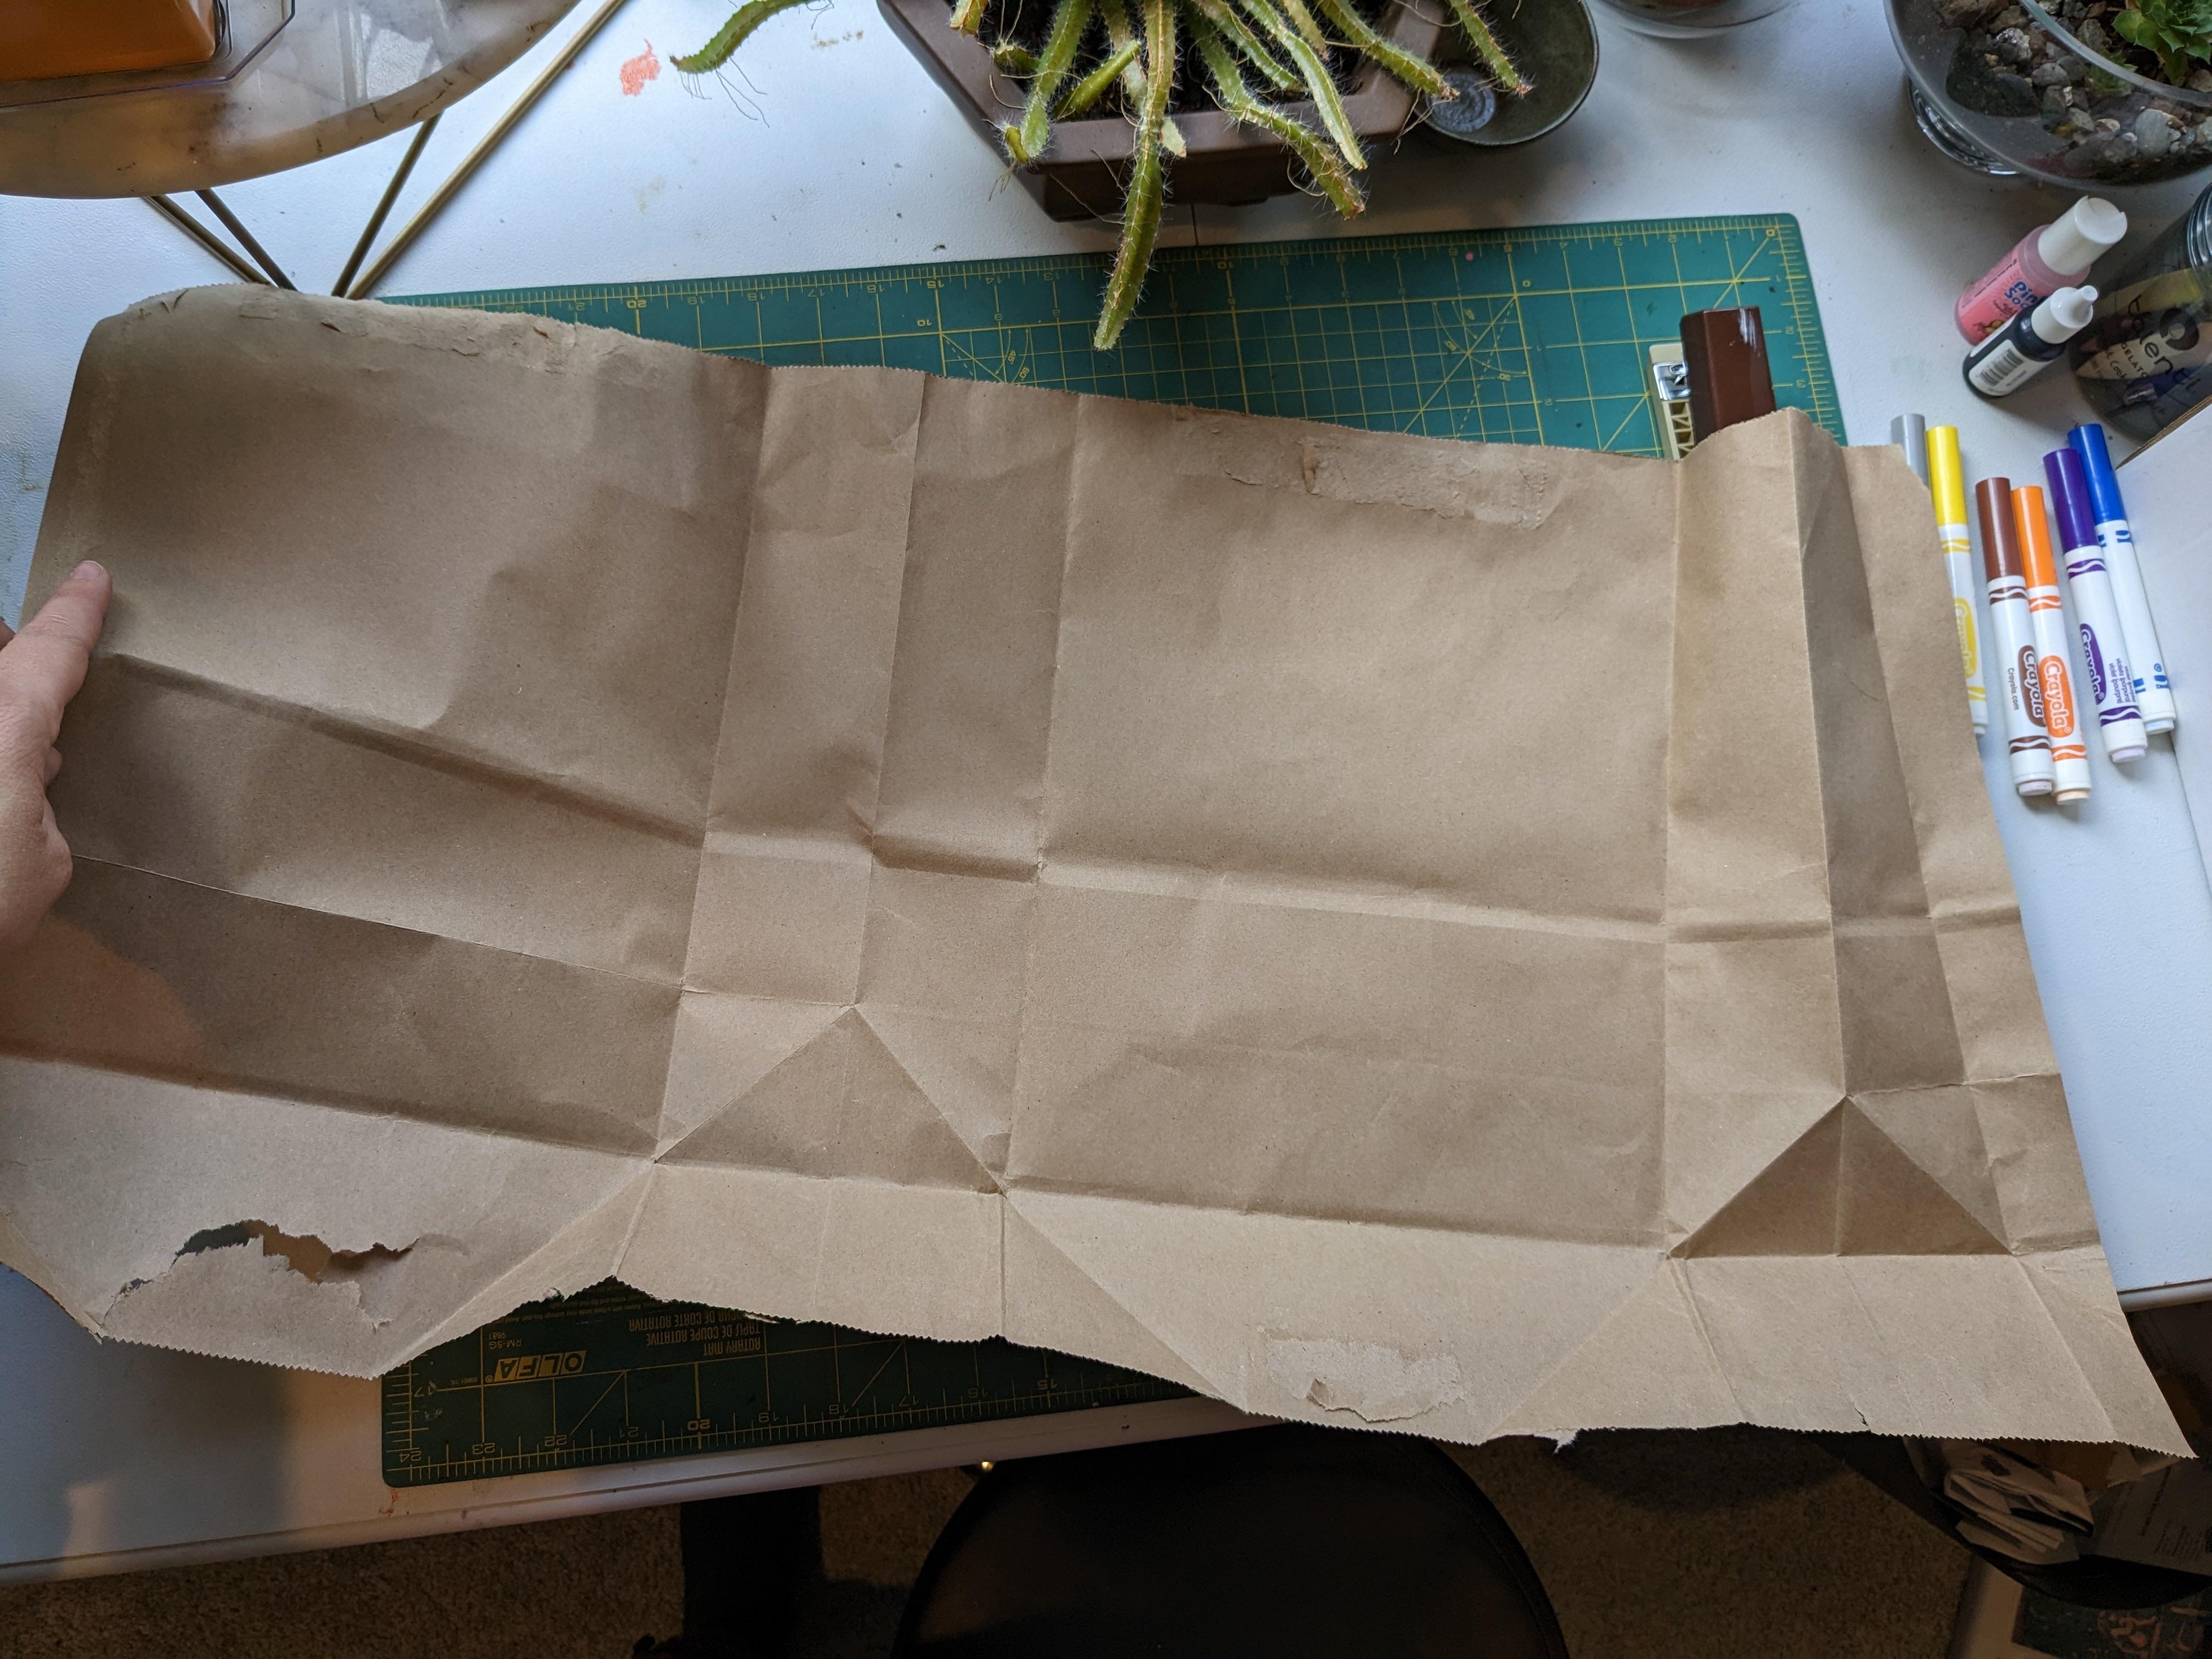
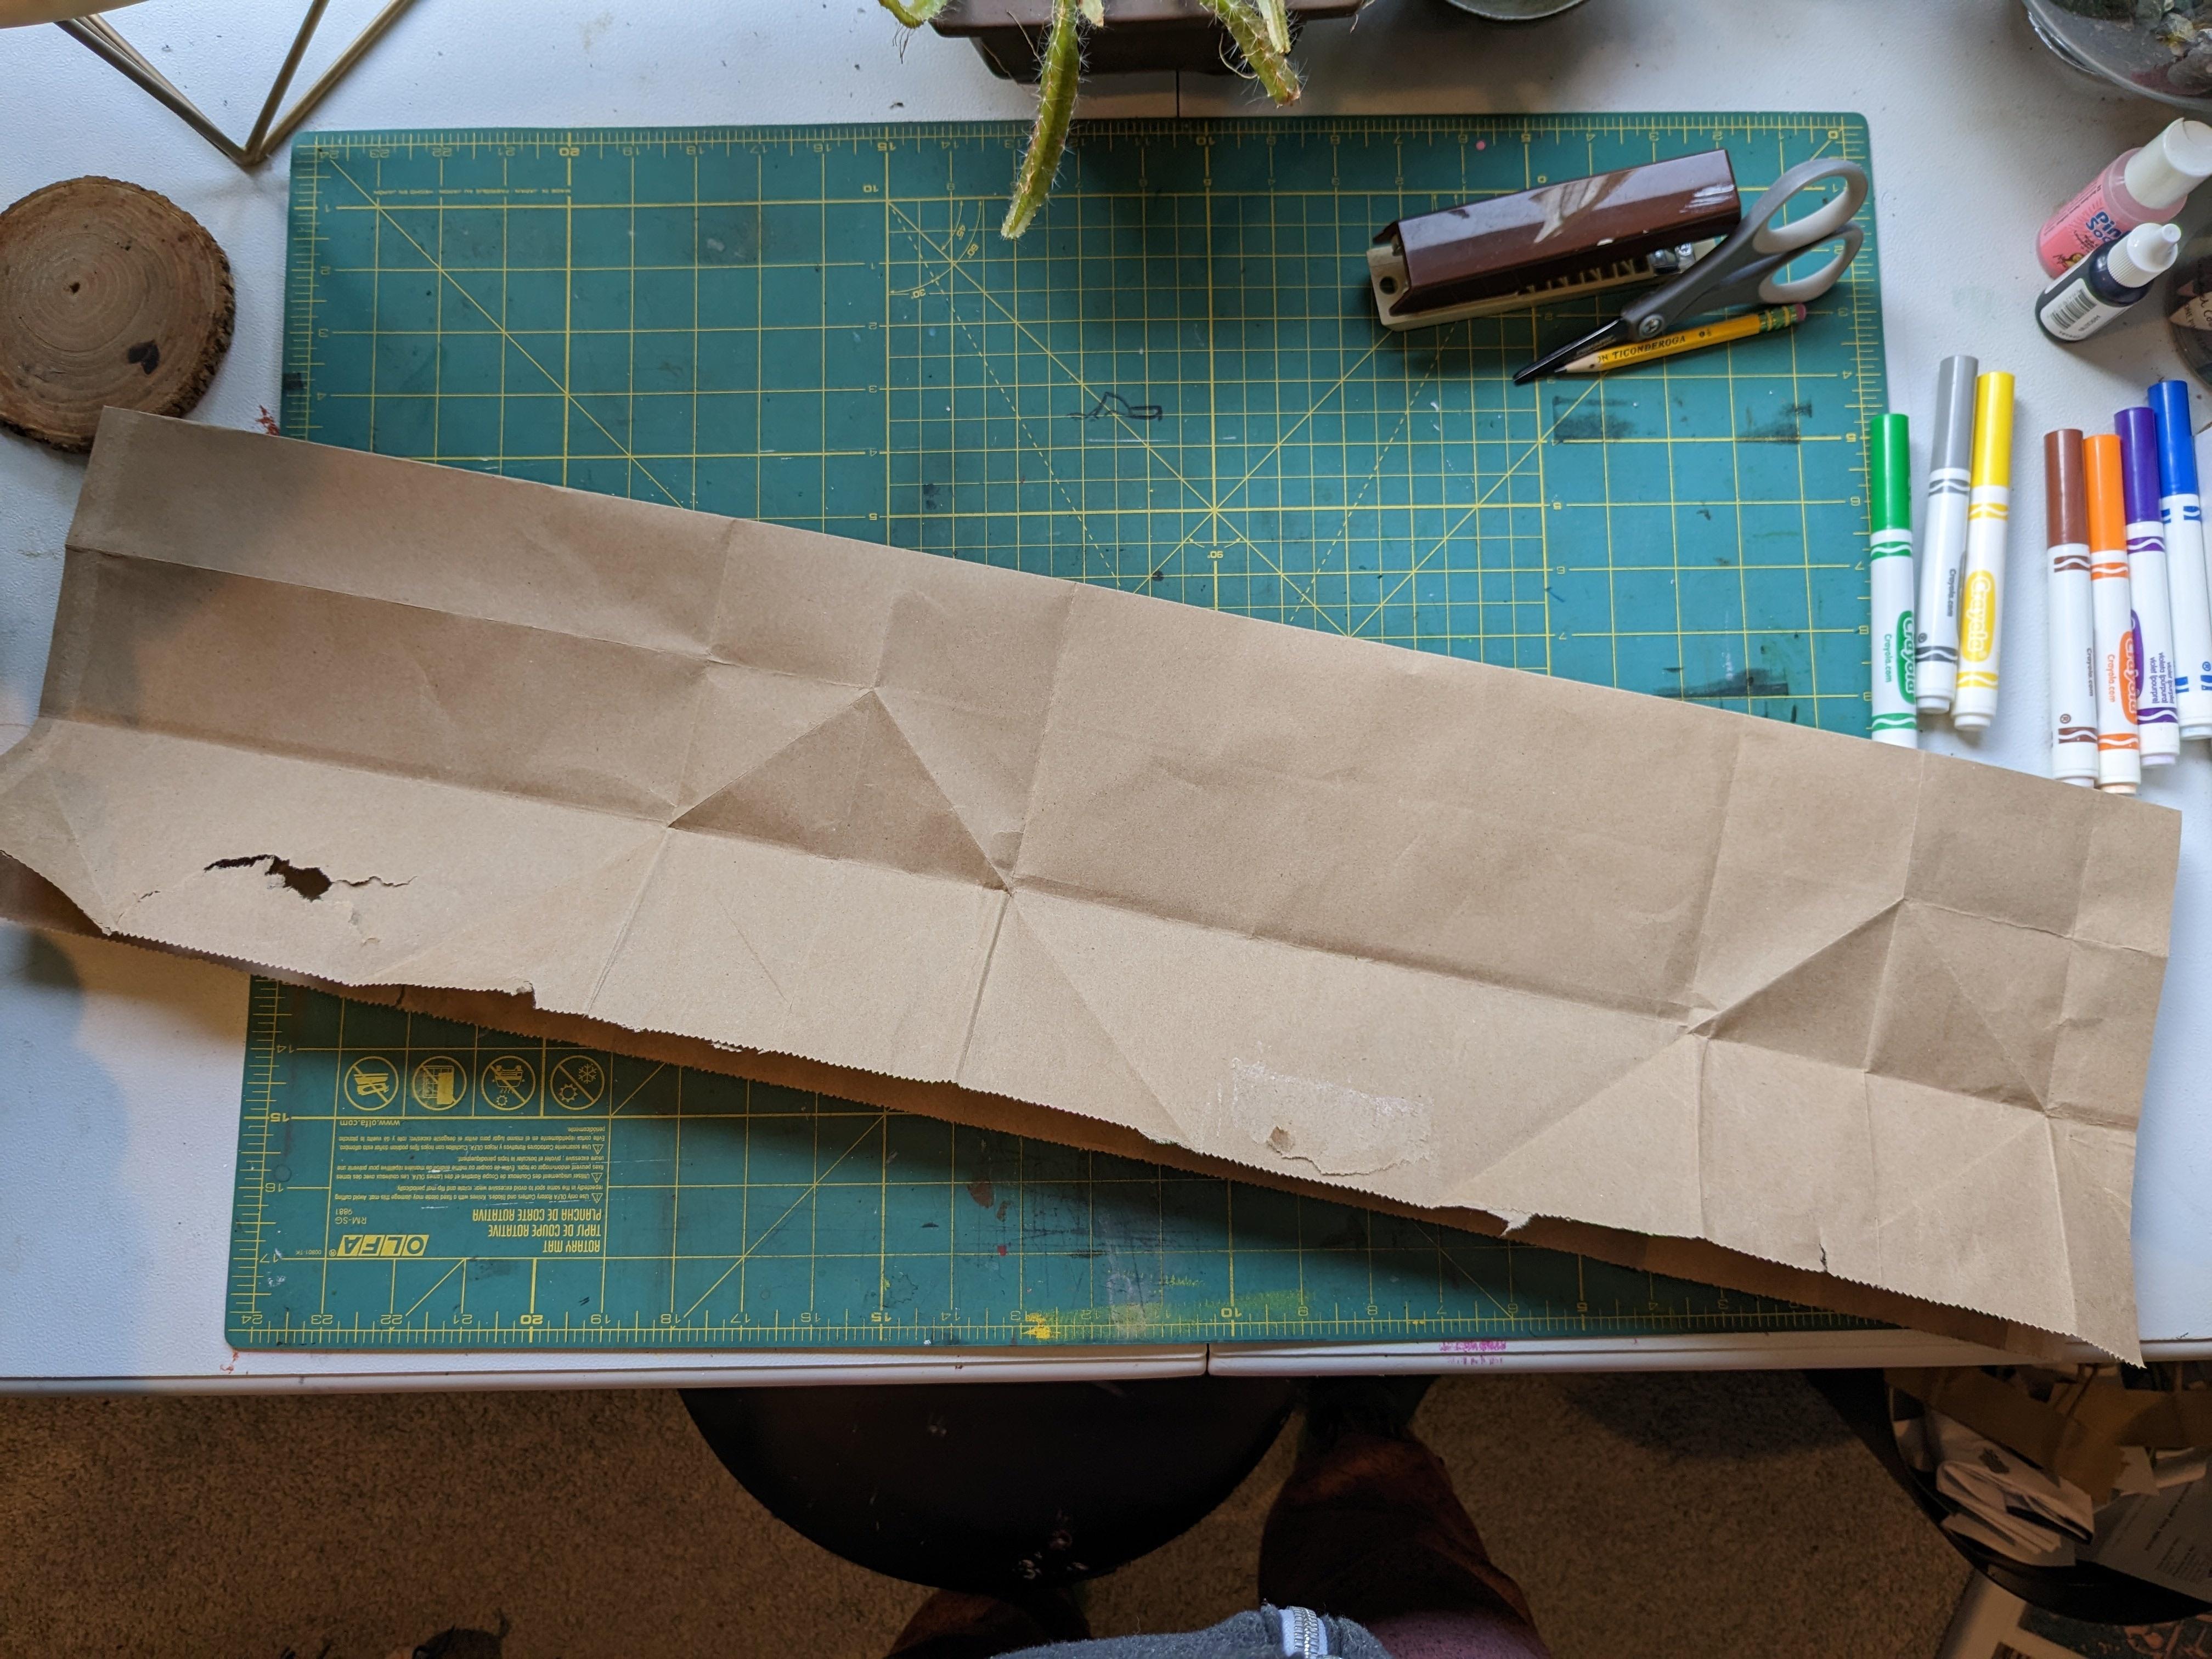
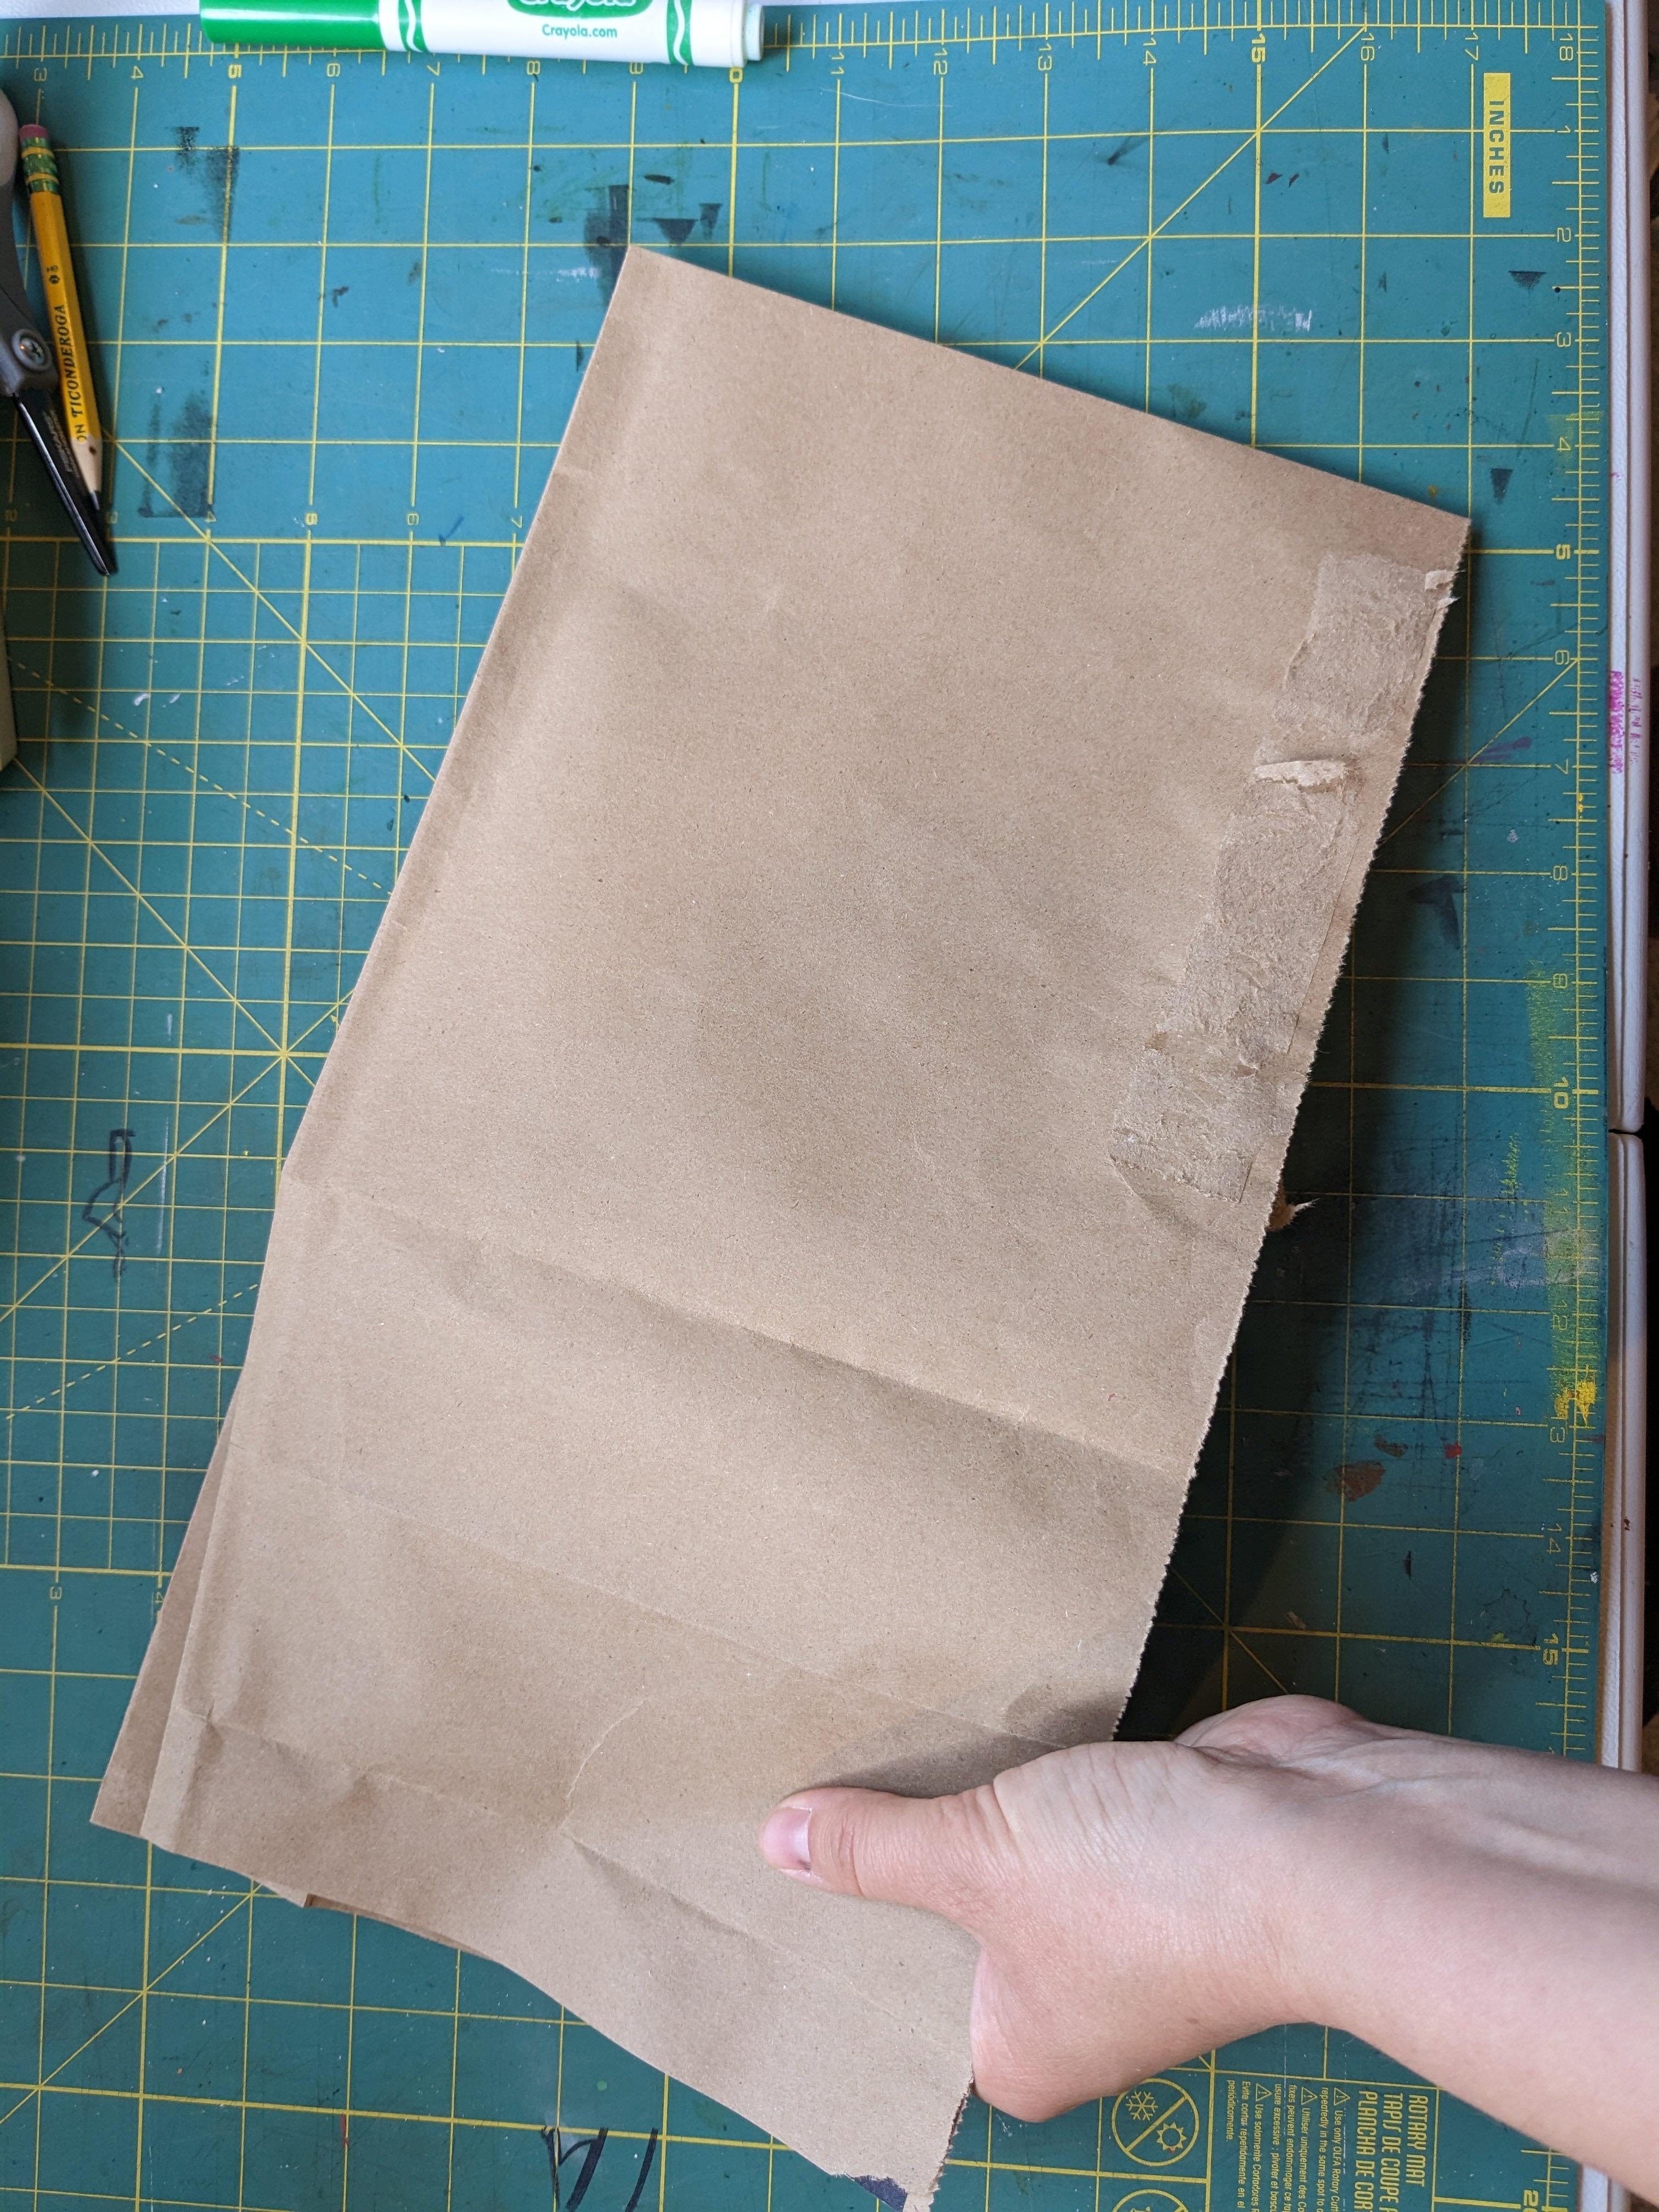
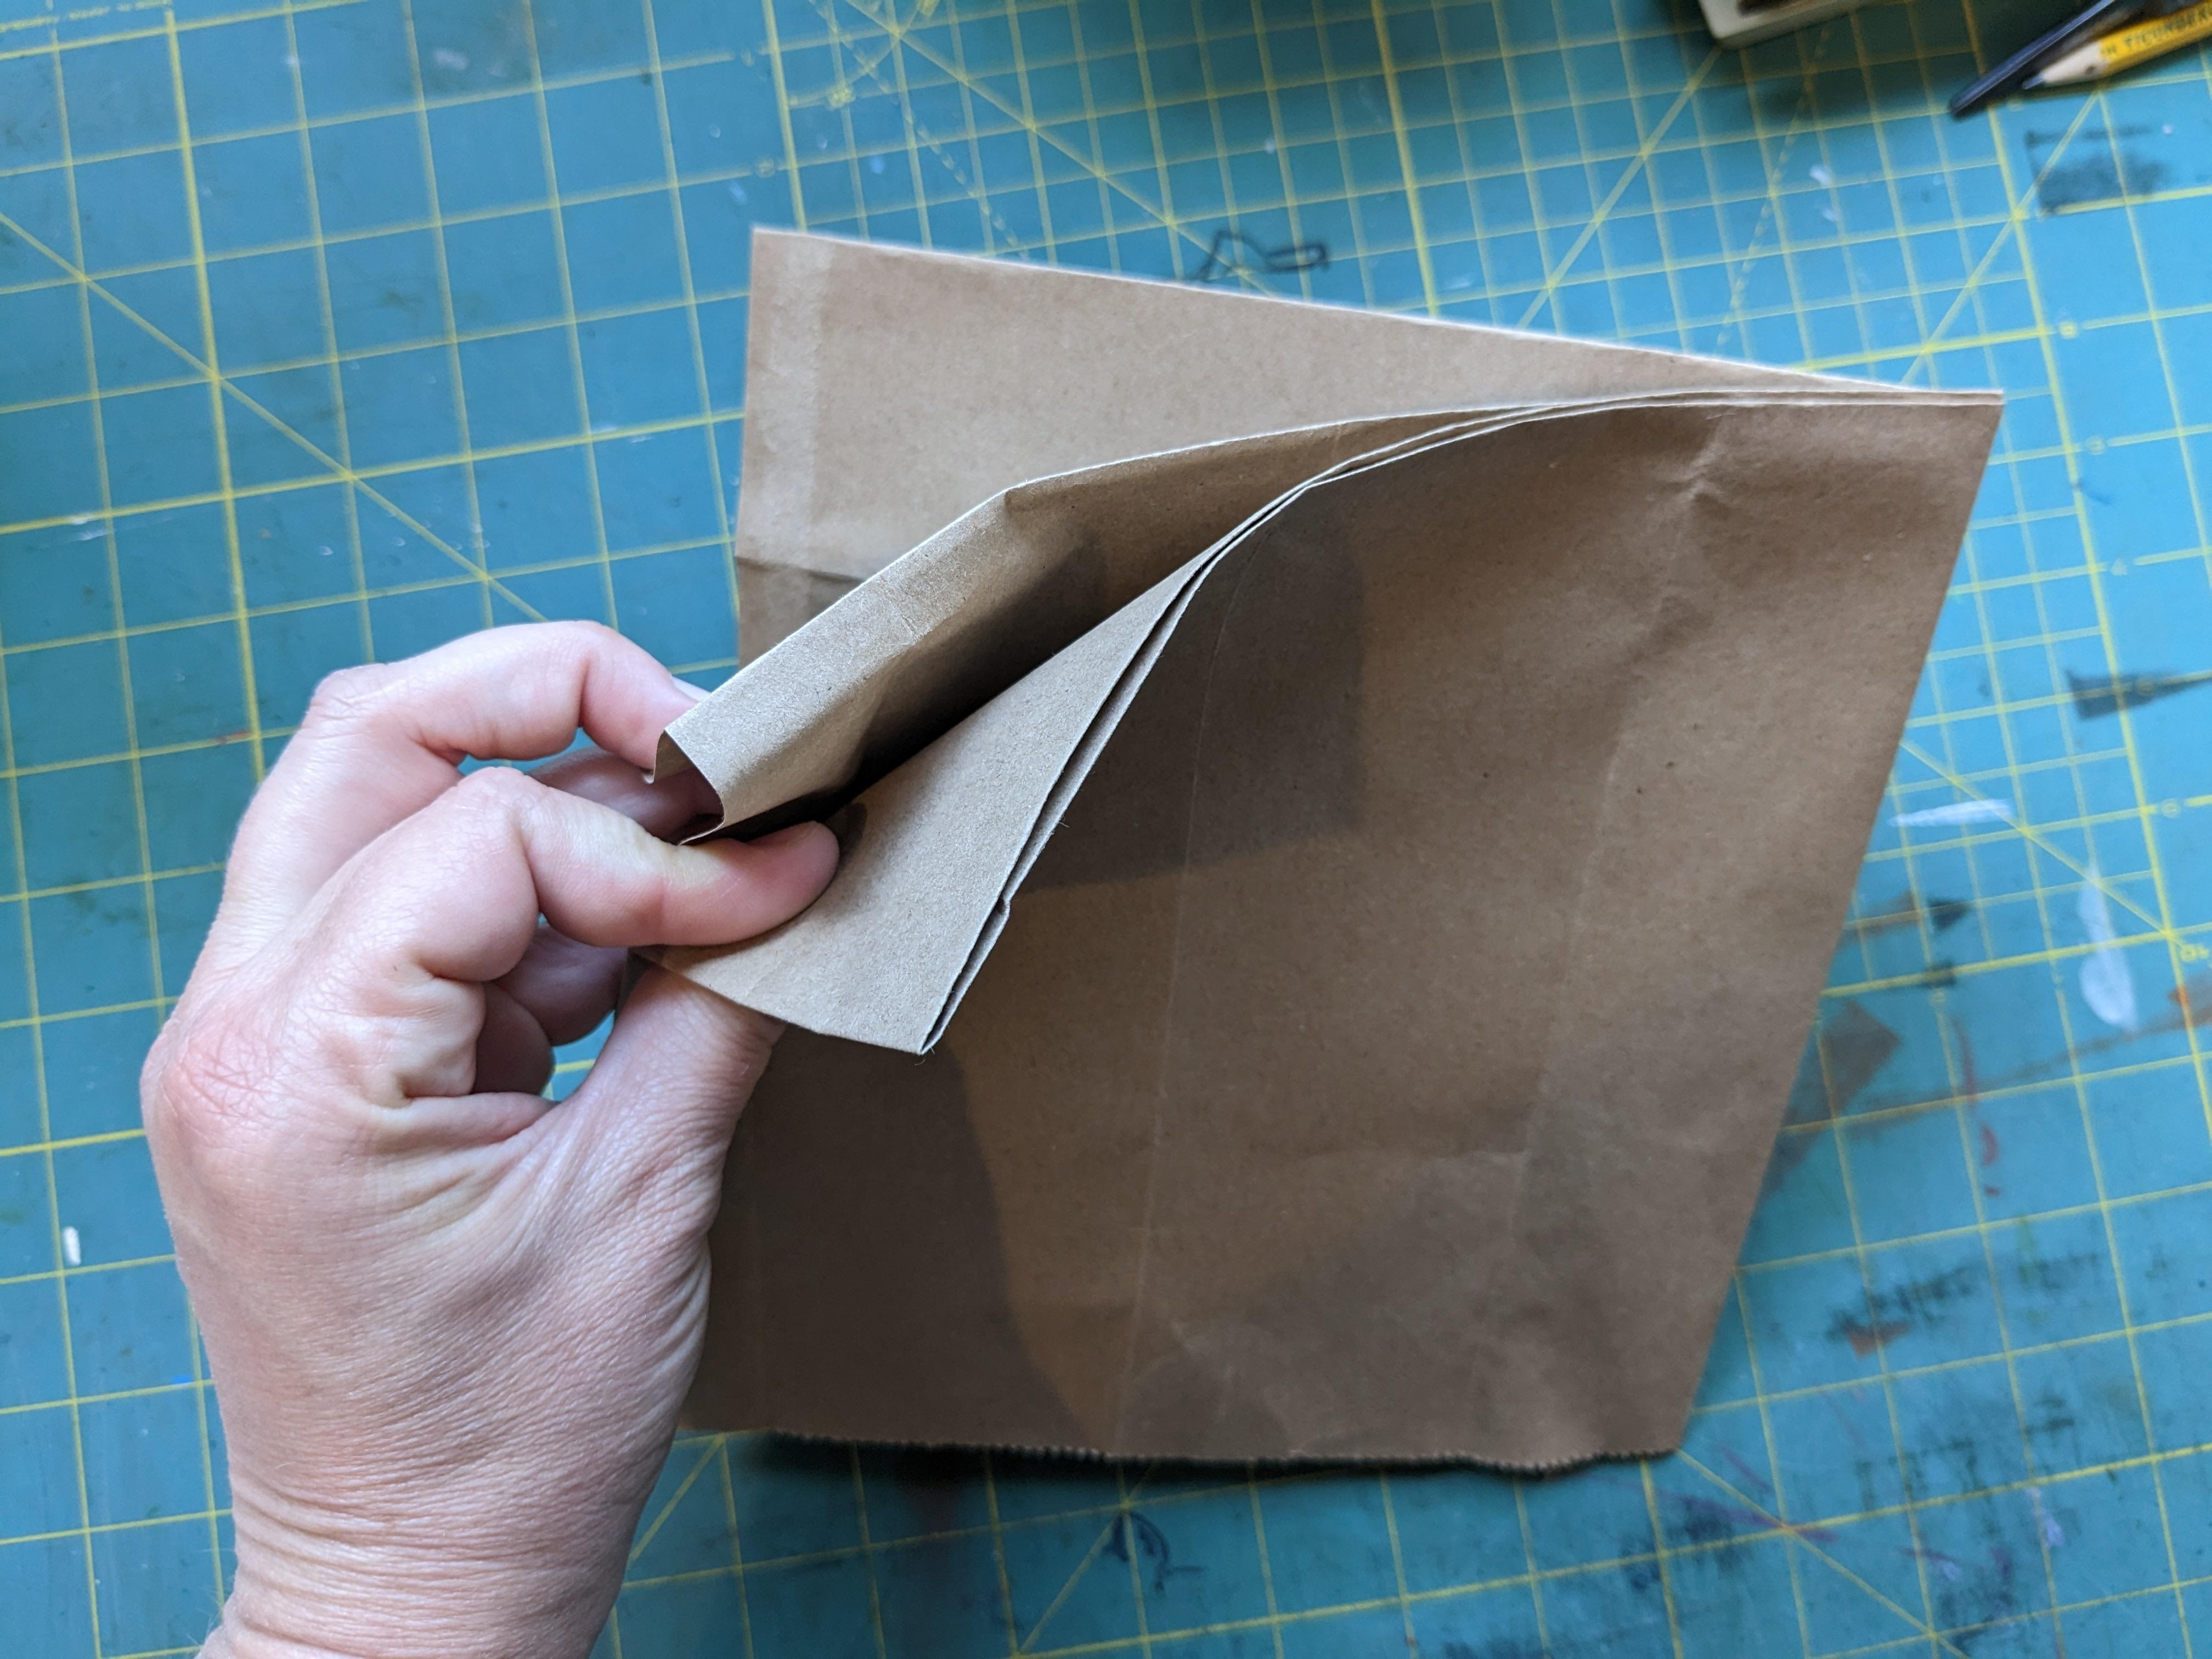
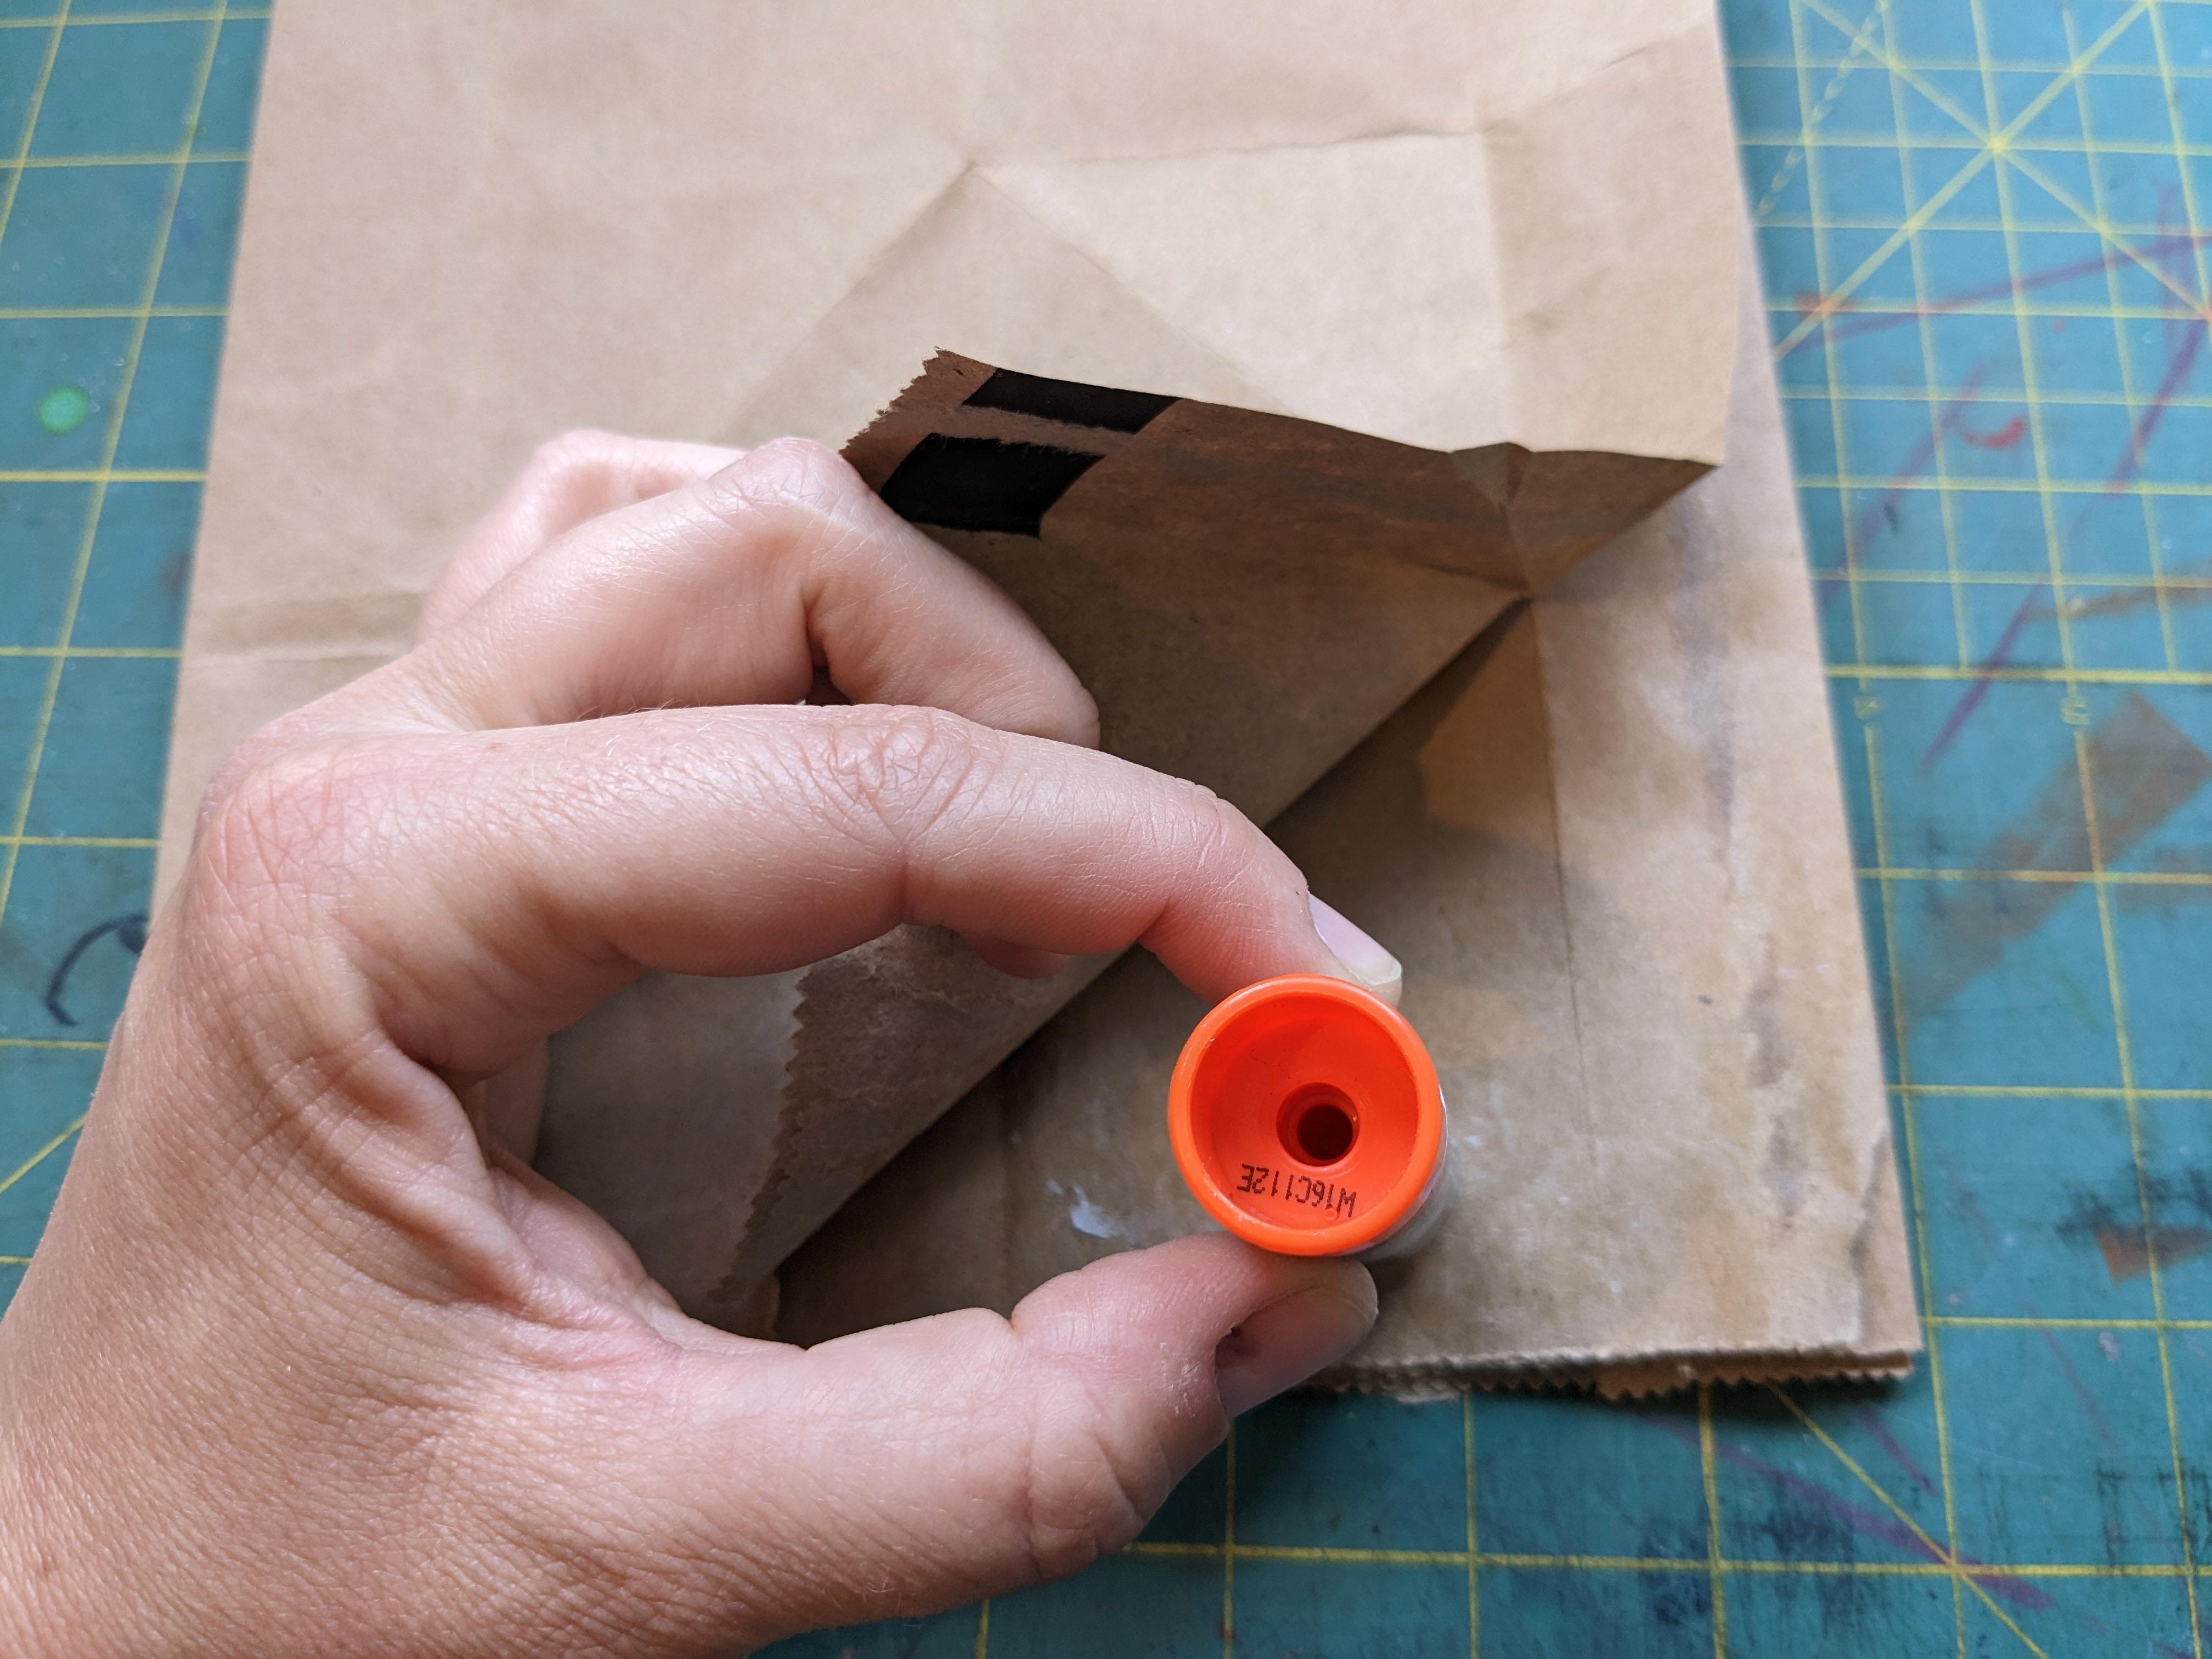
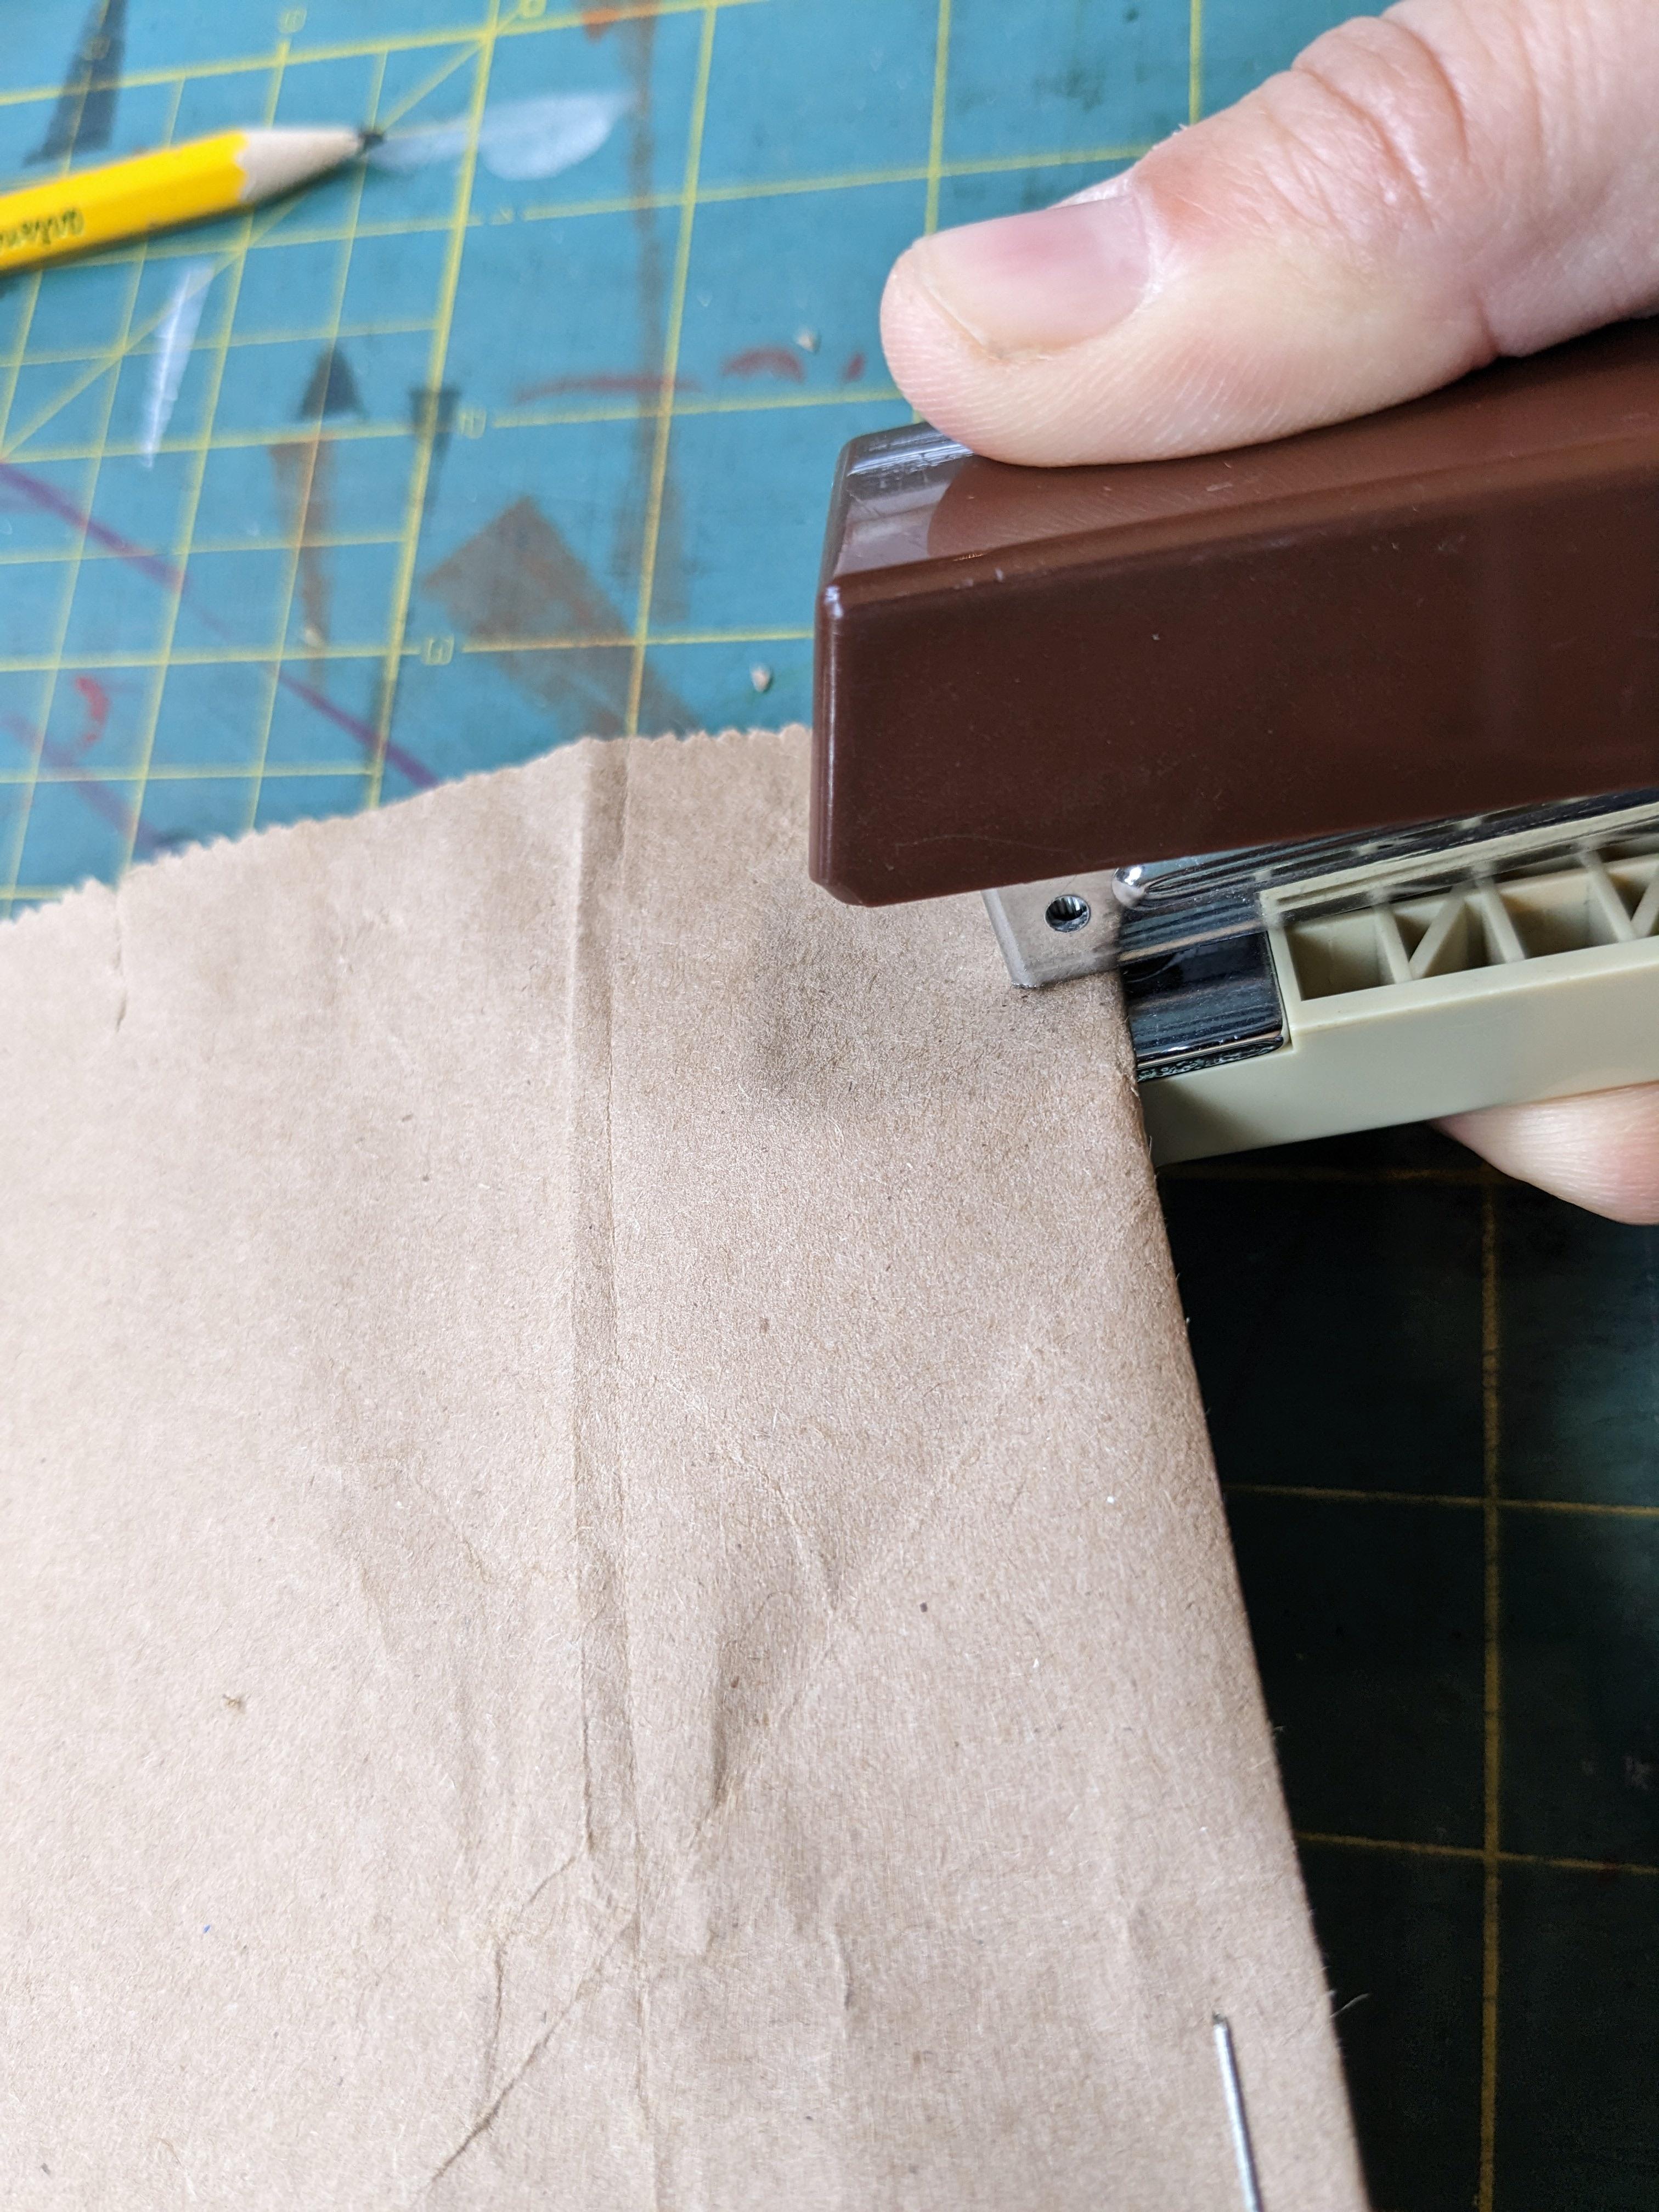
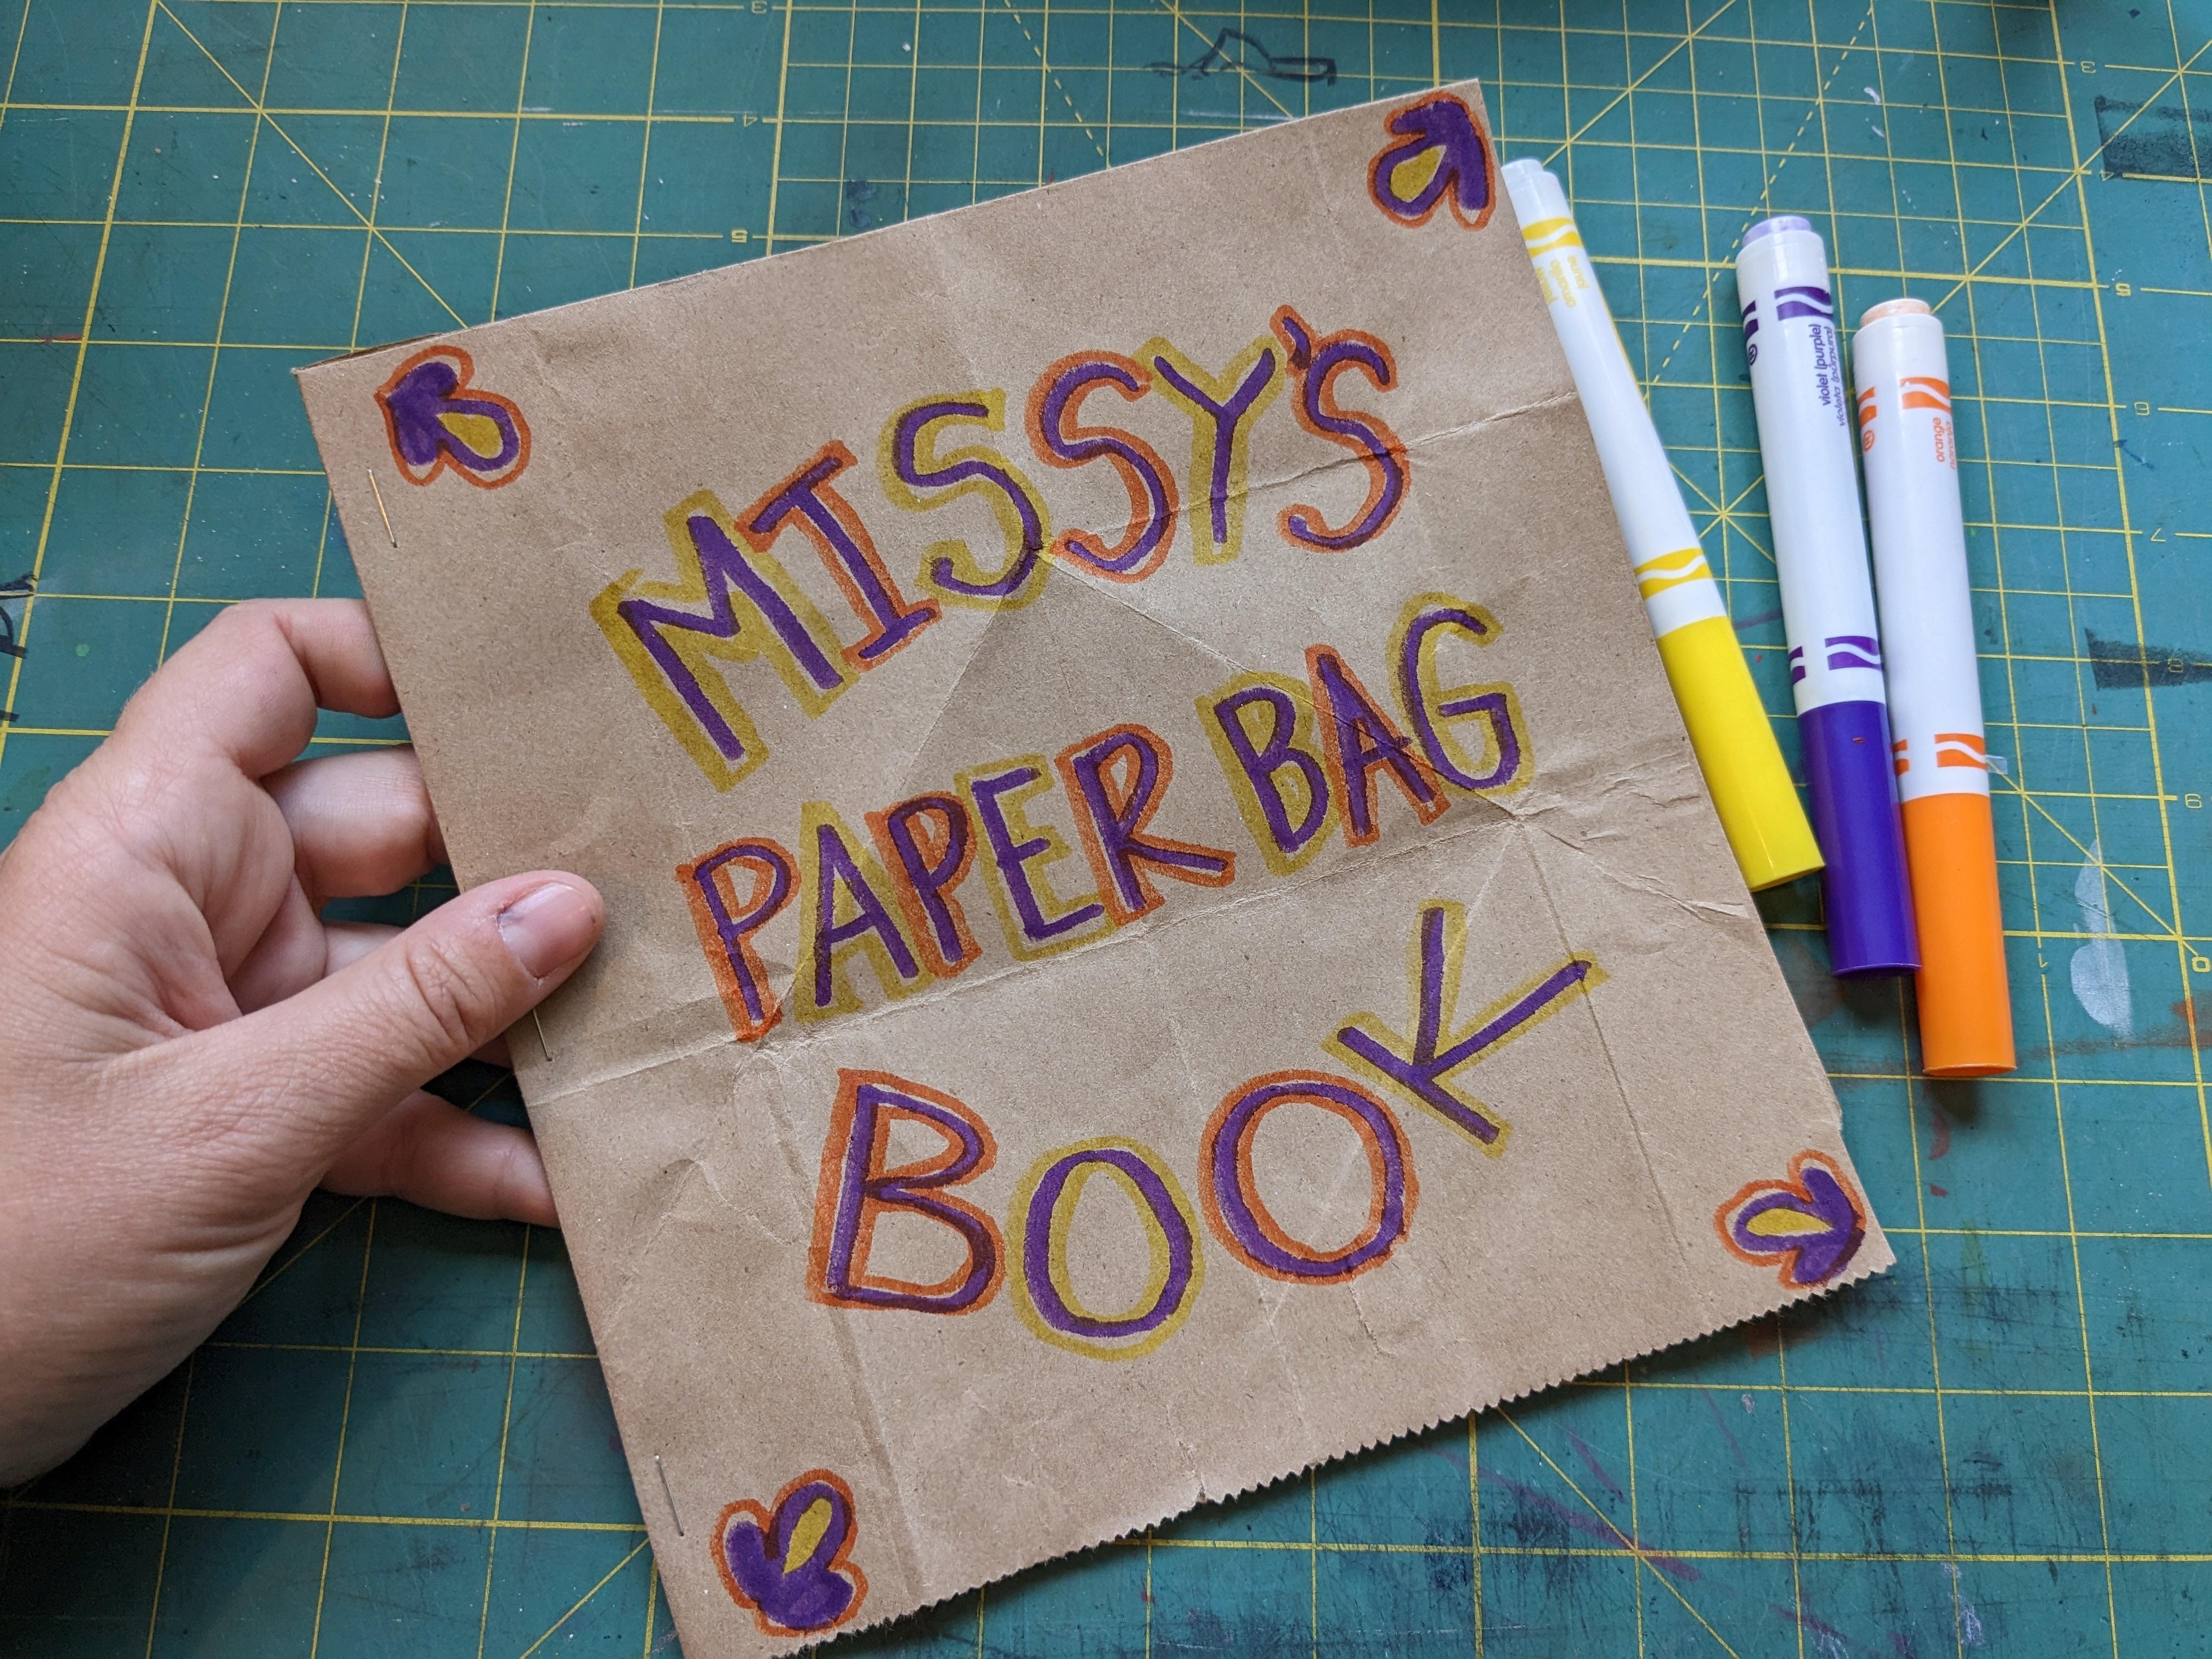
Hi Everyone! My name is Missy. I’m an artist and guest blogger here at PBS Kids Utah. When I was in college, I would make these simple books as study guides. They’re easy, fun and use recycled materials. 

Supplies

Filer image
  • Brown paper bag
  • Scissors
  • Pencil
  • Glue
  • Stapler (optional)

Instructions

  1. Carefully remove the handles of the bag.
  2. Carefully pull apart the bottom of the bag and the side so that the bag lays as a flat piece of brown paper.
  3. Fold the paper in half hotdog style.
  4. Now fold the paper in half hamburger style.
  5. And in half hamburger style once more.
  6. Open up the paper flat again and use your pencil to mark the fold lines you just created.
  7. On the center line that runs longways down the middle, there should be 4 sections. Use your scissors to cut along the middle 2 sections. This will make a hole.
  8. Now fold your paper in half hotdog style again.
  9. Hold the paper up on its bottom edge and pinch towards the middle creating a “plus sign” or 4 pages.
  10. Refold the pages to make the creases stronger.
  11. Lay the paper flat like a book, with one fold on the left side and 4 folds on the right side.
  12. Glue in between the pages to help the book function better.

Wrap Up

You have made your very own book! You can write and illustrate a story in your book. You can use it as a sketchbook. You could use it as a diary. Anything you like! You can also make multiple books like this and staple them all together for a longer book. Be creative and have fun!