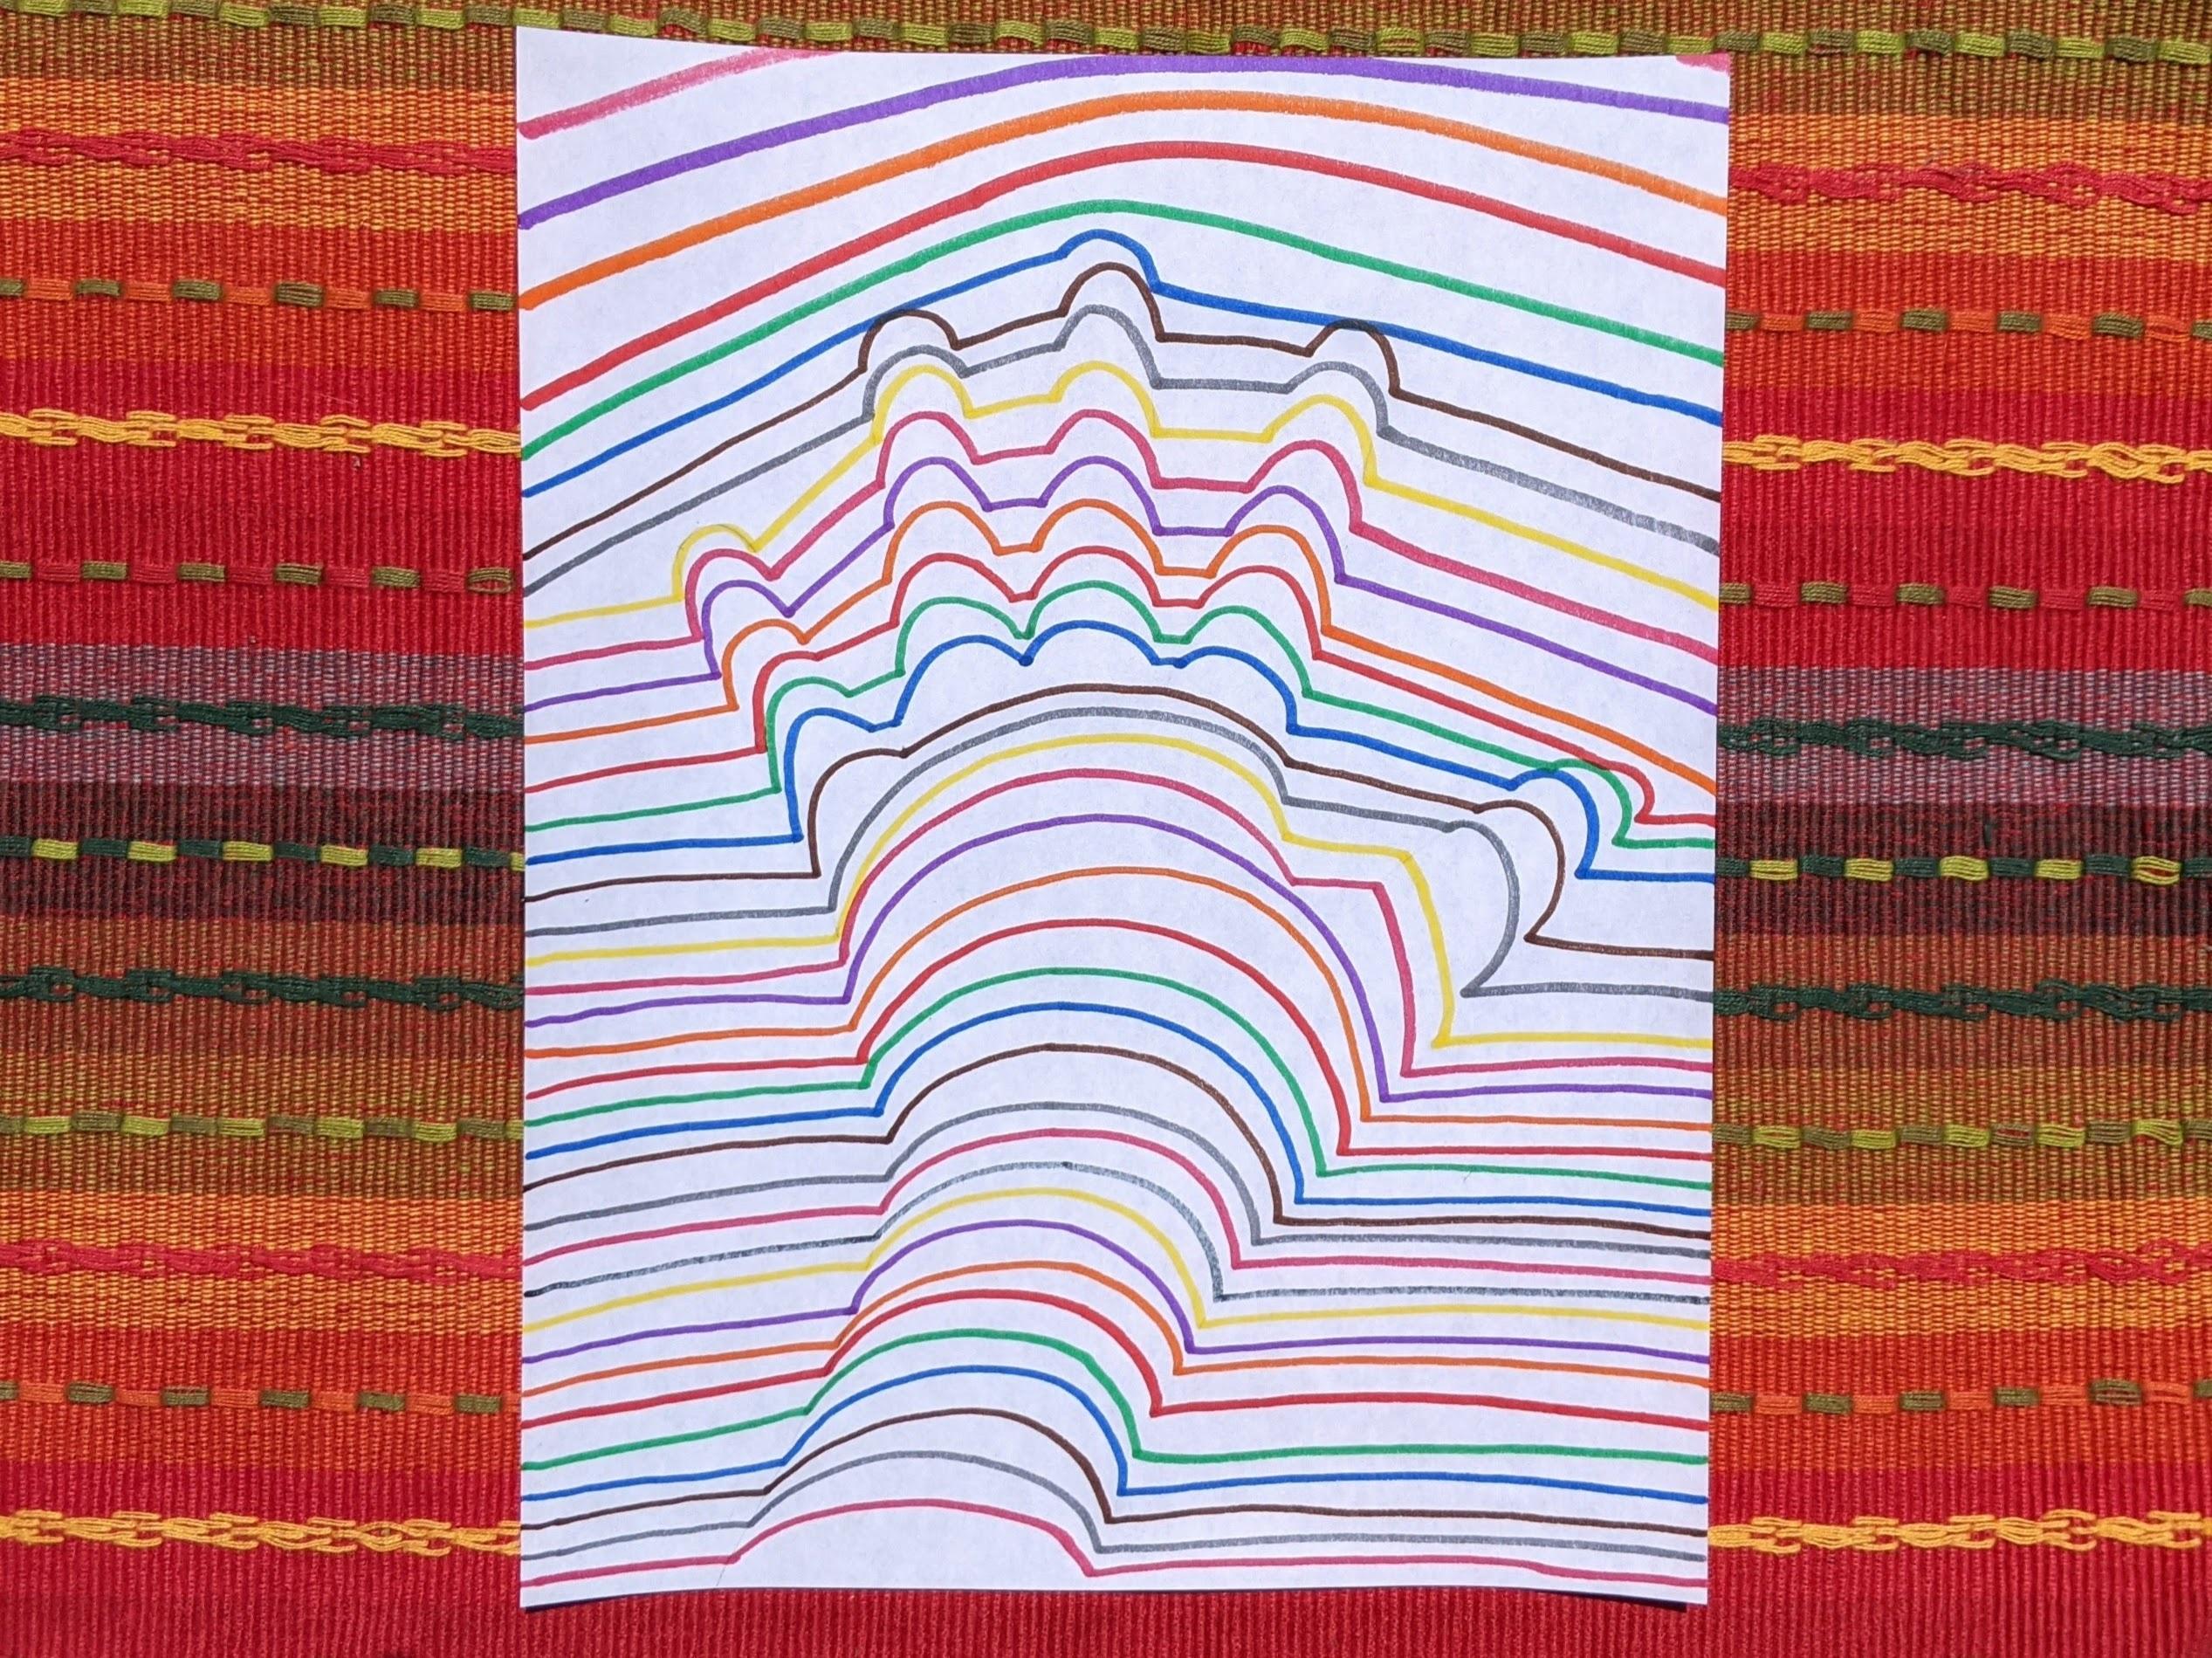
Hello! My name is Missy, and I’m an artist and blogger for PBS KIDS Utah. I’d like to teach you a fun drawing technique today. It’s a form of optical art. Optical art is a style that tends to trick the eye into seeing something that isn’t really there. Watch the video below to see how to make your own optical art!
Supplies:
- White copy paper
- Pencil
- Markers
Instructions:
- Lay your arm down on your paper and trace it with your pencil. Start at the very bottom edge of the paper and trace all the way around.
- Now take a marker. Starting on the bottom left of the paper, draw a straight line that follows the bottom edge. When you reach your pencil wrist, continue the line in an upward arch (like a rainbow) over to the other side of your wrist pencil line.
- Continue this same pencil line straight across, near the bottom of the page over to the right side.
- Take a new marker and repeat steps 2 and 3 with a line just a little above your first line.
- Repeat these steps over and over moving up slightly and changing markers.
- Each time you are inside the hand/wrist/arm area, make your lines arched. When you are in the spaces on the sides and in between, make your lines straight.
- Continue this process until you reach the top of the paper.
- Ta-da! Beautiful optical art!
Wrap-up:
If you want to try making optical art with shapes other than your hand, go ahead and experiment! You could try it with tracing your foot. You could try a series of circles. You could try a whole scene with people and animals and plants. Be creative! And have fun!


