Hello, my name is Missy and I’m an artist and blogger with PBS KIDS Utah. When I was a kid, on summer break from school, I loved to create my own art projects. I never had enough money to buy those tiny nail art stickers in the stores, so I created my own nail art! I am going to teach you how to make your own nail art too!
Supplies:
- Craft paint
- Toothpicks
- Pencil
- Scratch paper
- Clear Top Coat Nail Polish (optional)
Instructions:
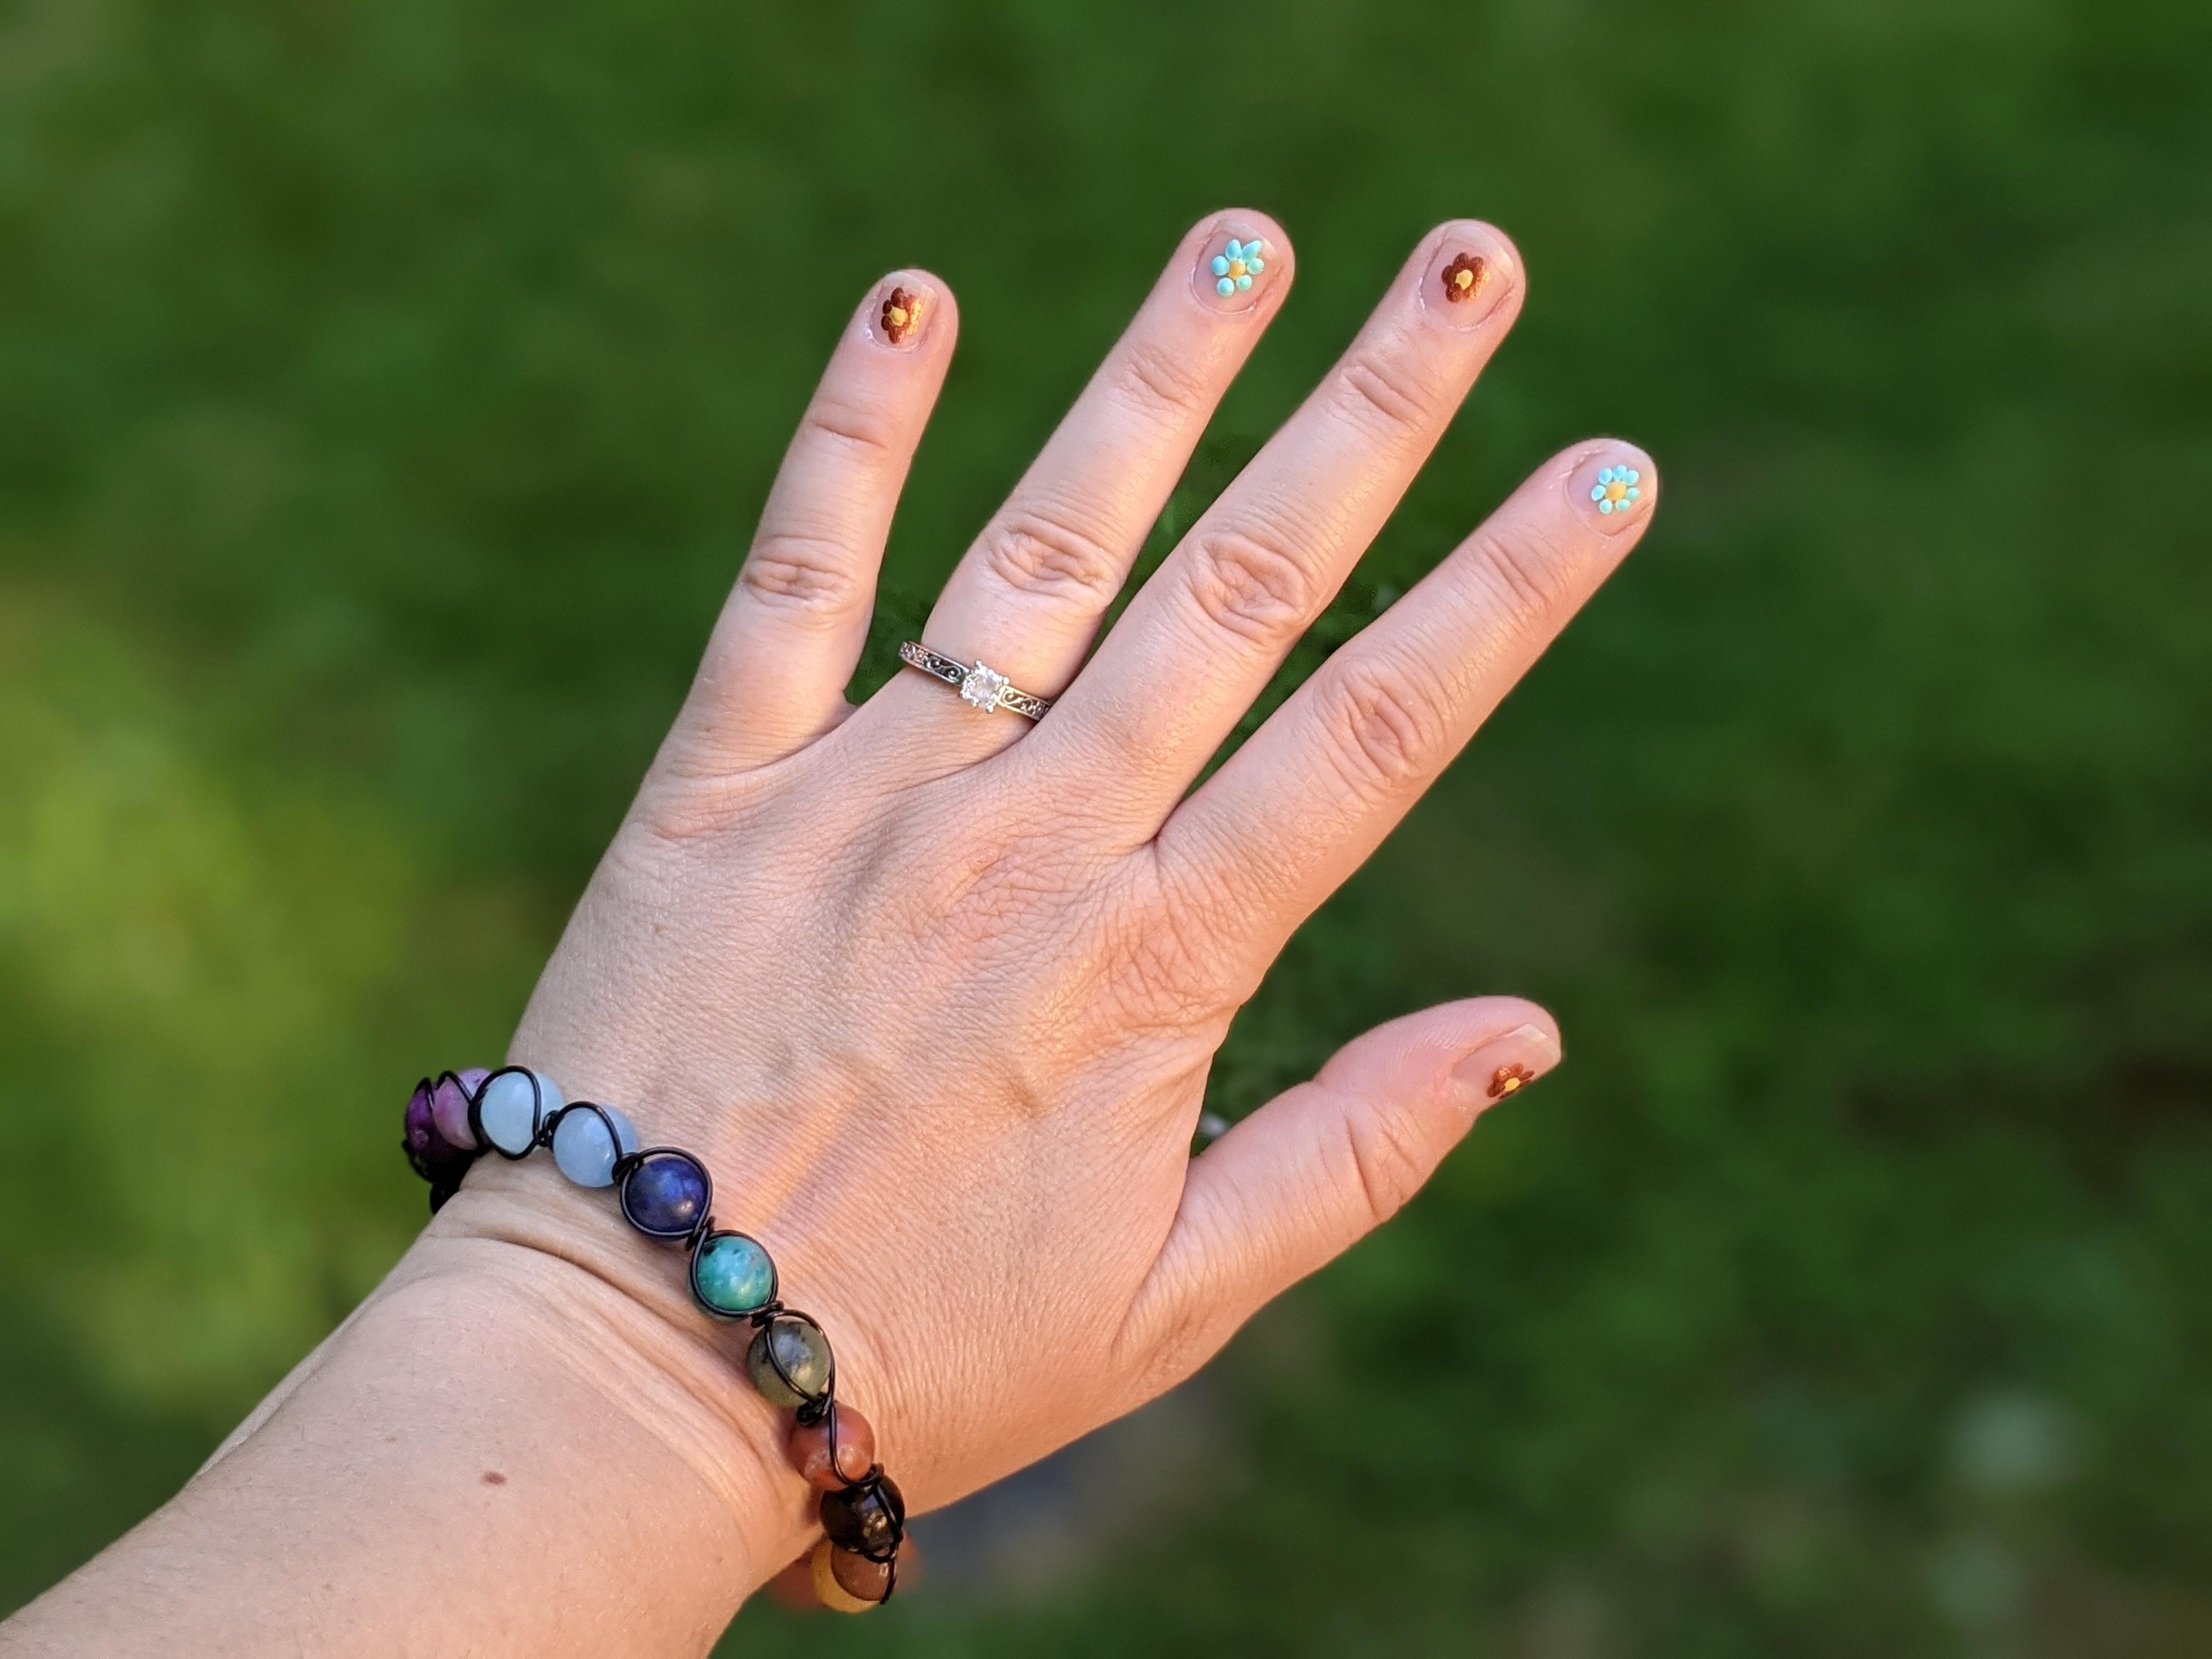
- With your pencil and your scratch paper, practice drawing a dot surrounded by a circle of six more dots. This creates a dot flower.
- Draw multiple dot flowers this way on your paper.
- Use your scratch paper as a pallet and squeeze out a tiny drop of paint in each color you plan to use for your dot flowers.
- Using a toothpick as a type of paint brush, touch it in the paint you’d like to use for the center. Make a dot in the middle of your dot flower pencil drawings. This is practicing making the center of the dot flower.
- Now choose another color of paint for the petals. Use another toothpick to pick up a bit of paint and dot it on the pencil drawing flower petals. You might have to pick up more paint each time you create a new petal. This is practicing making the petals of the dot flower.
- Now you are ready to create dot flowers on your nails! Make the centers first, then the petals just as you did on the scratch paper. Go slowly and carefully.
- Let the paint dry. If you’d like, add a clear Top Coat of Nail Polish.
Wrap-Up:
This way of making nail art is easy and fun! It’s much easier to paint one hand than the other, so grab a friend or family member to help you with the second. You can also create nail art on your toes! Try to think of other simple designs you could paint: hearts, stars, balloons, sun, moon, etc. Have fun!