
Missy's Flower Pens

Email share

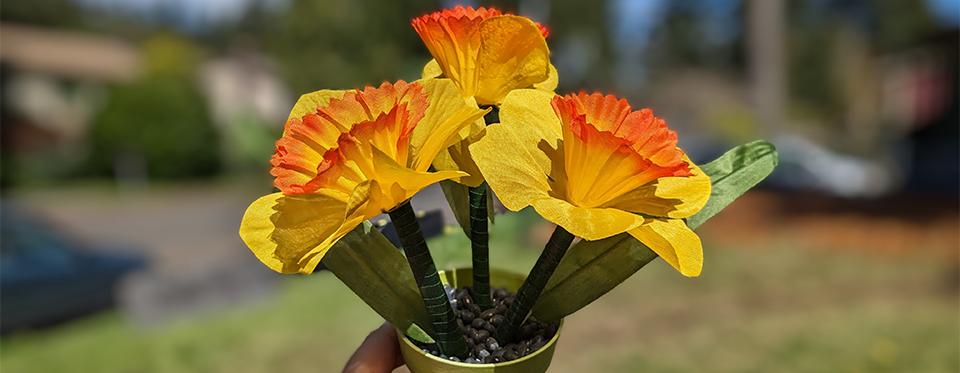
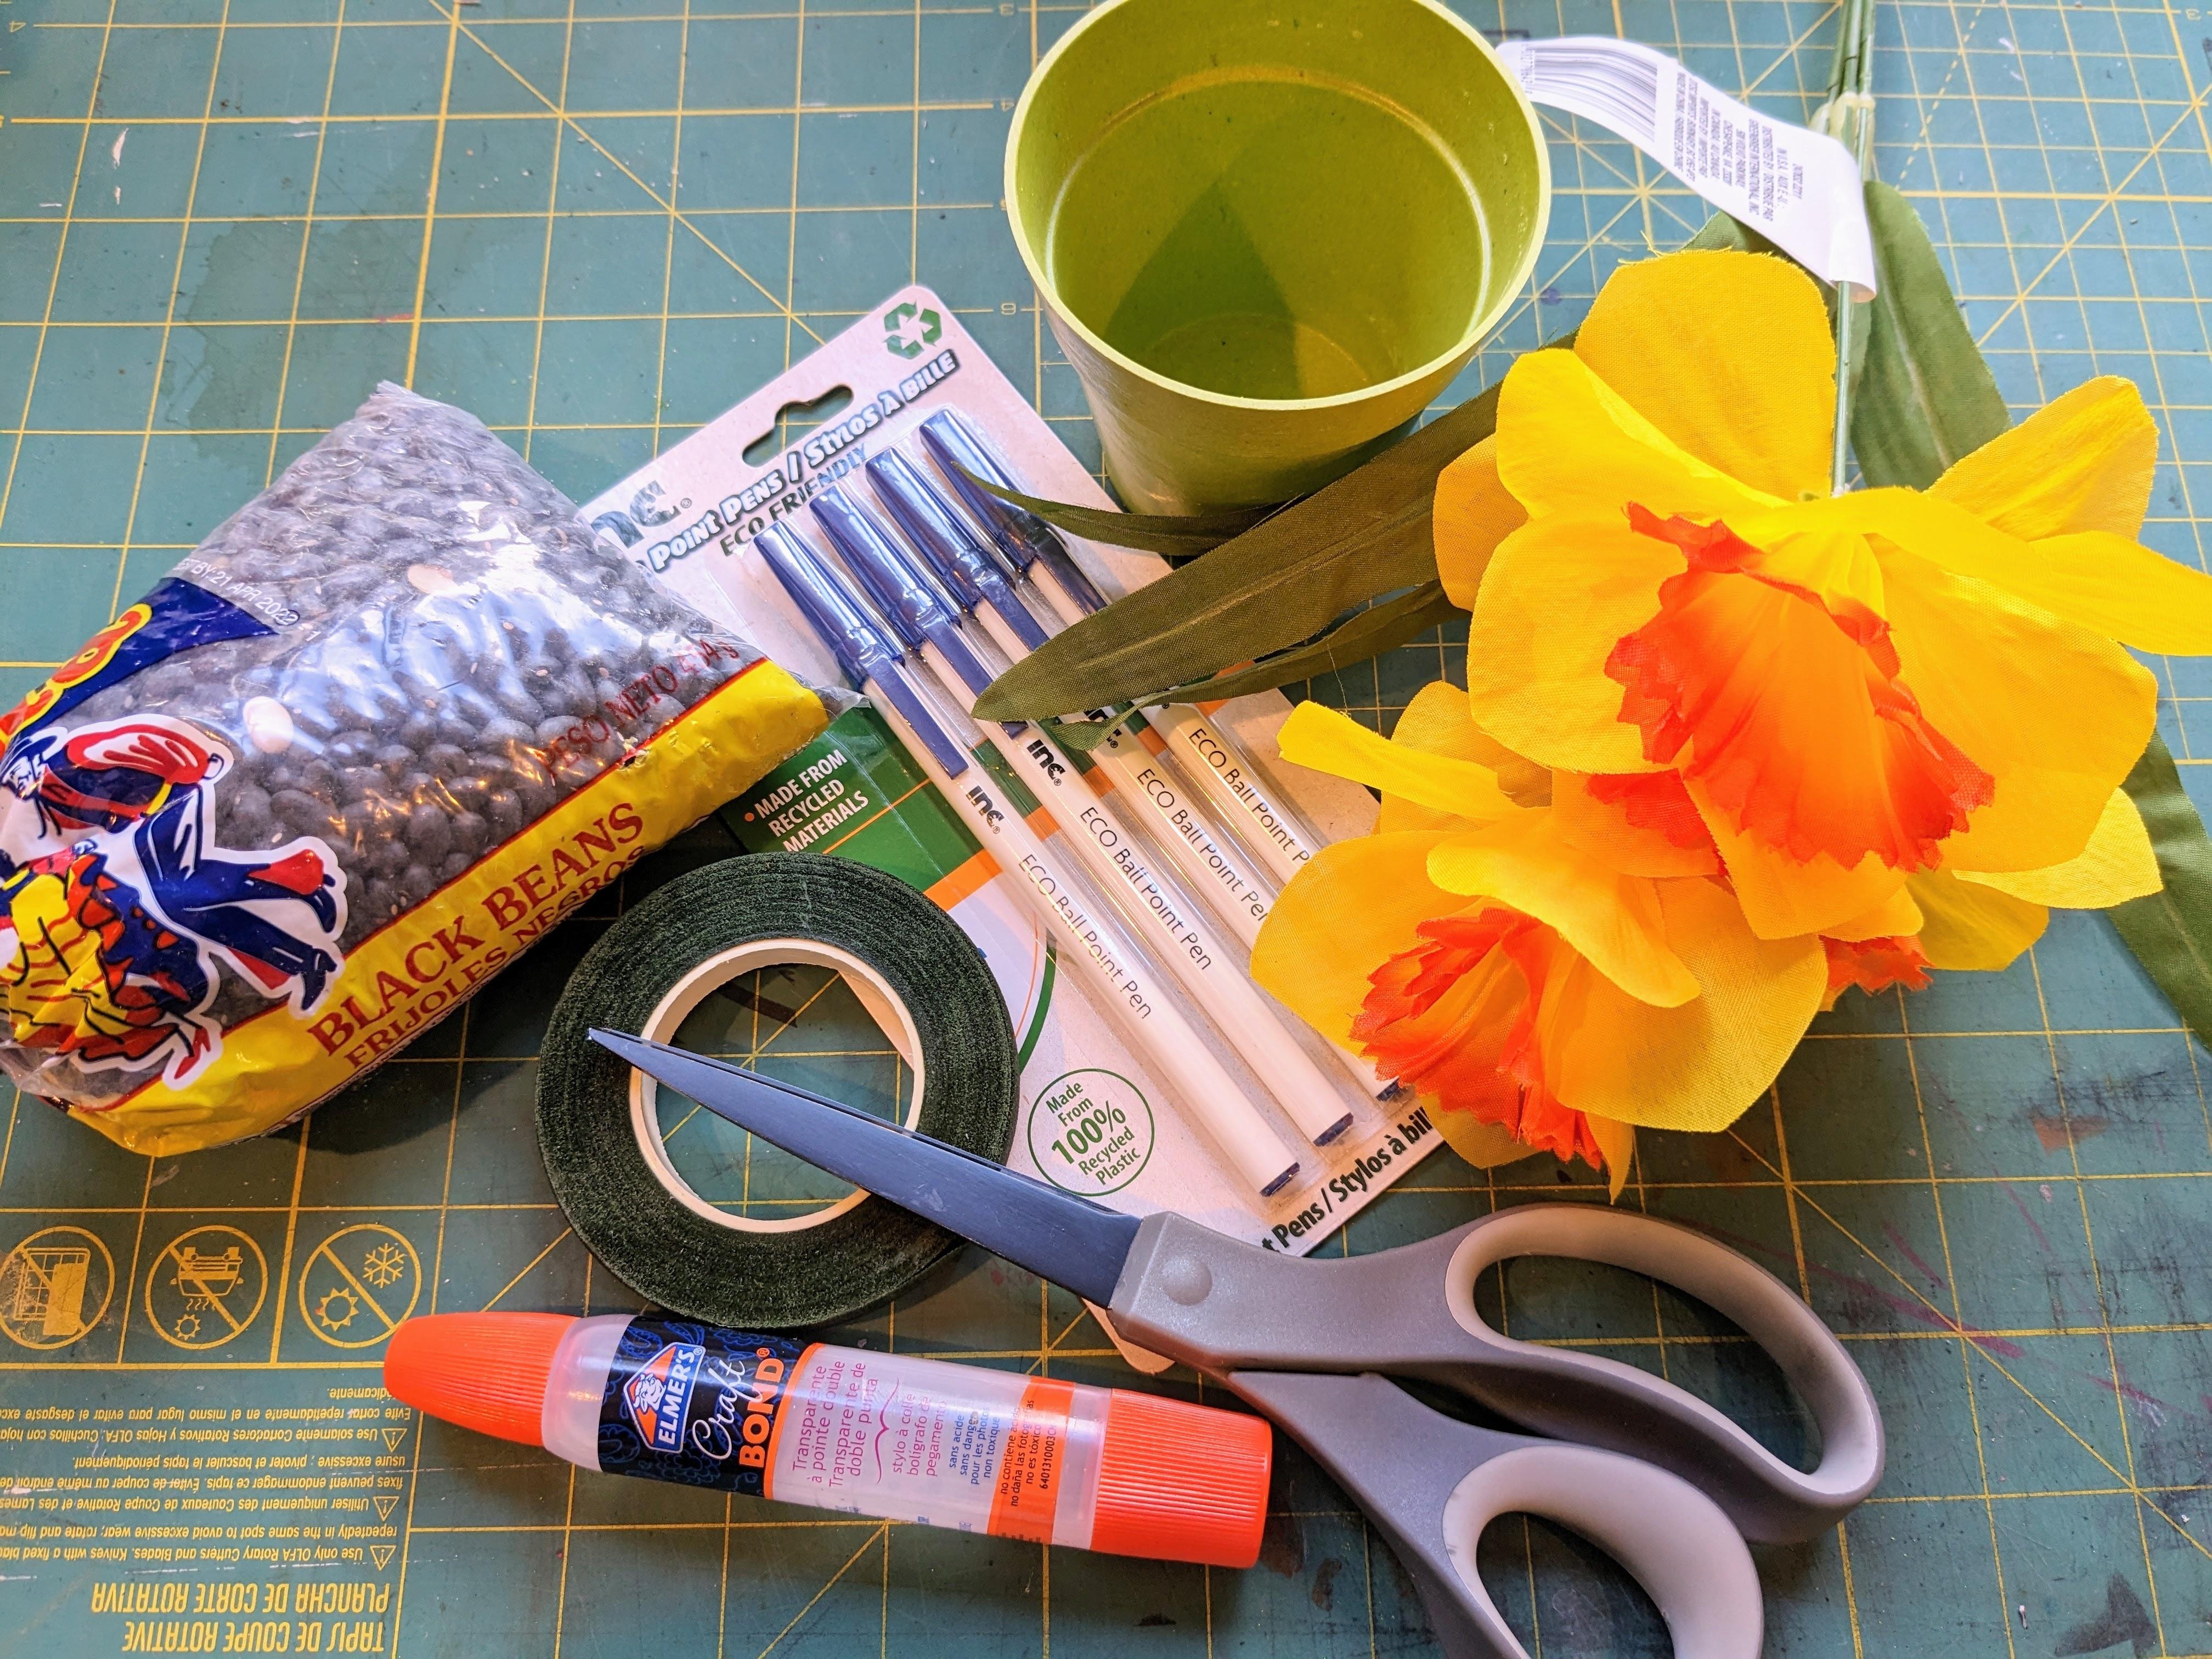
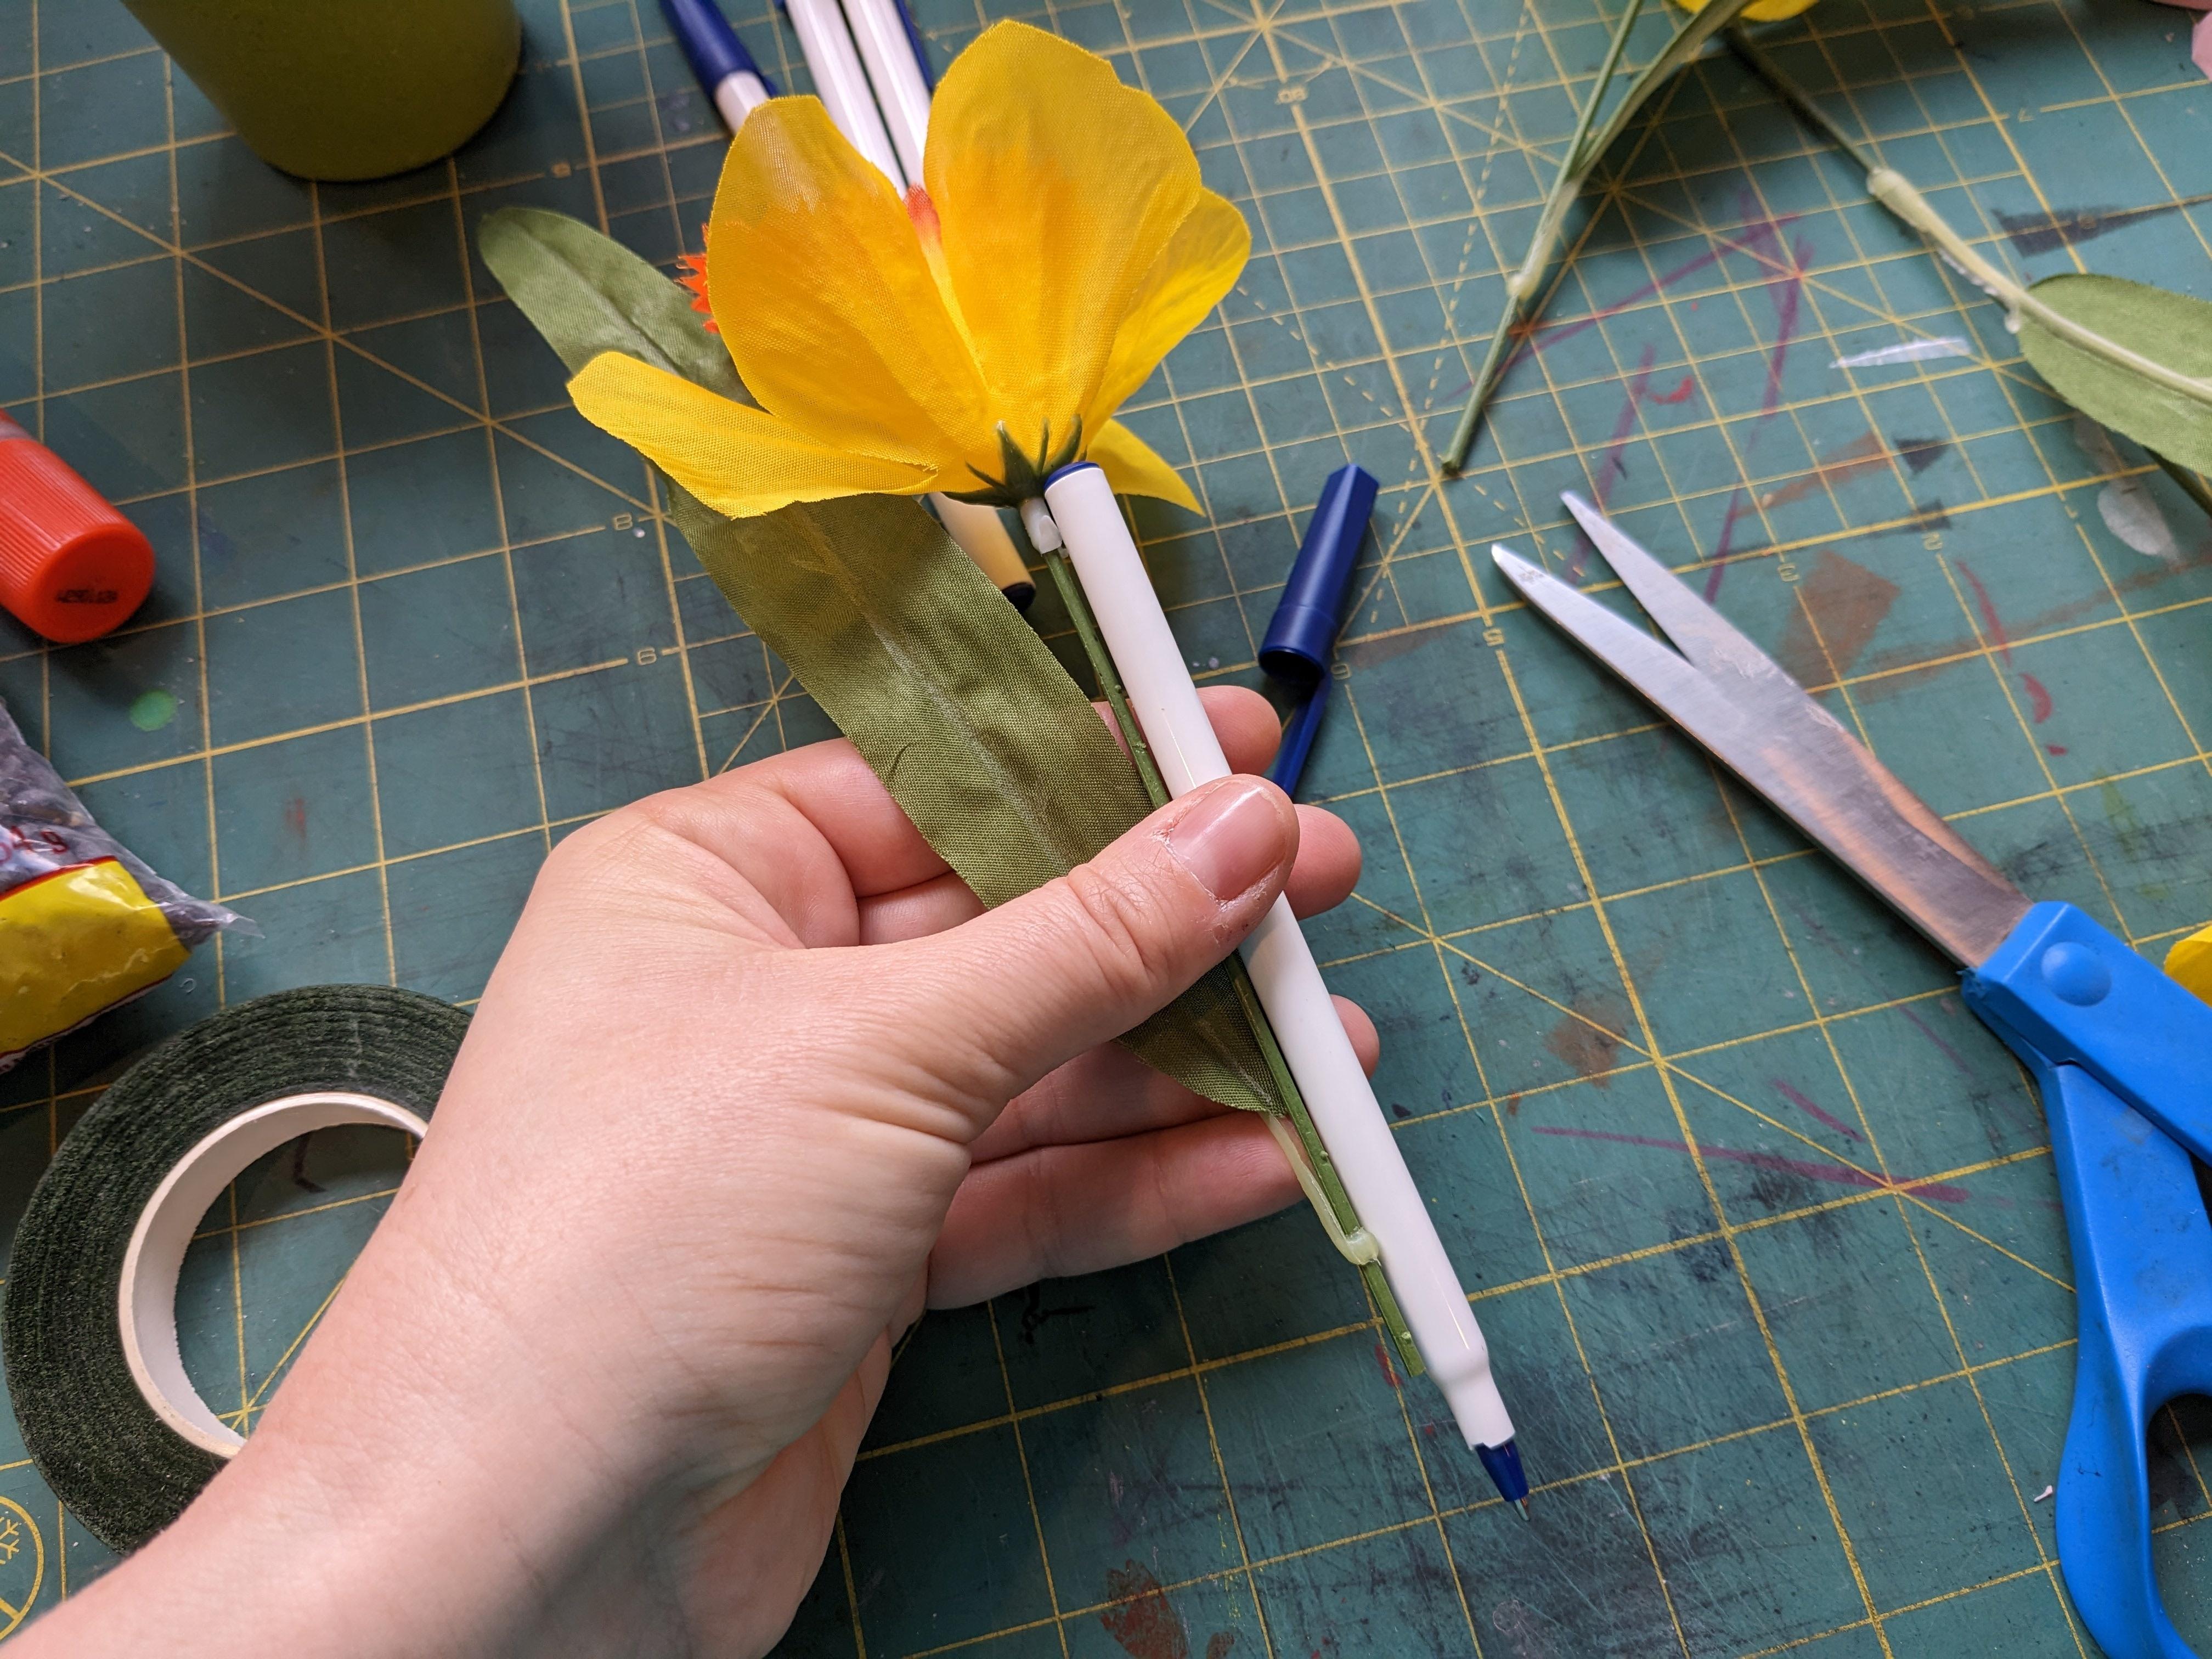
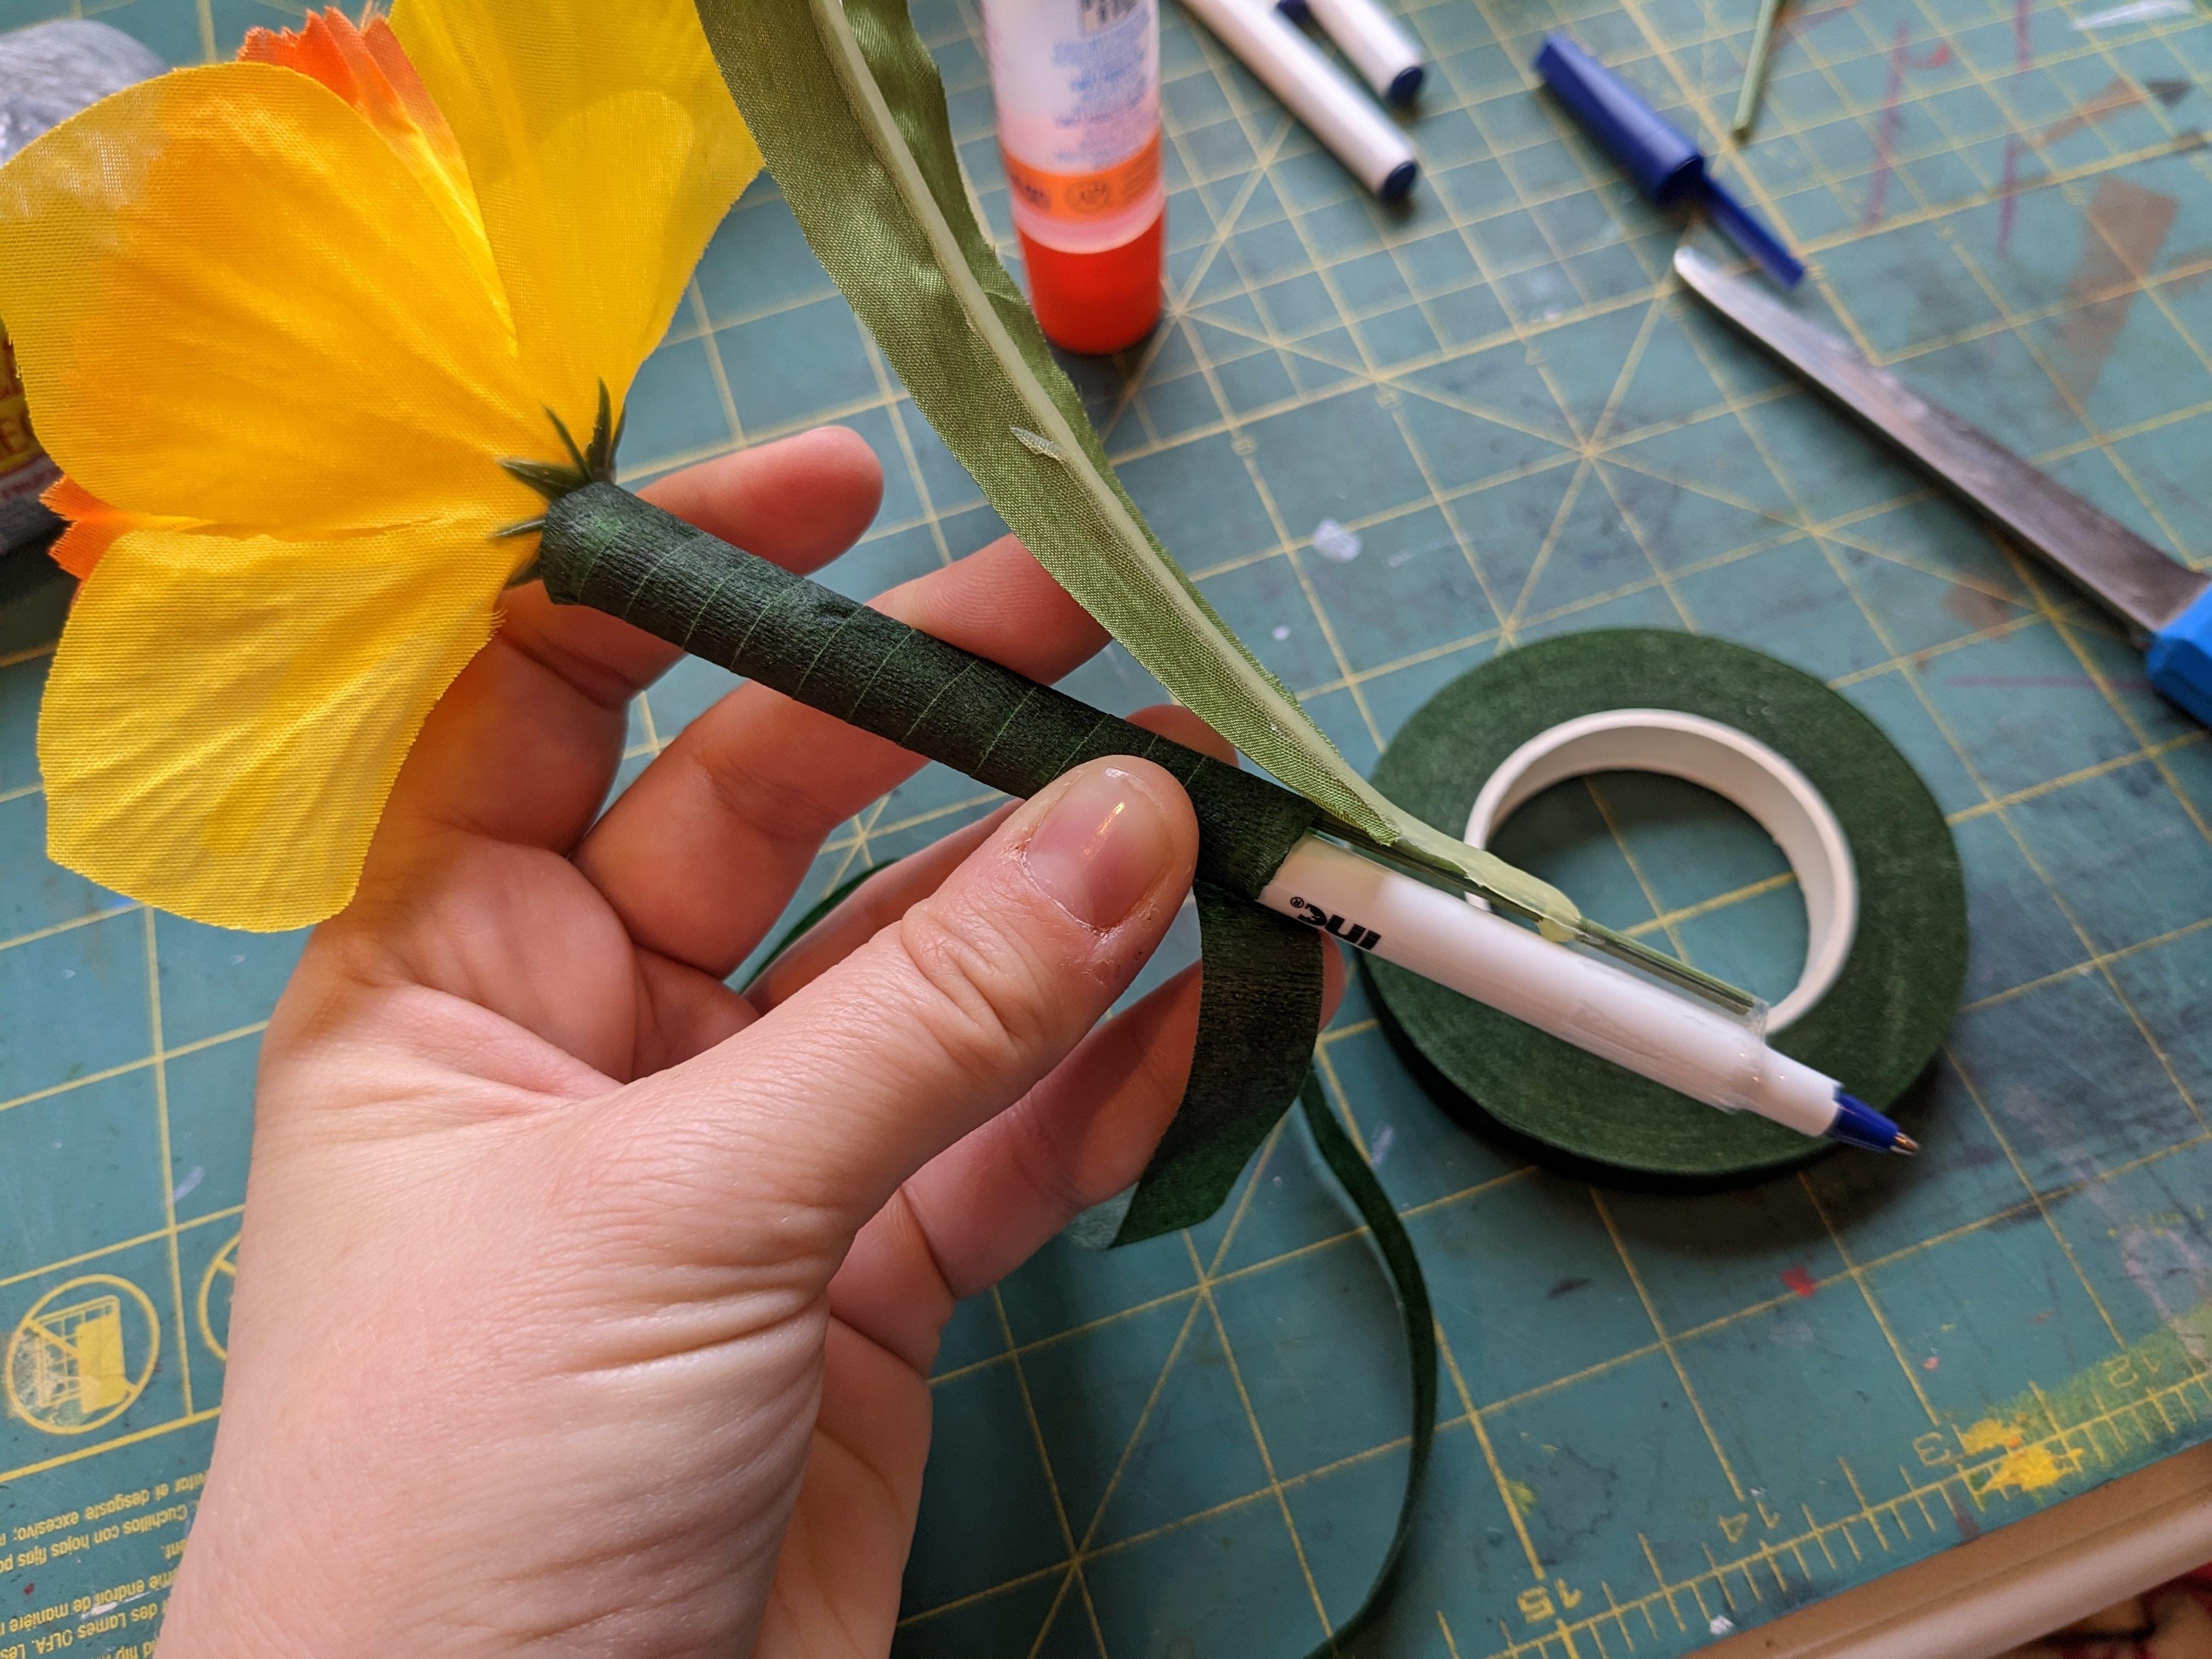
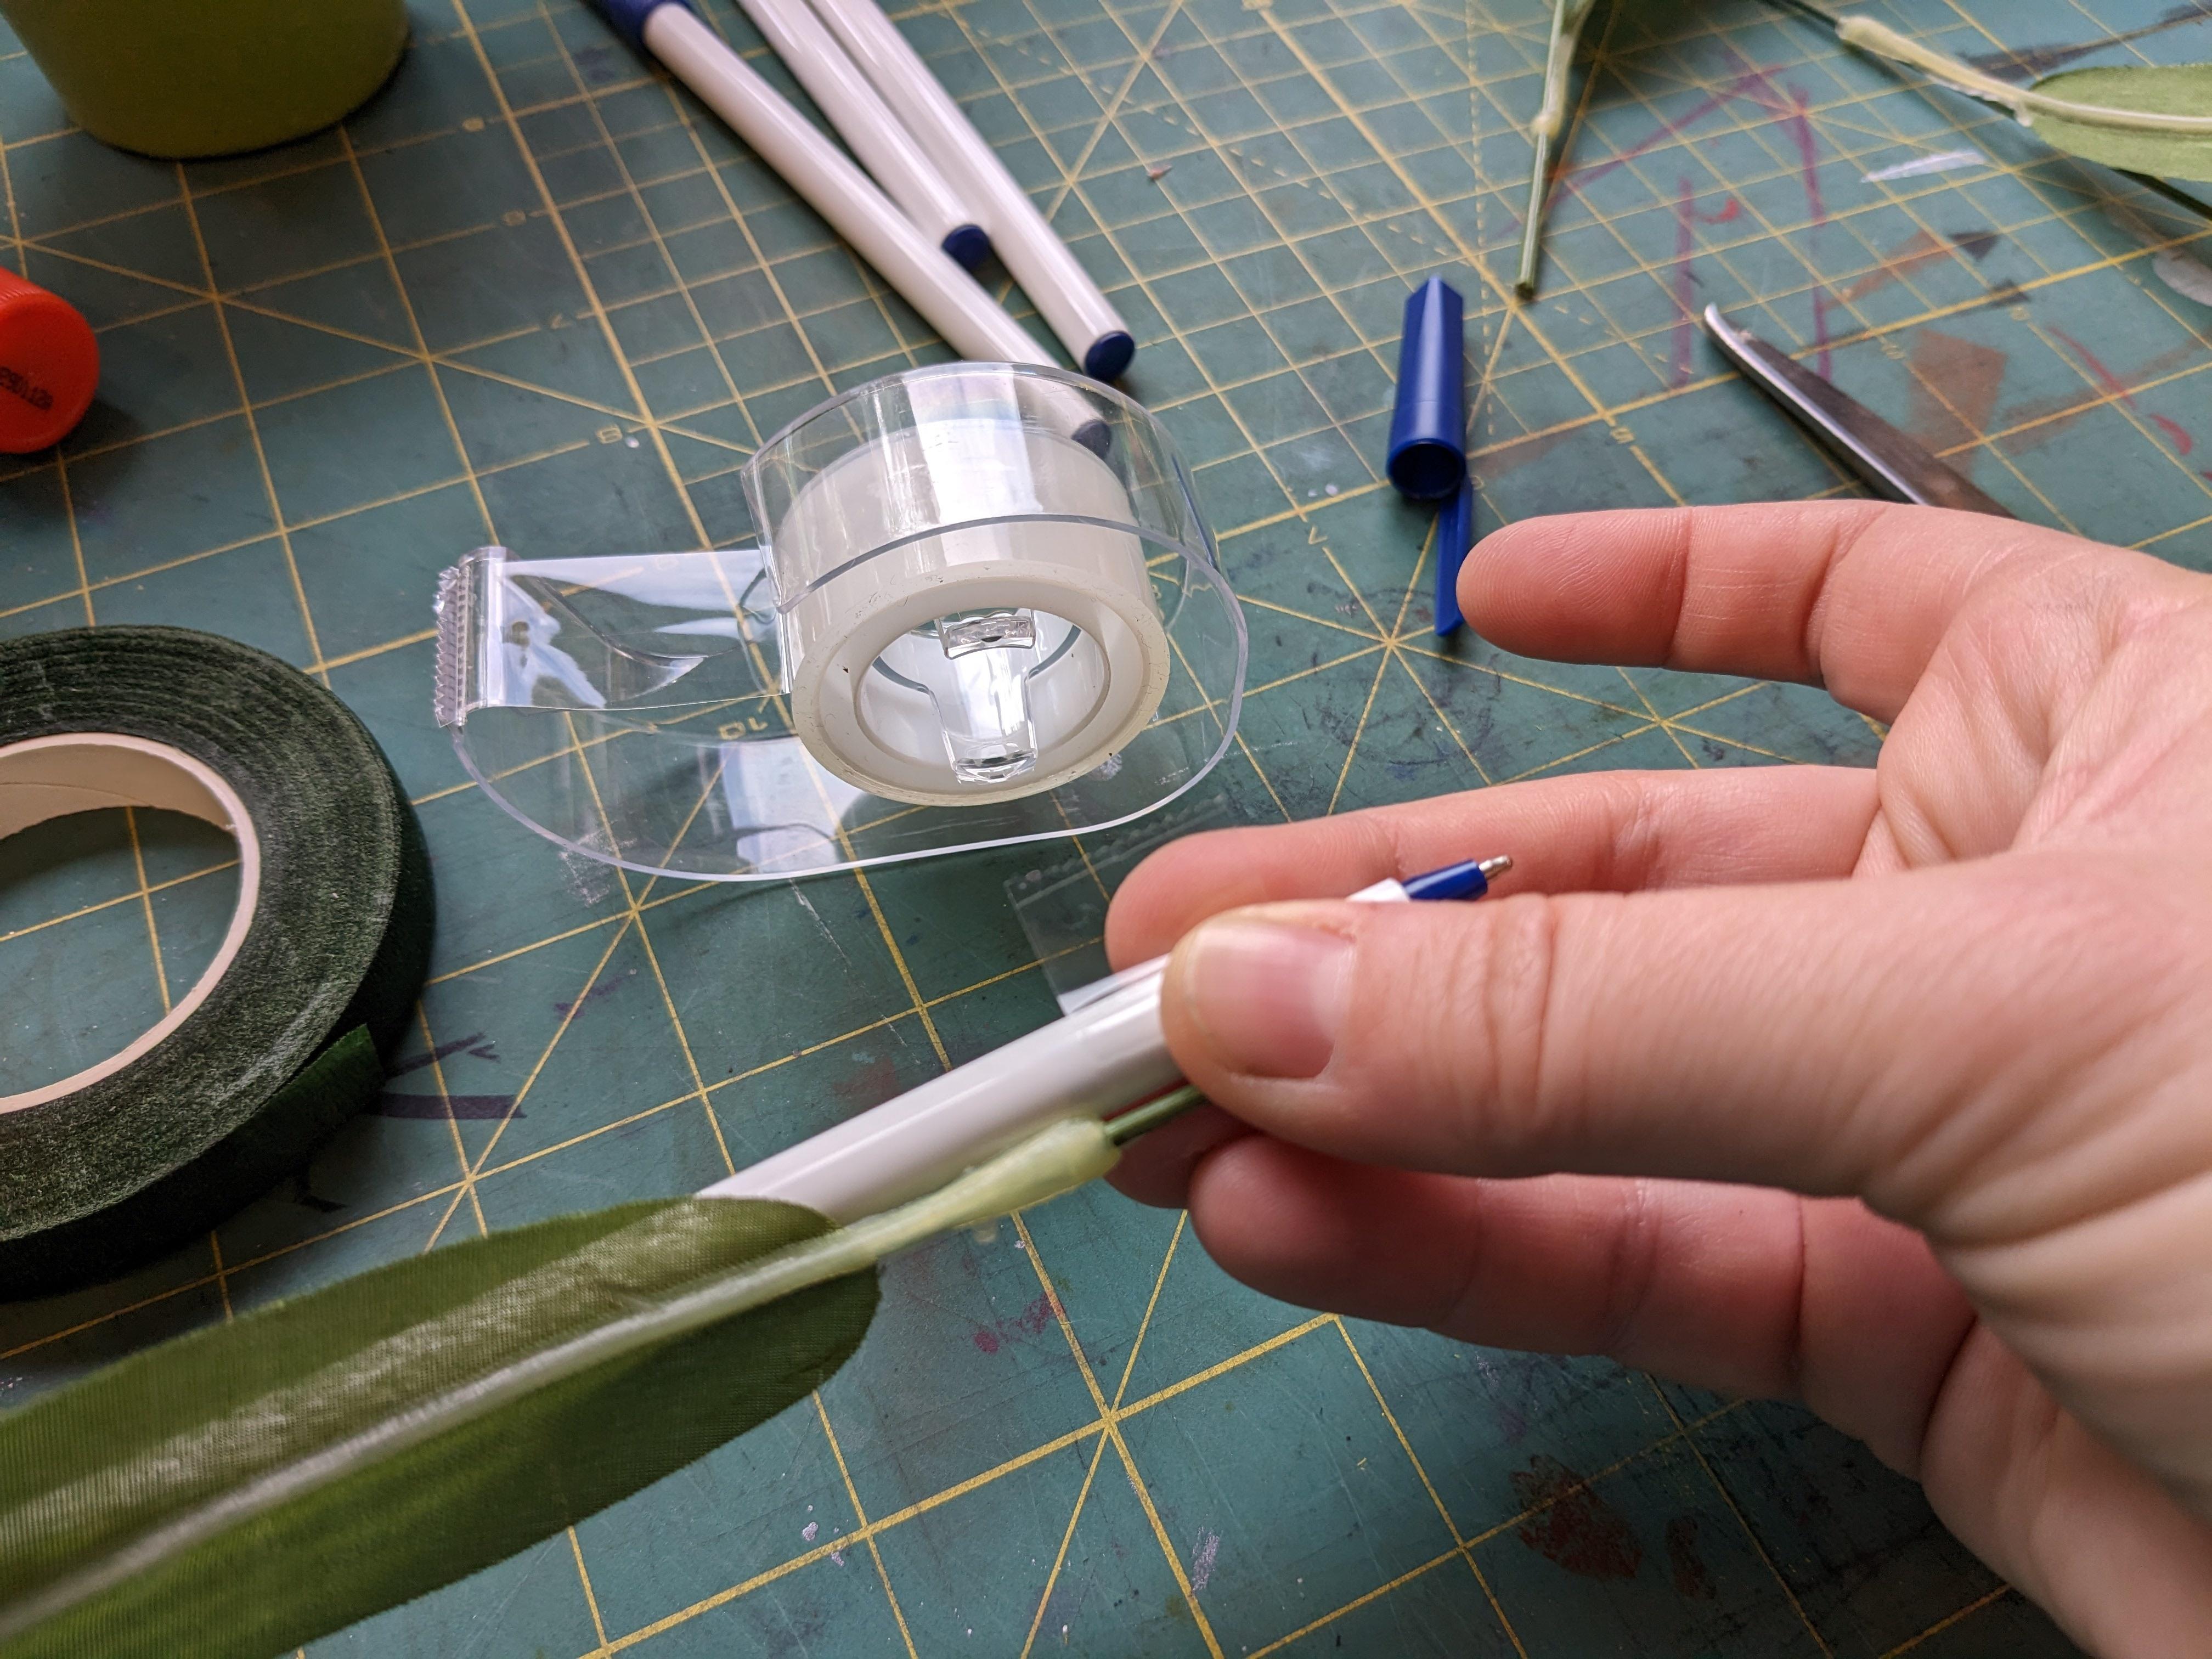
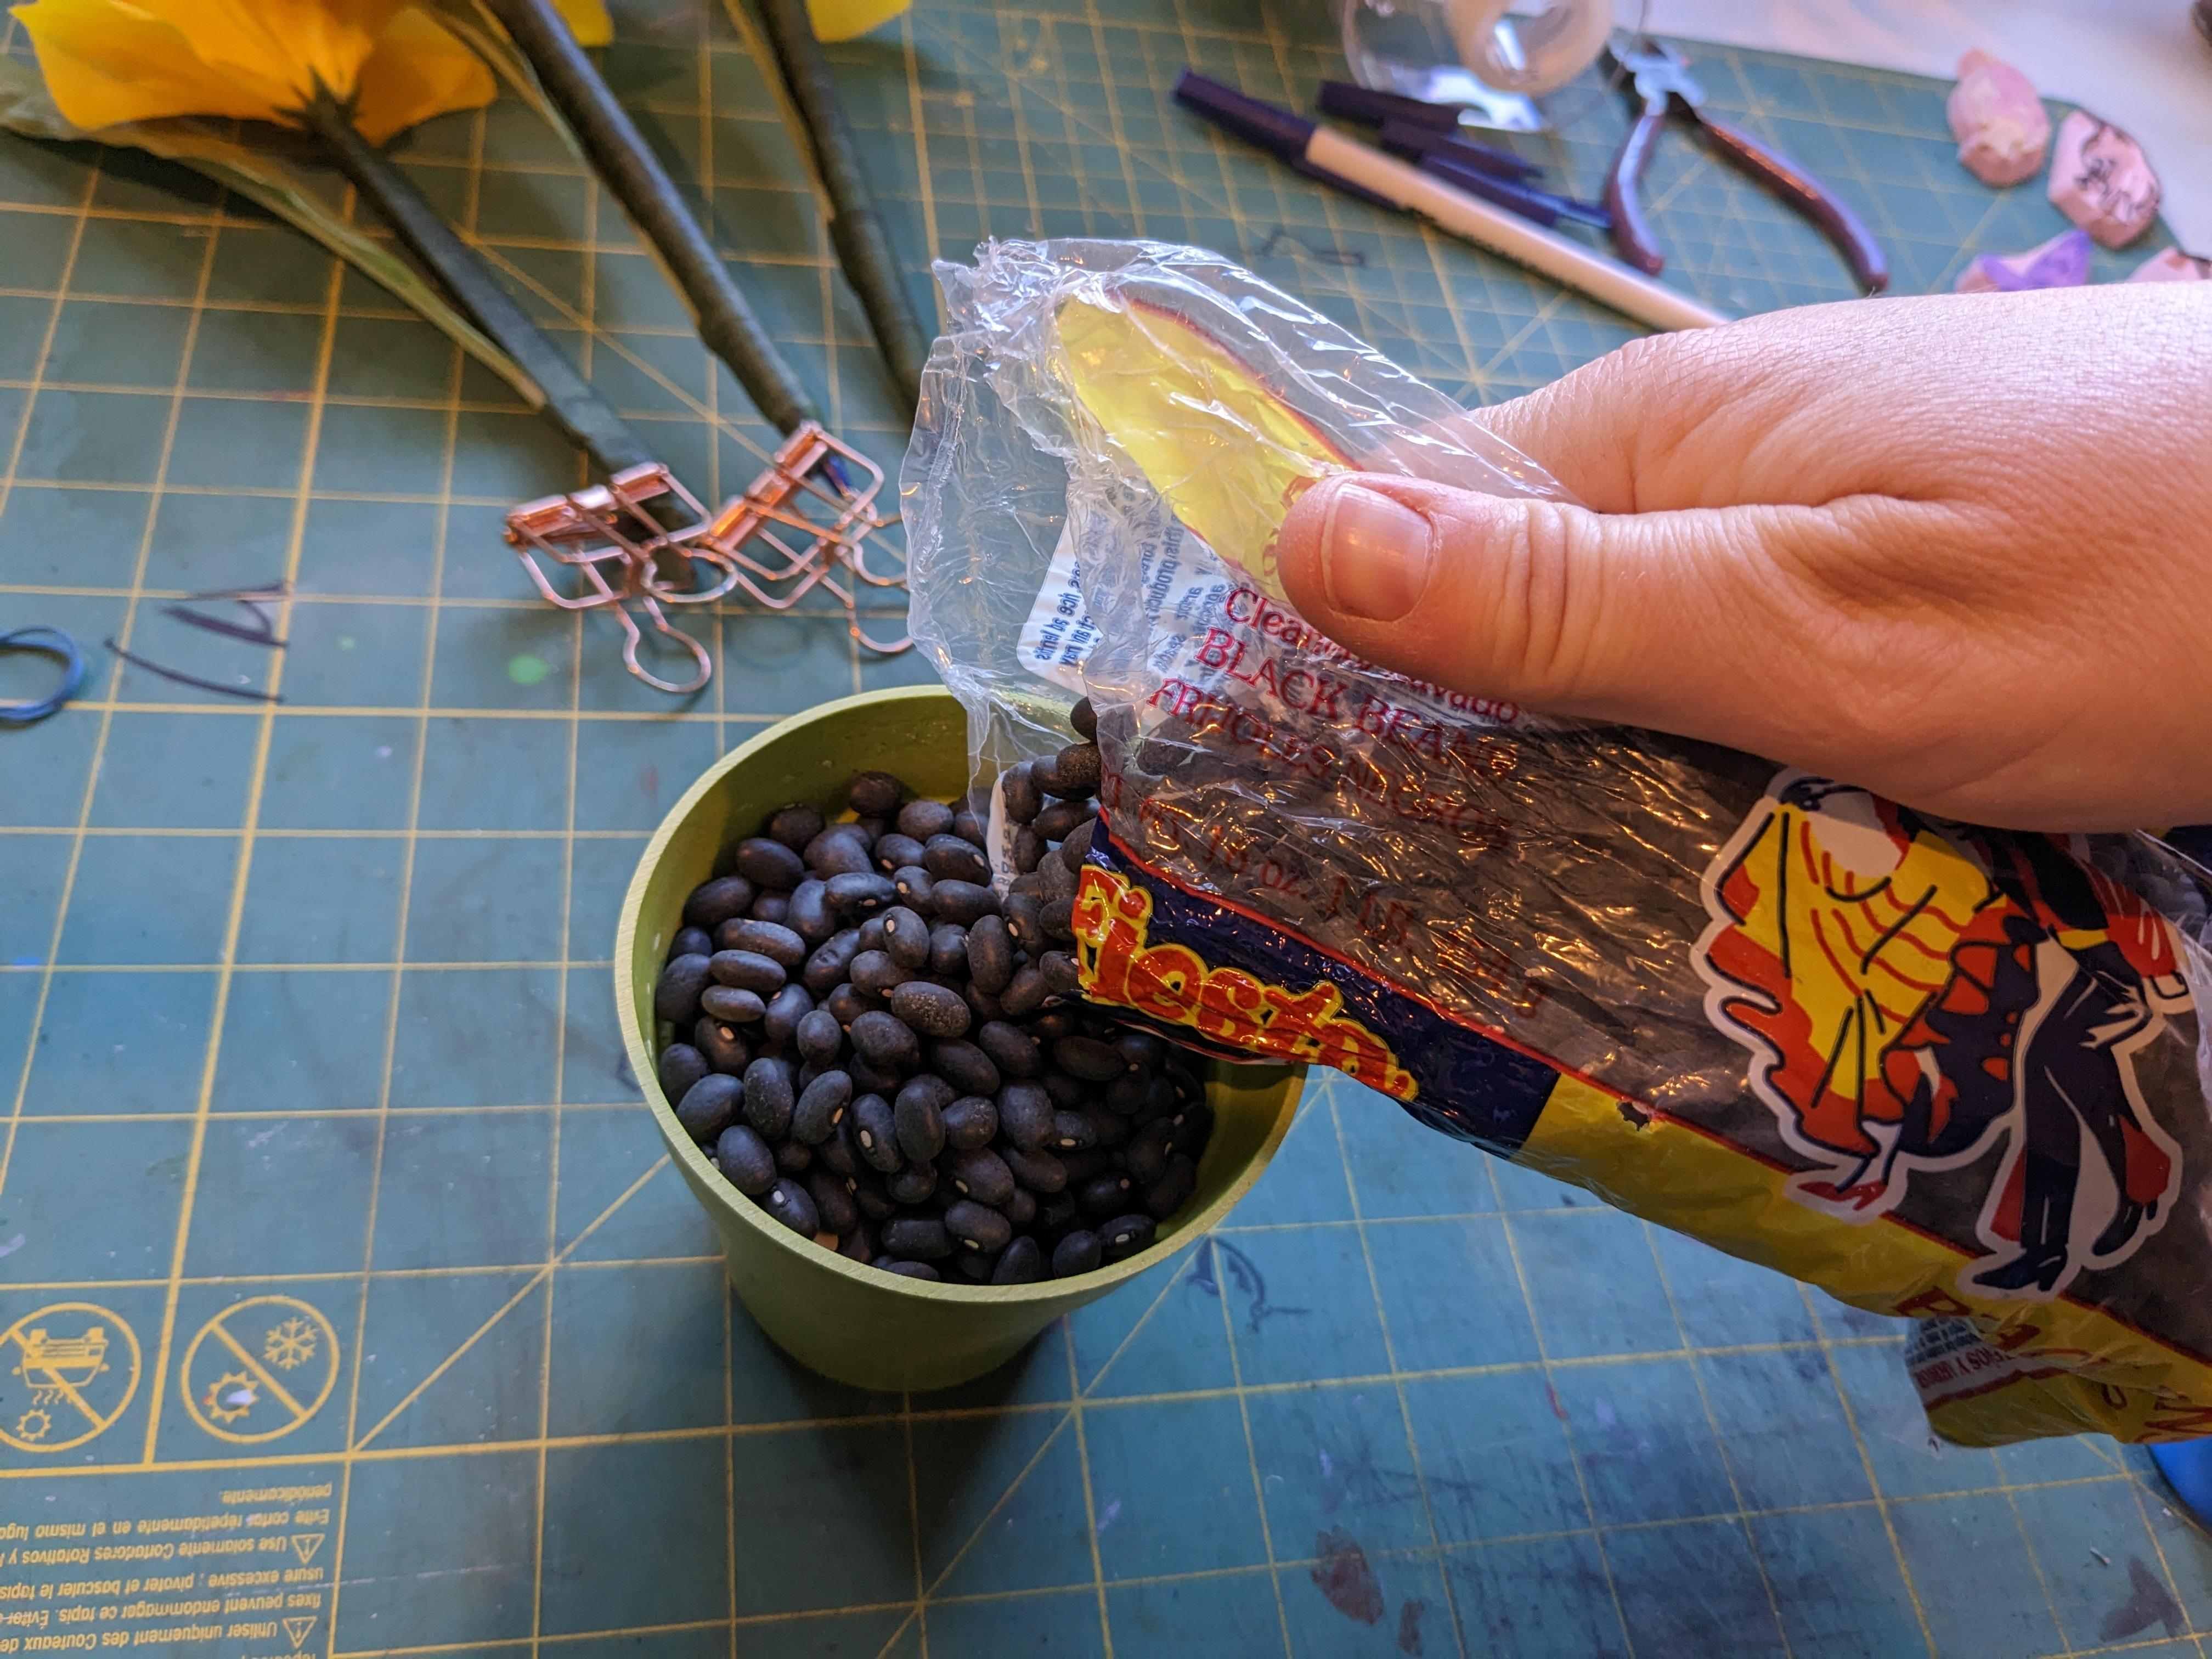
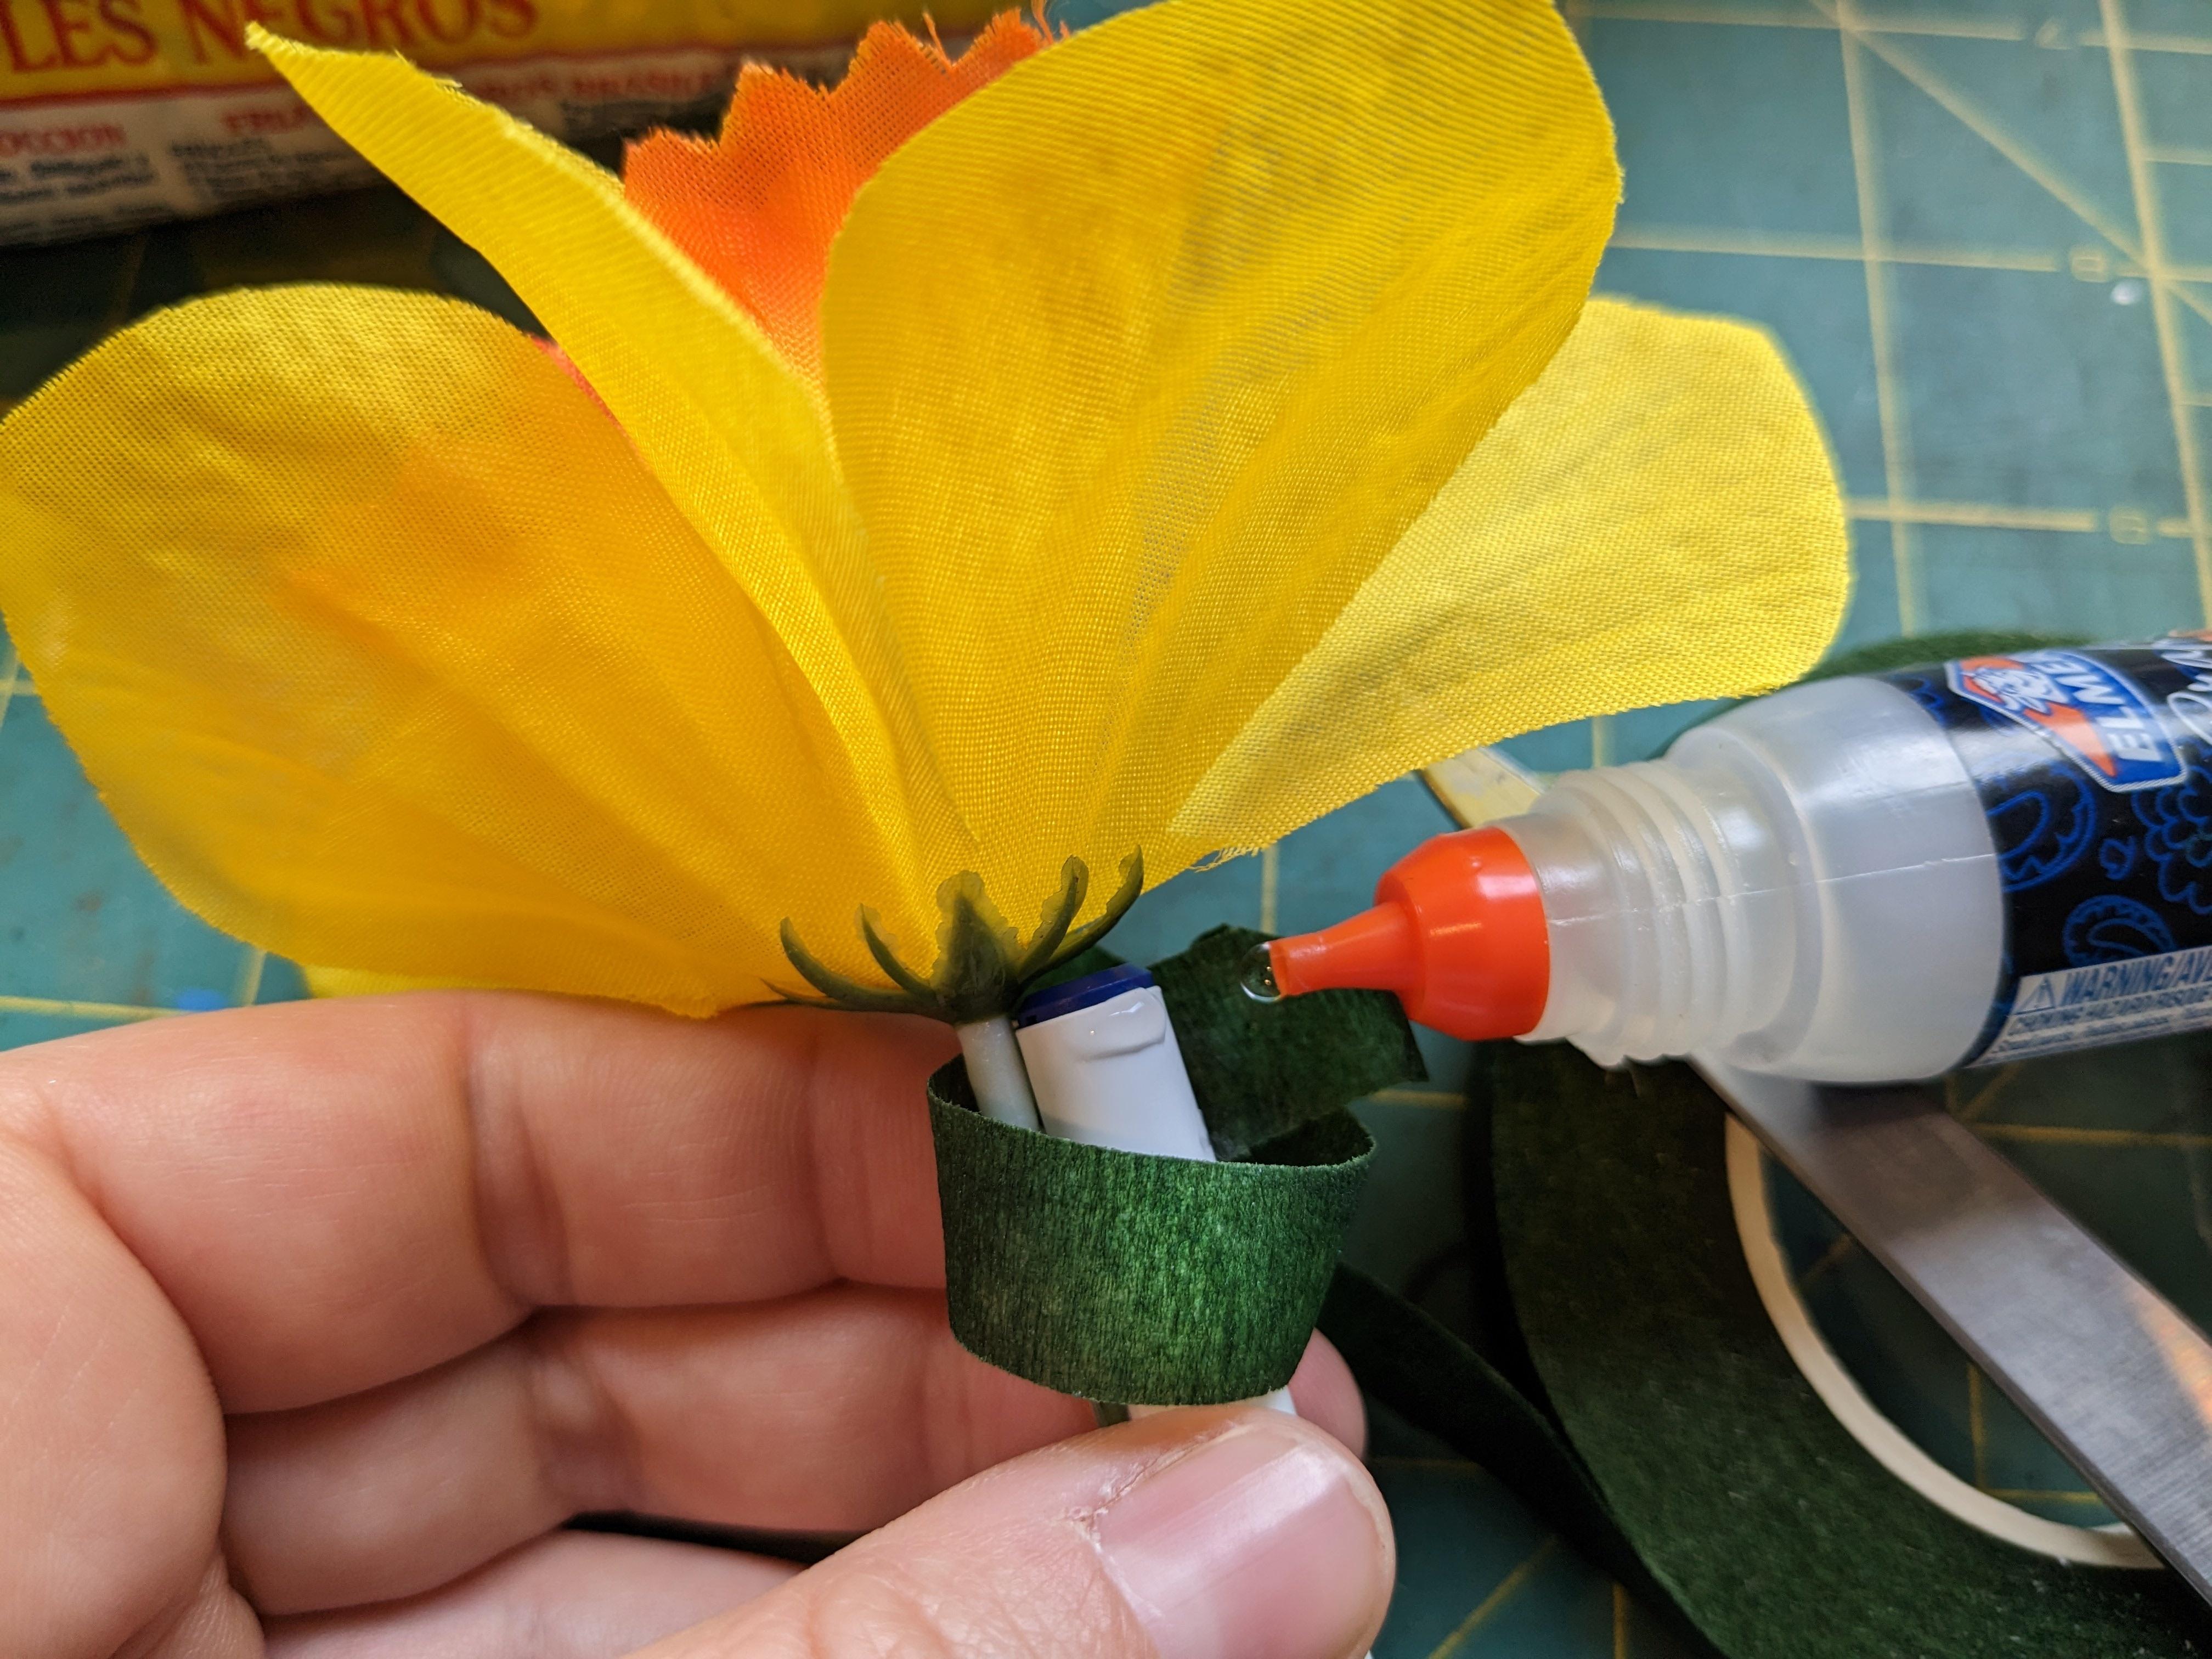
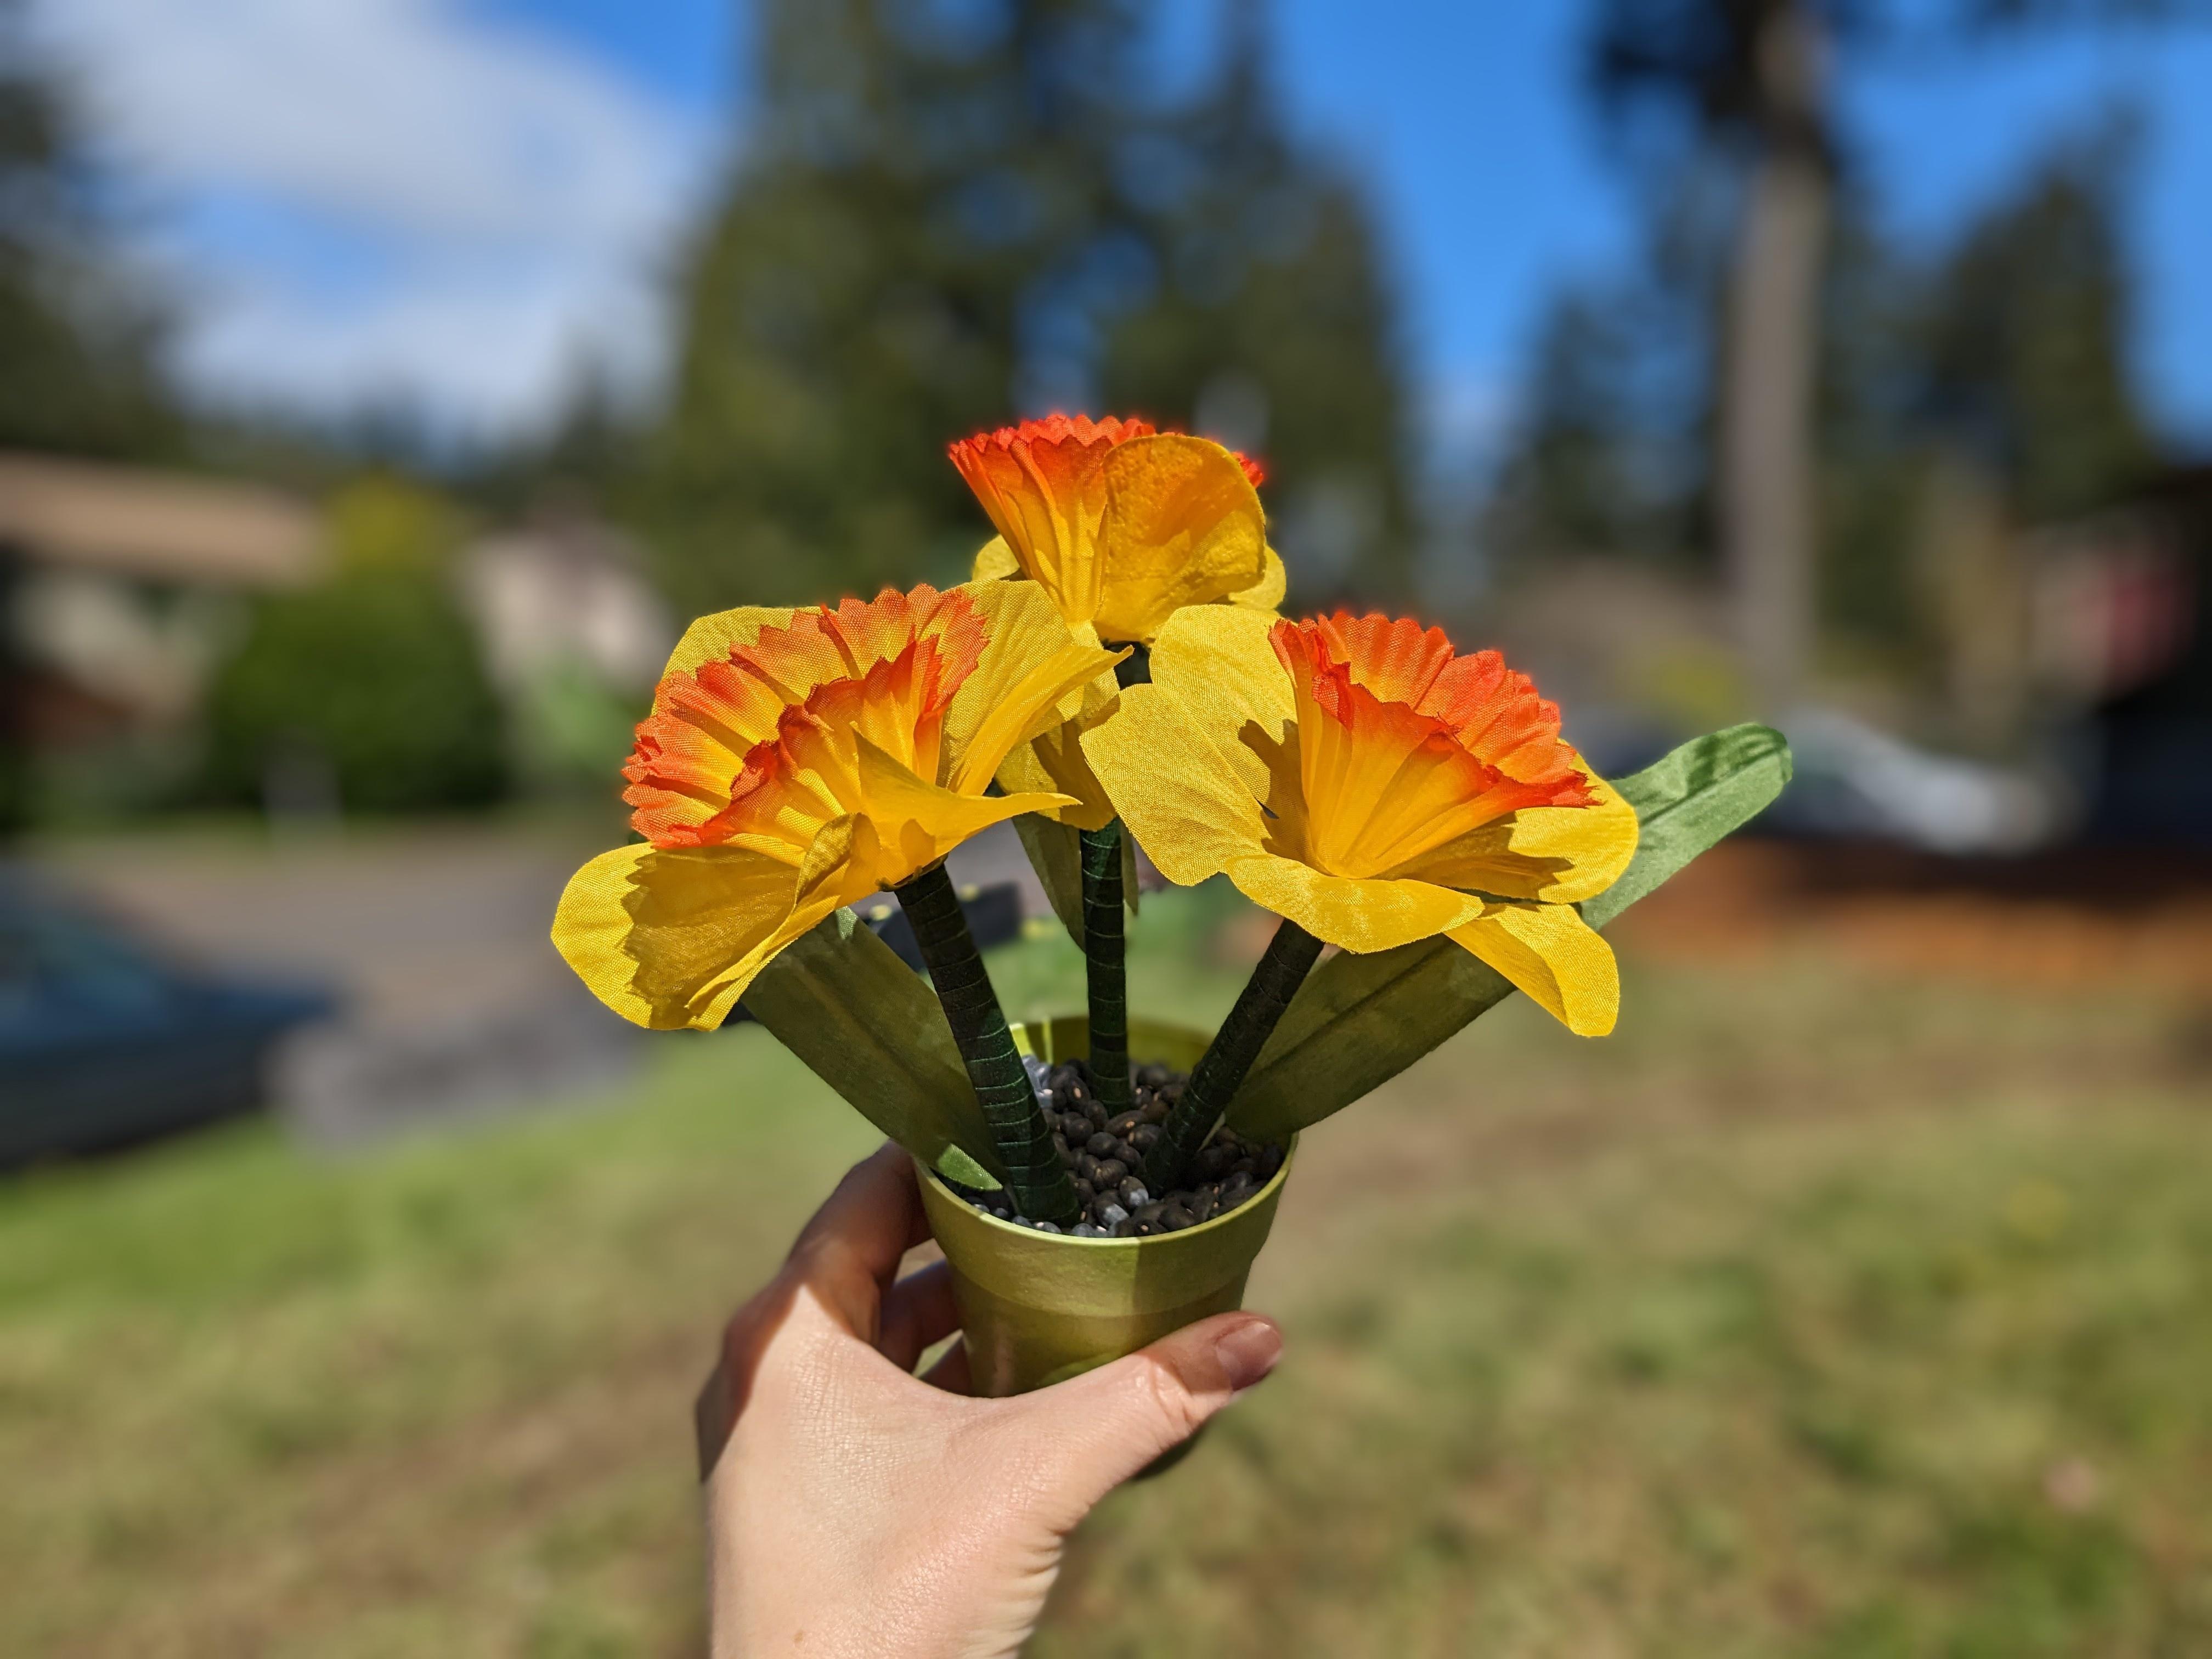
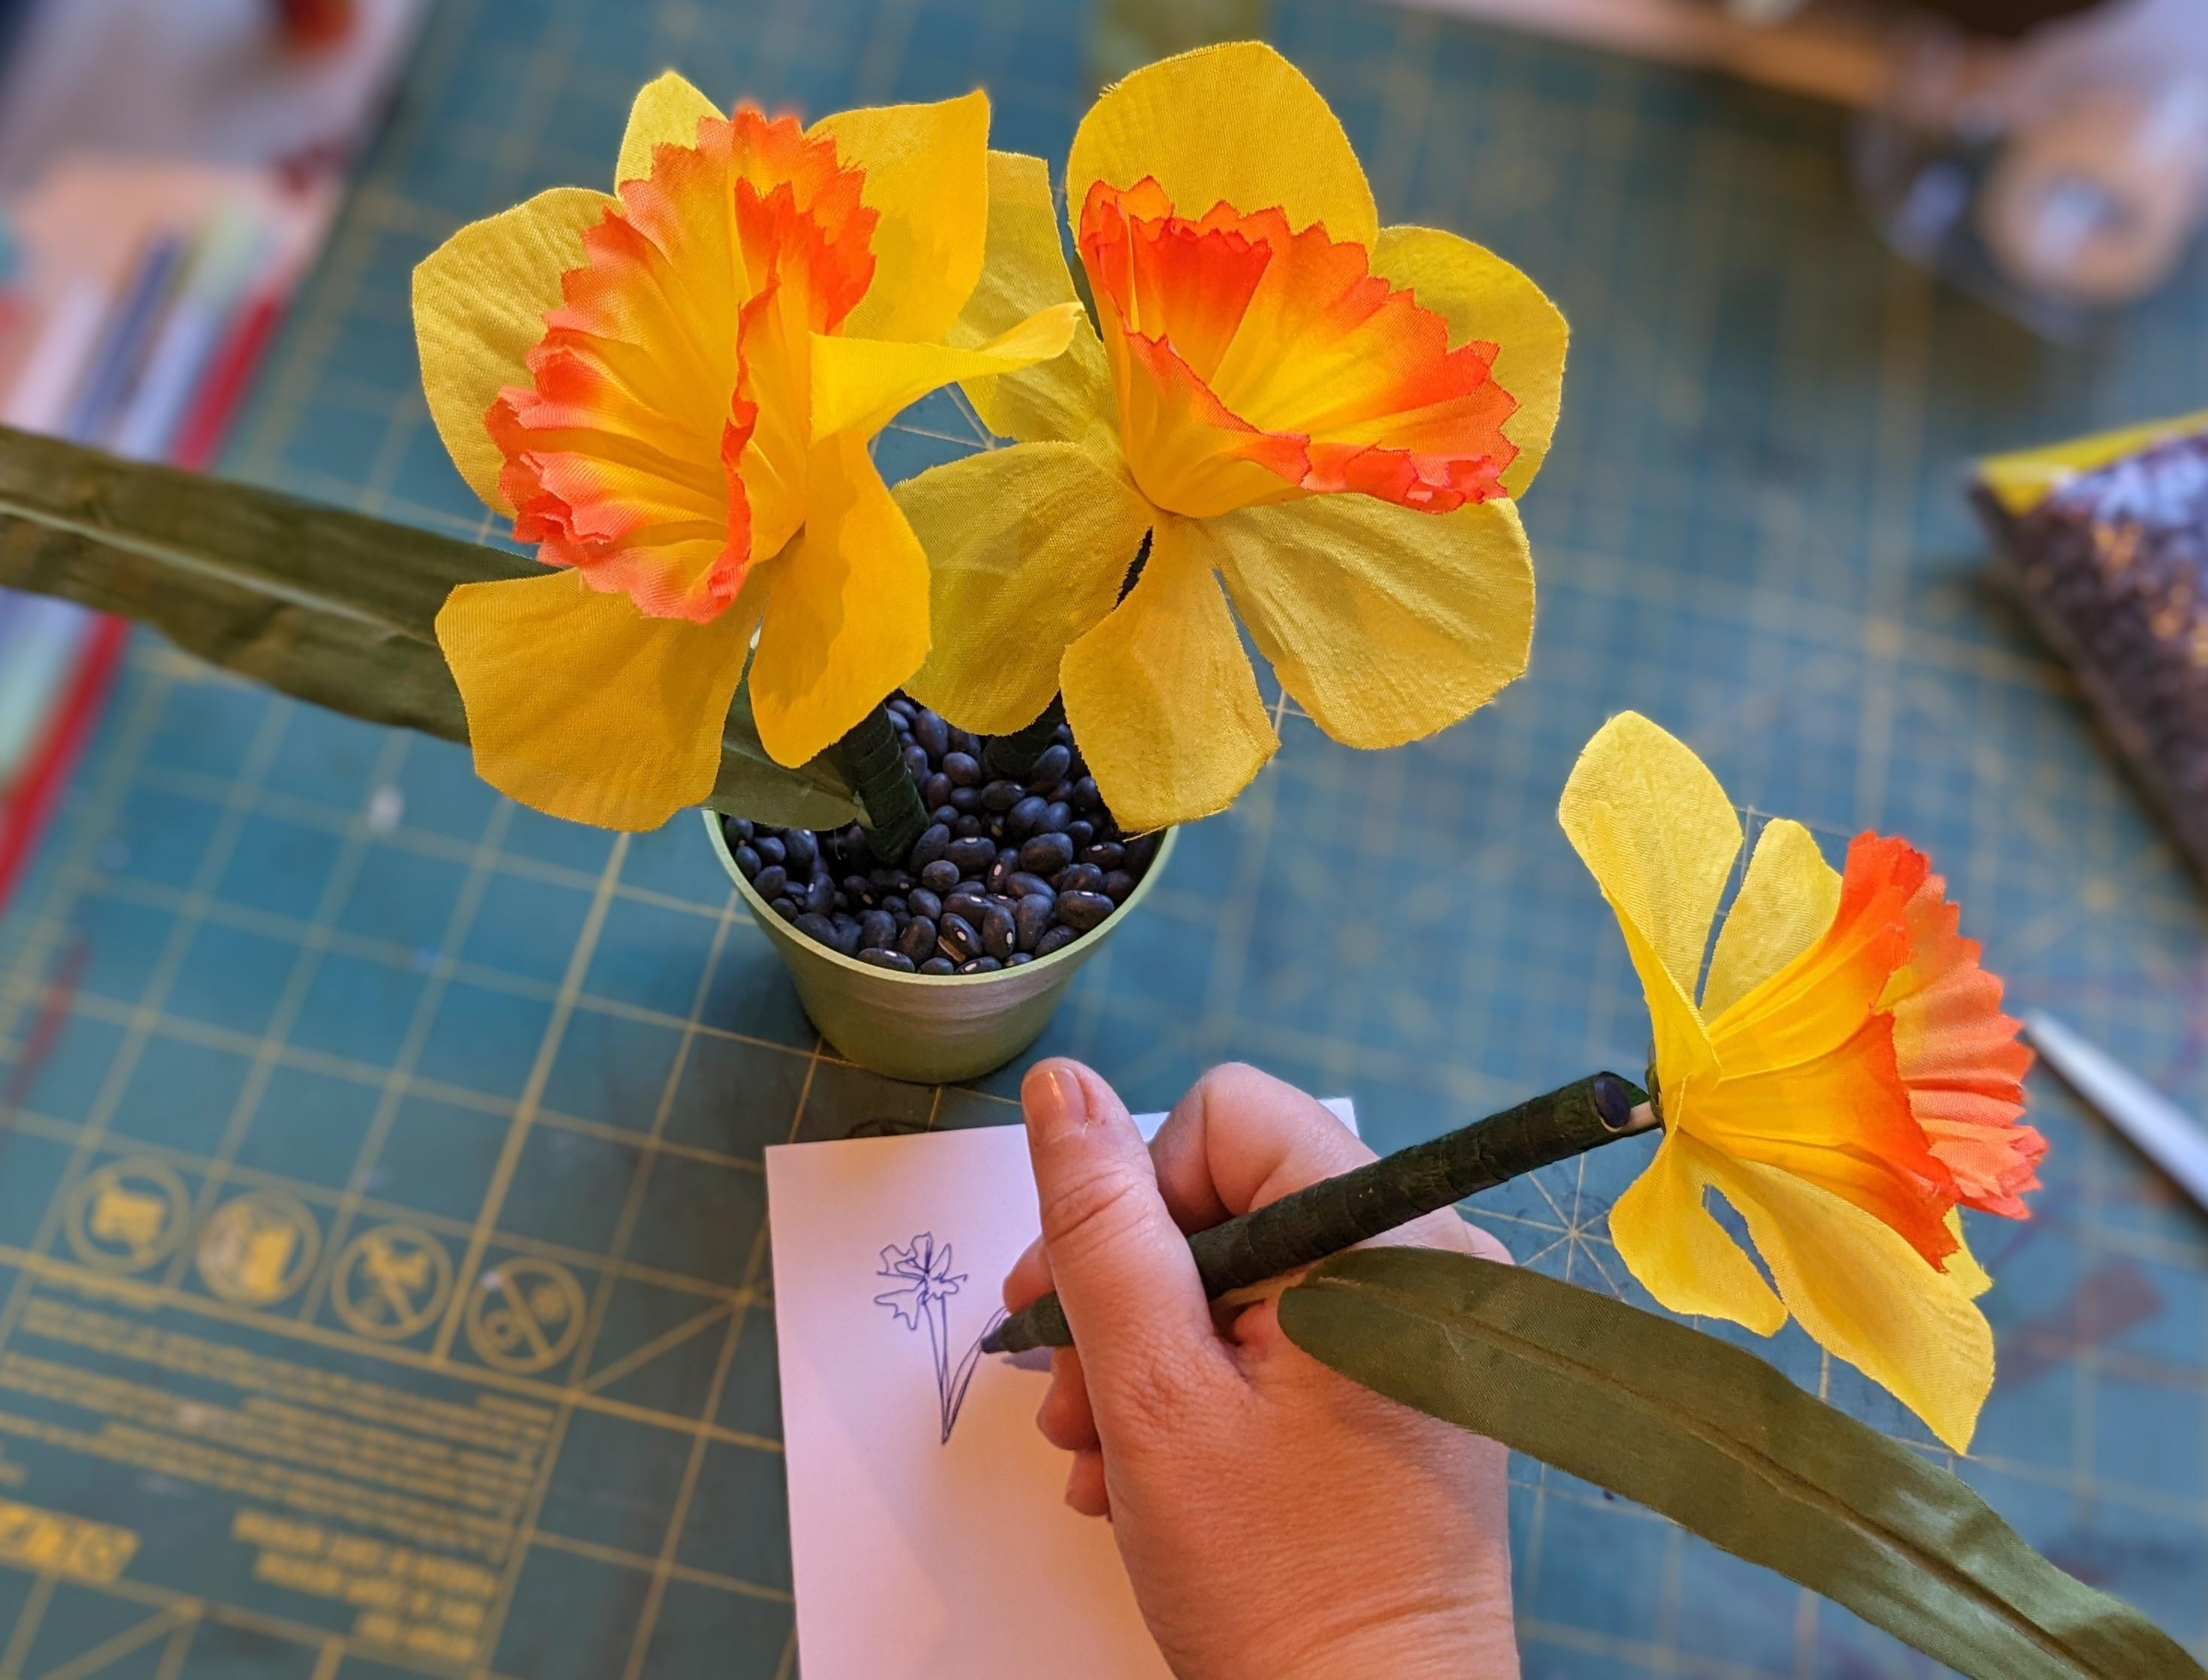
Hey there! My name is Missy. I’m an artist and an arts/crafts blogger here at PBS KIDS Utah. When I was a kid, I saw the most interesting and cool pens on the counter at the dentist’s office. They were flower pens in the little flower pot. I inspected them and when I got home, I made my own! I’m going to share with you how to make your own flower pens. 

Supplies


  • Fake flowers
  • Ball point pens with lids
  • Clear tape
  • Liquid glue
  • Floral tape
  • Small flower pot
  • Scissors
  • Dry black beans
Filer image

Instructions

  1. Hold one of your pens next to one of your flower’s stem.
  2. Use your scissors to cut the stem the same length as the pen (with the flower on the end).
  3. Use two pieces of clear tape, one near the top and one near the bottom, to hold the stem to the pen.
  4. Glue your floral tape to the end nearest the flower and wrap it round and round until you reach the writing side of the pen.
  5. Use your scissors to cut the floral tape.
  6. Use your glue to secure that end of the floral tape to the pen.
  7. Follow steps 1-6 again and again to make more flower pens. And let the glue dry.
  8. Fill your pot nearly full of dry black beans.
  9. Poke each pen down through the beans so it looks like they are growing out of the pot.
Filer image
Filer image
Filer image
Filer image
Filer image
Filer image

Wrap Up

Filer image


Now you have a fun springtime set of pens and a fun pen holder. You can place this on your desk at home, give them to your Mom for Mother’s Day or put them on a parent’s work desk. Be creative and have fun!

Filer image element 

Want to be a part of ANTIQUES ROADSHOW's 30th anniversary season? The @RoadshowPBS 2025 Production Tour is stopping in Salt Lake City, UT on June 3! Enter to win a pair of free tickets >