


Hi everyone — it's Missy here, artist and blogger at PBS KIDS Utah. Painting is one of my favorite forms of art and I’ve really been enjoying watercolor lately. I know of a fun watercolor technique using plastic wrap. I think it would be useful in creating some beautiful bookmarks. Read on below to see how to make DIY watercolor bookmarks!
Supplies:
- Watercolor paper
- Watercolor paint set with brush
- Water in a cup
- Scissors
- Clear packing tape
- A hole punch
- Ribbon
- Plastic wrap
Instructions:
- Lay your paper flat and paint it with a layer of water.
- Drip some water in a couple colors of paint to get them ready.
- Paint with those colors, at random, on your paper.
- Make sure the page stays nice and wet, add more water if needed.
- Once the page is full of color, lay a sheet of plastic wrap on top.
- Crinkle the plastic wrap to make more paint gather in some places than others. Let it dry completely overnight.
- Cut your paper into strips less than 2 inches wide.
- Choose one of the strips as your bookmark and cover the front and back with packing tape.
- Trim the edges, leaving about ¼ inch of tape on each of the four sides of the bookmark (almost like you are laminating it).
- Use your hole punch to make a hole on one end of the bookmark.
- Cut some ribbon and tie it through the hole.
Wrap-up:
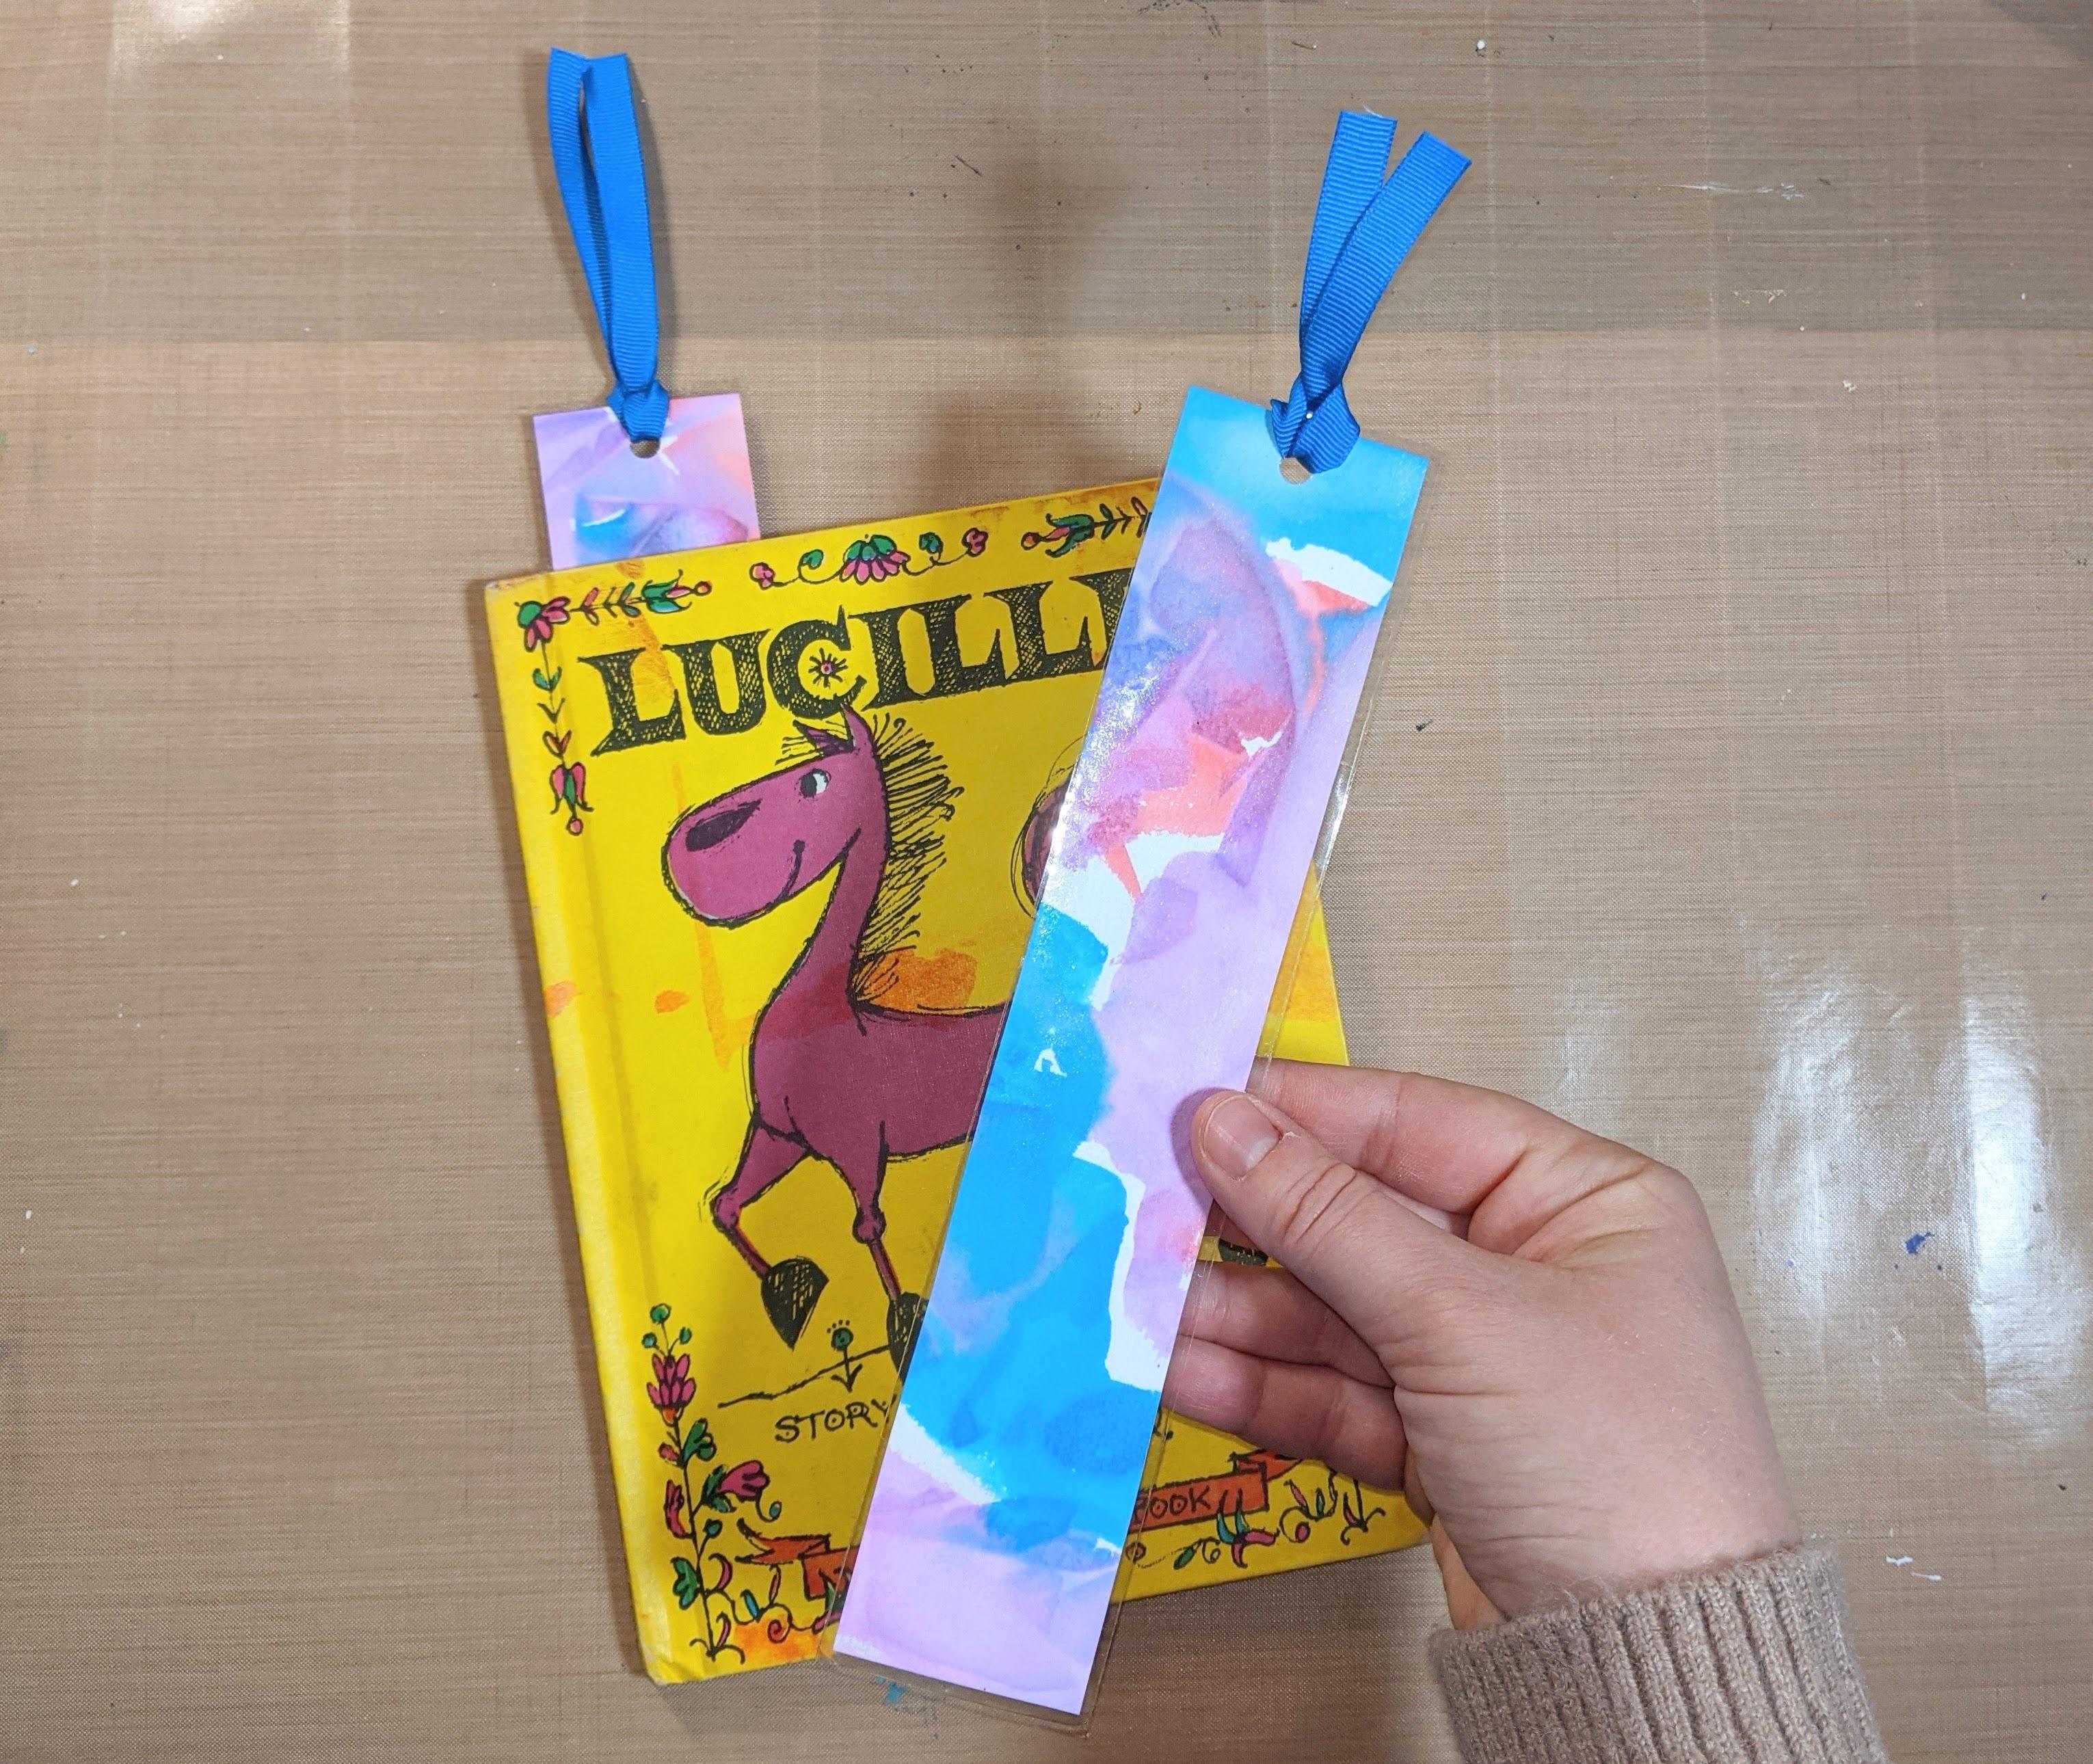
Now you have your very own watercolor bookmark! You can use this to mark your place in the next book you read. Make a few more bookmarks with the other strips of painted paper. You can keep these or give them to your friends and family. Be creative and have fun!
