


Hello hello! My name is Missy. I’m an artist and blogger for PBS KIDS Utah. It’s December! Which means Winter. Which means snow! I love to decorate my windows with paper snowflakes. There are many different styles of paper snowflakes, maybe you’ve made one before. I thought it would be fun to teach you a technique for making 3D paper snowflakes!
Supplies:
- 8 pieces of white or light blue origami paper (copy paper cut into 4 inch squares works too)
- Liquid glue
- Pencil
- Small, pointy scissors
- Binder clips or clothespins
- Thread
Instructions:
- Lay one sheet of paper flat. Fold it in half.
- Fold the paper in half again, hotdog style.
- Fold it one more time, hotdog style.
- Unfold your paper. Refold it back and forth and back and forth along the fold lines. This will create a paper fan.
- Create 7 more paper fans with your other pieces of paper.
- Take one fan, folded up and flattened, and draw some simple shapes on each of the long sides and round off one end. I like to do small Vs, half circles and little square shapes.
- Use your scissors to carefully cut out the shapes. Take your time and go slow.
- Using this first cut fan as a pattern for the rest, trace it on three more fans.
- Now flip the first cut fan over and trace it on the other four fans. (This makes it so half the fan’s cuts line up one way and half the fan’s cuts line up the other way, so they will glue properly). Keep the first four together and the second four together.
- Use your scissors to carefully cut out the shapes on all the fans. Again, take your time and go slow.
- Take one fan from your first four group and glue it to a fan from the second group. Use a very small amount of glue.
- Alternate gluing first group, second group, first group, second group. You are essentially making one giant fan.
- When they are all glued together, use binder clips to hold them tight while they dry for about 5 minutes.
- Take off the binder clips and glue the ends together. Put some glue in the very center as well and let that dry.
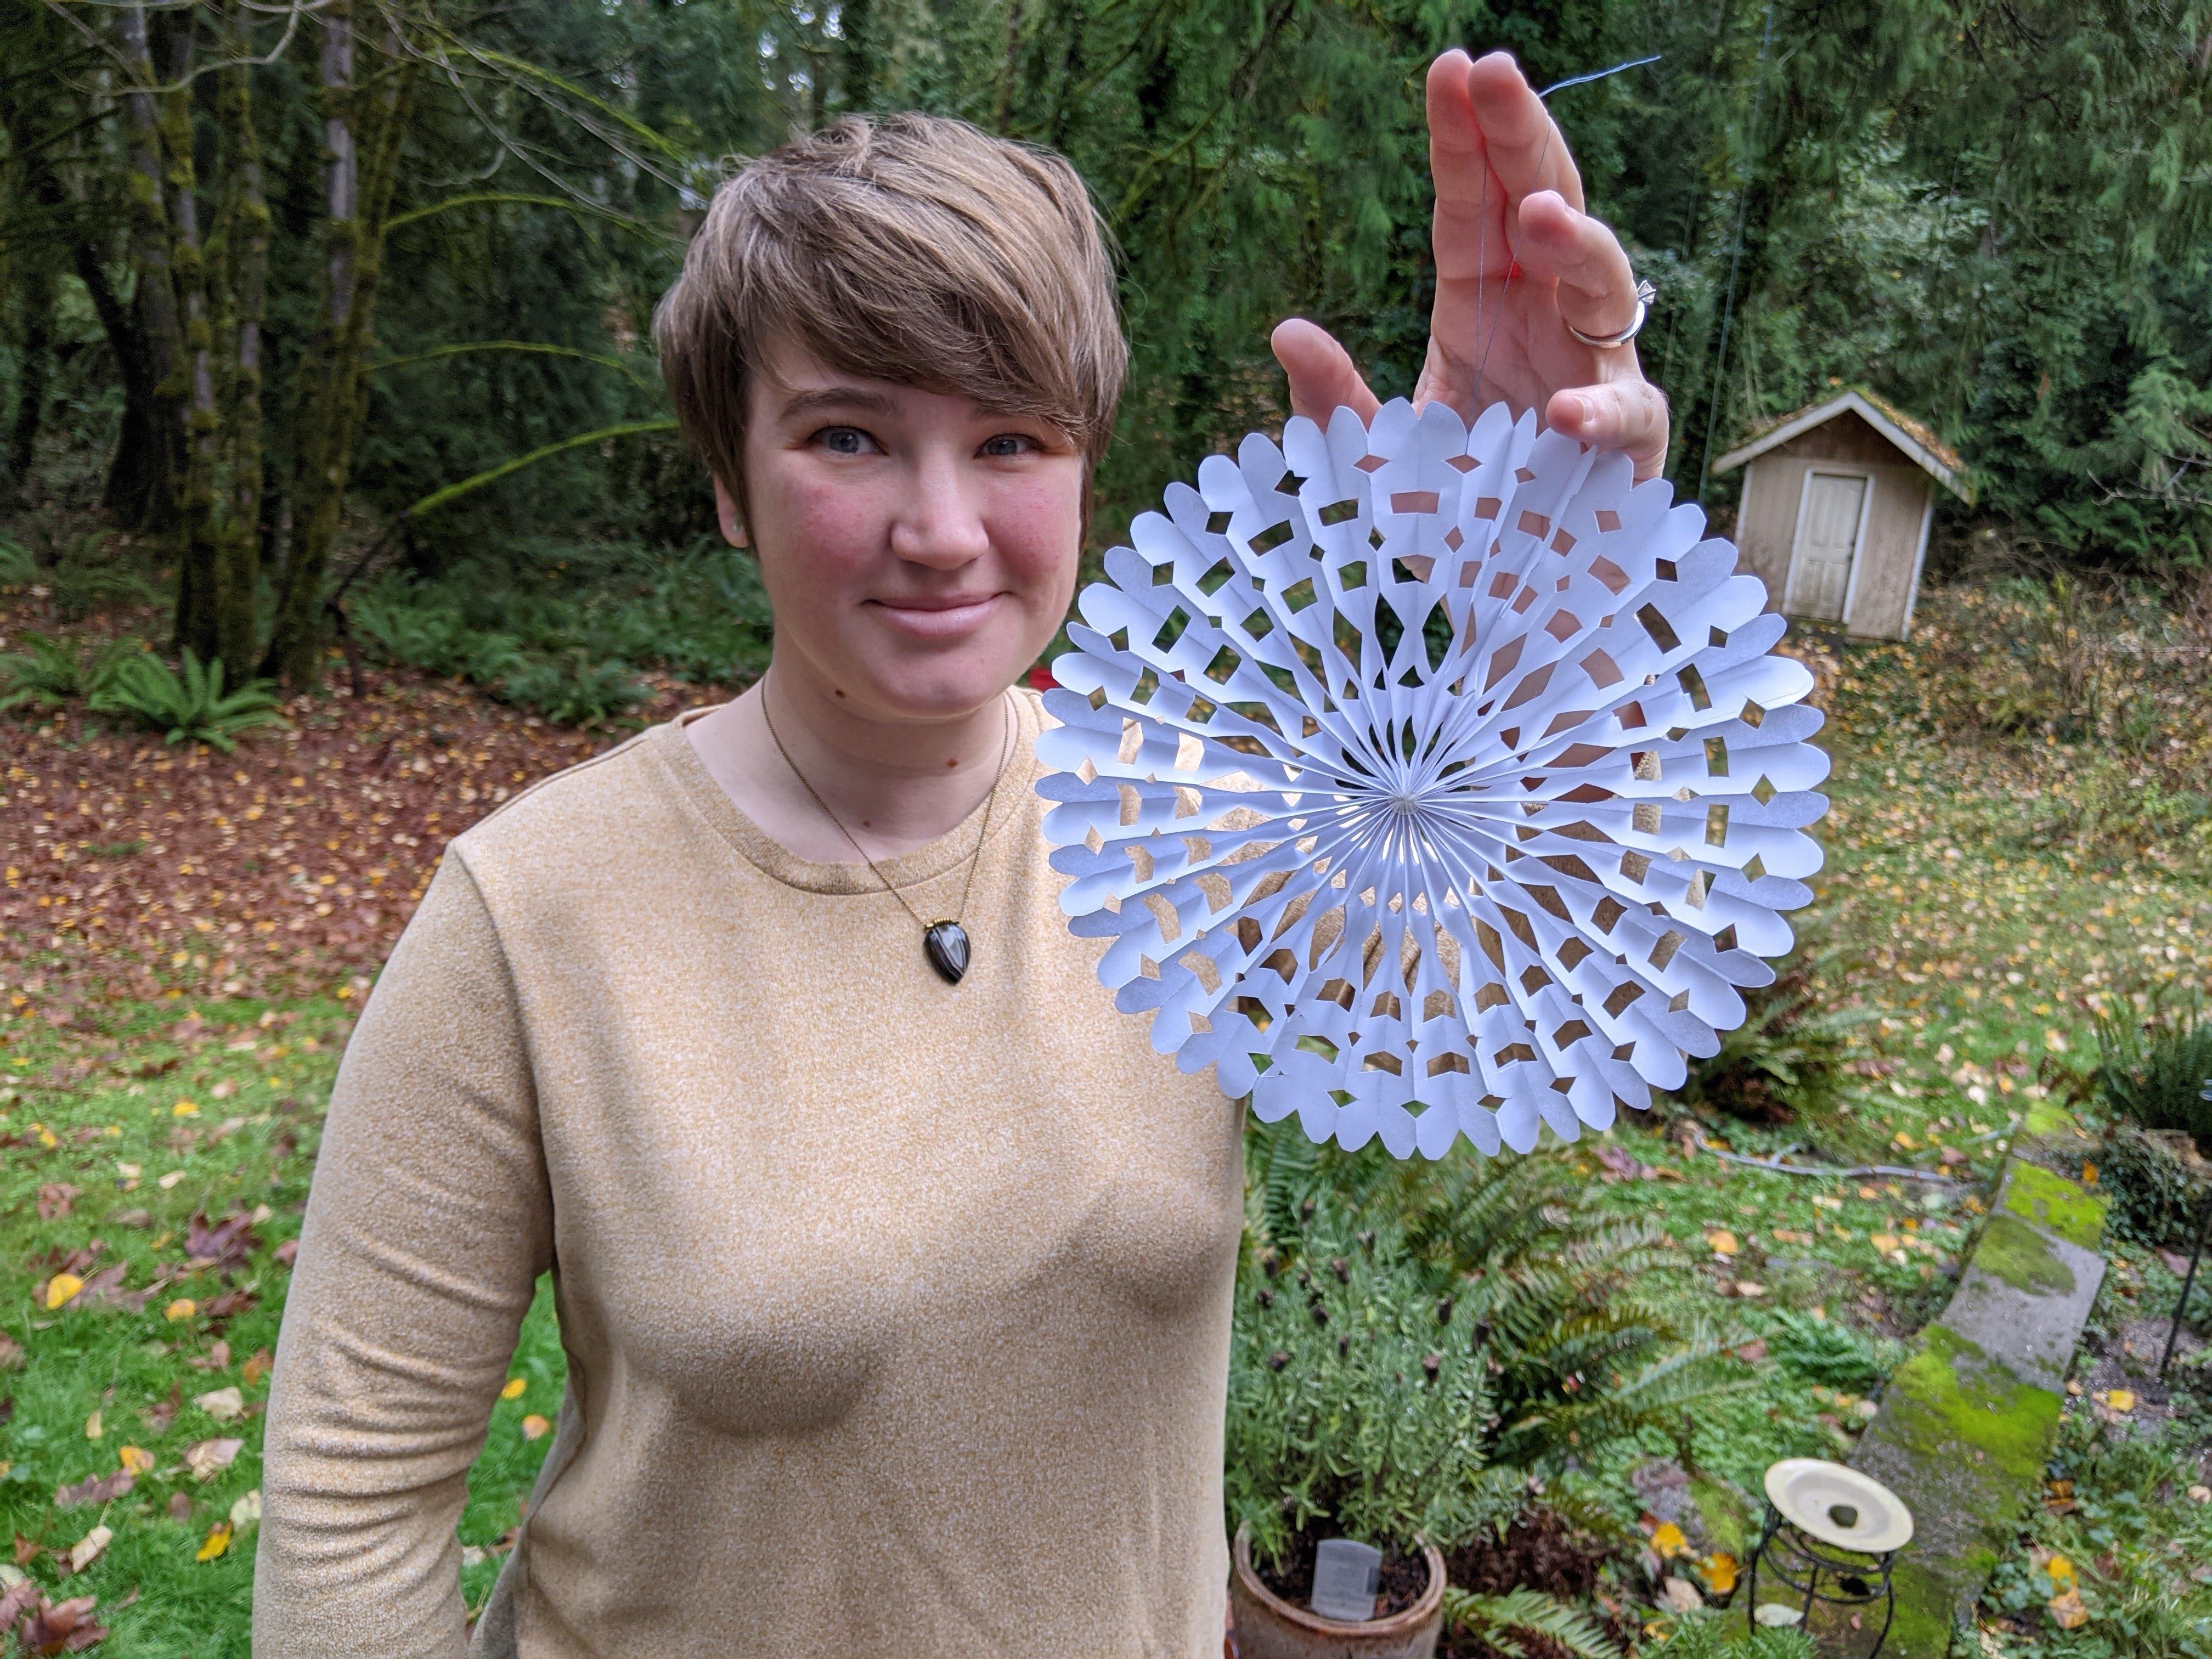
- Now you can tie on a piece of thread and hang your 3D snowflake in the window!
Wrap-up:
This is a project that takes some time and patience. You could also make this snowflake as a family project. You’ll love the results and have some great winter decorations. Be creative and have fun!
.png)