
How to Make Yarn Dolls

Email share
If you have some extra yarn laying around, yarn dolls are an easy and fun craft to do with kids!
Credit: Missy Maxwell

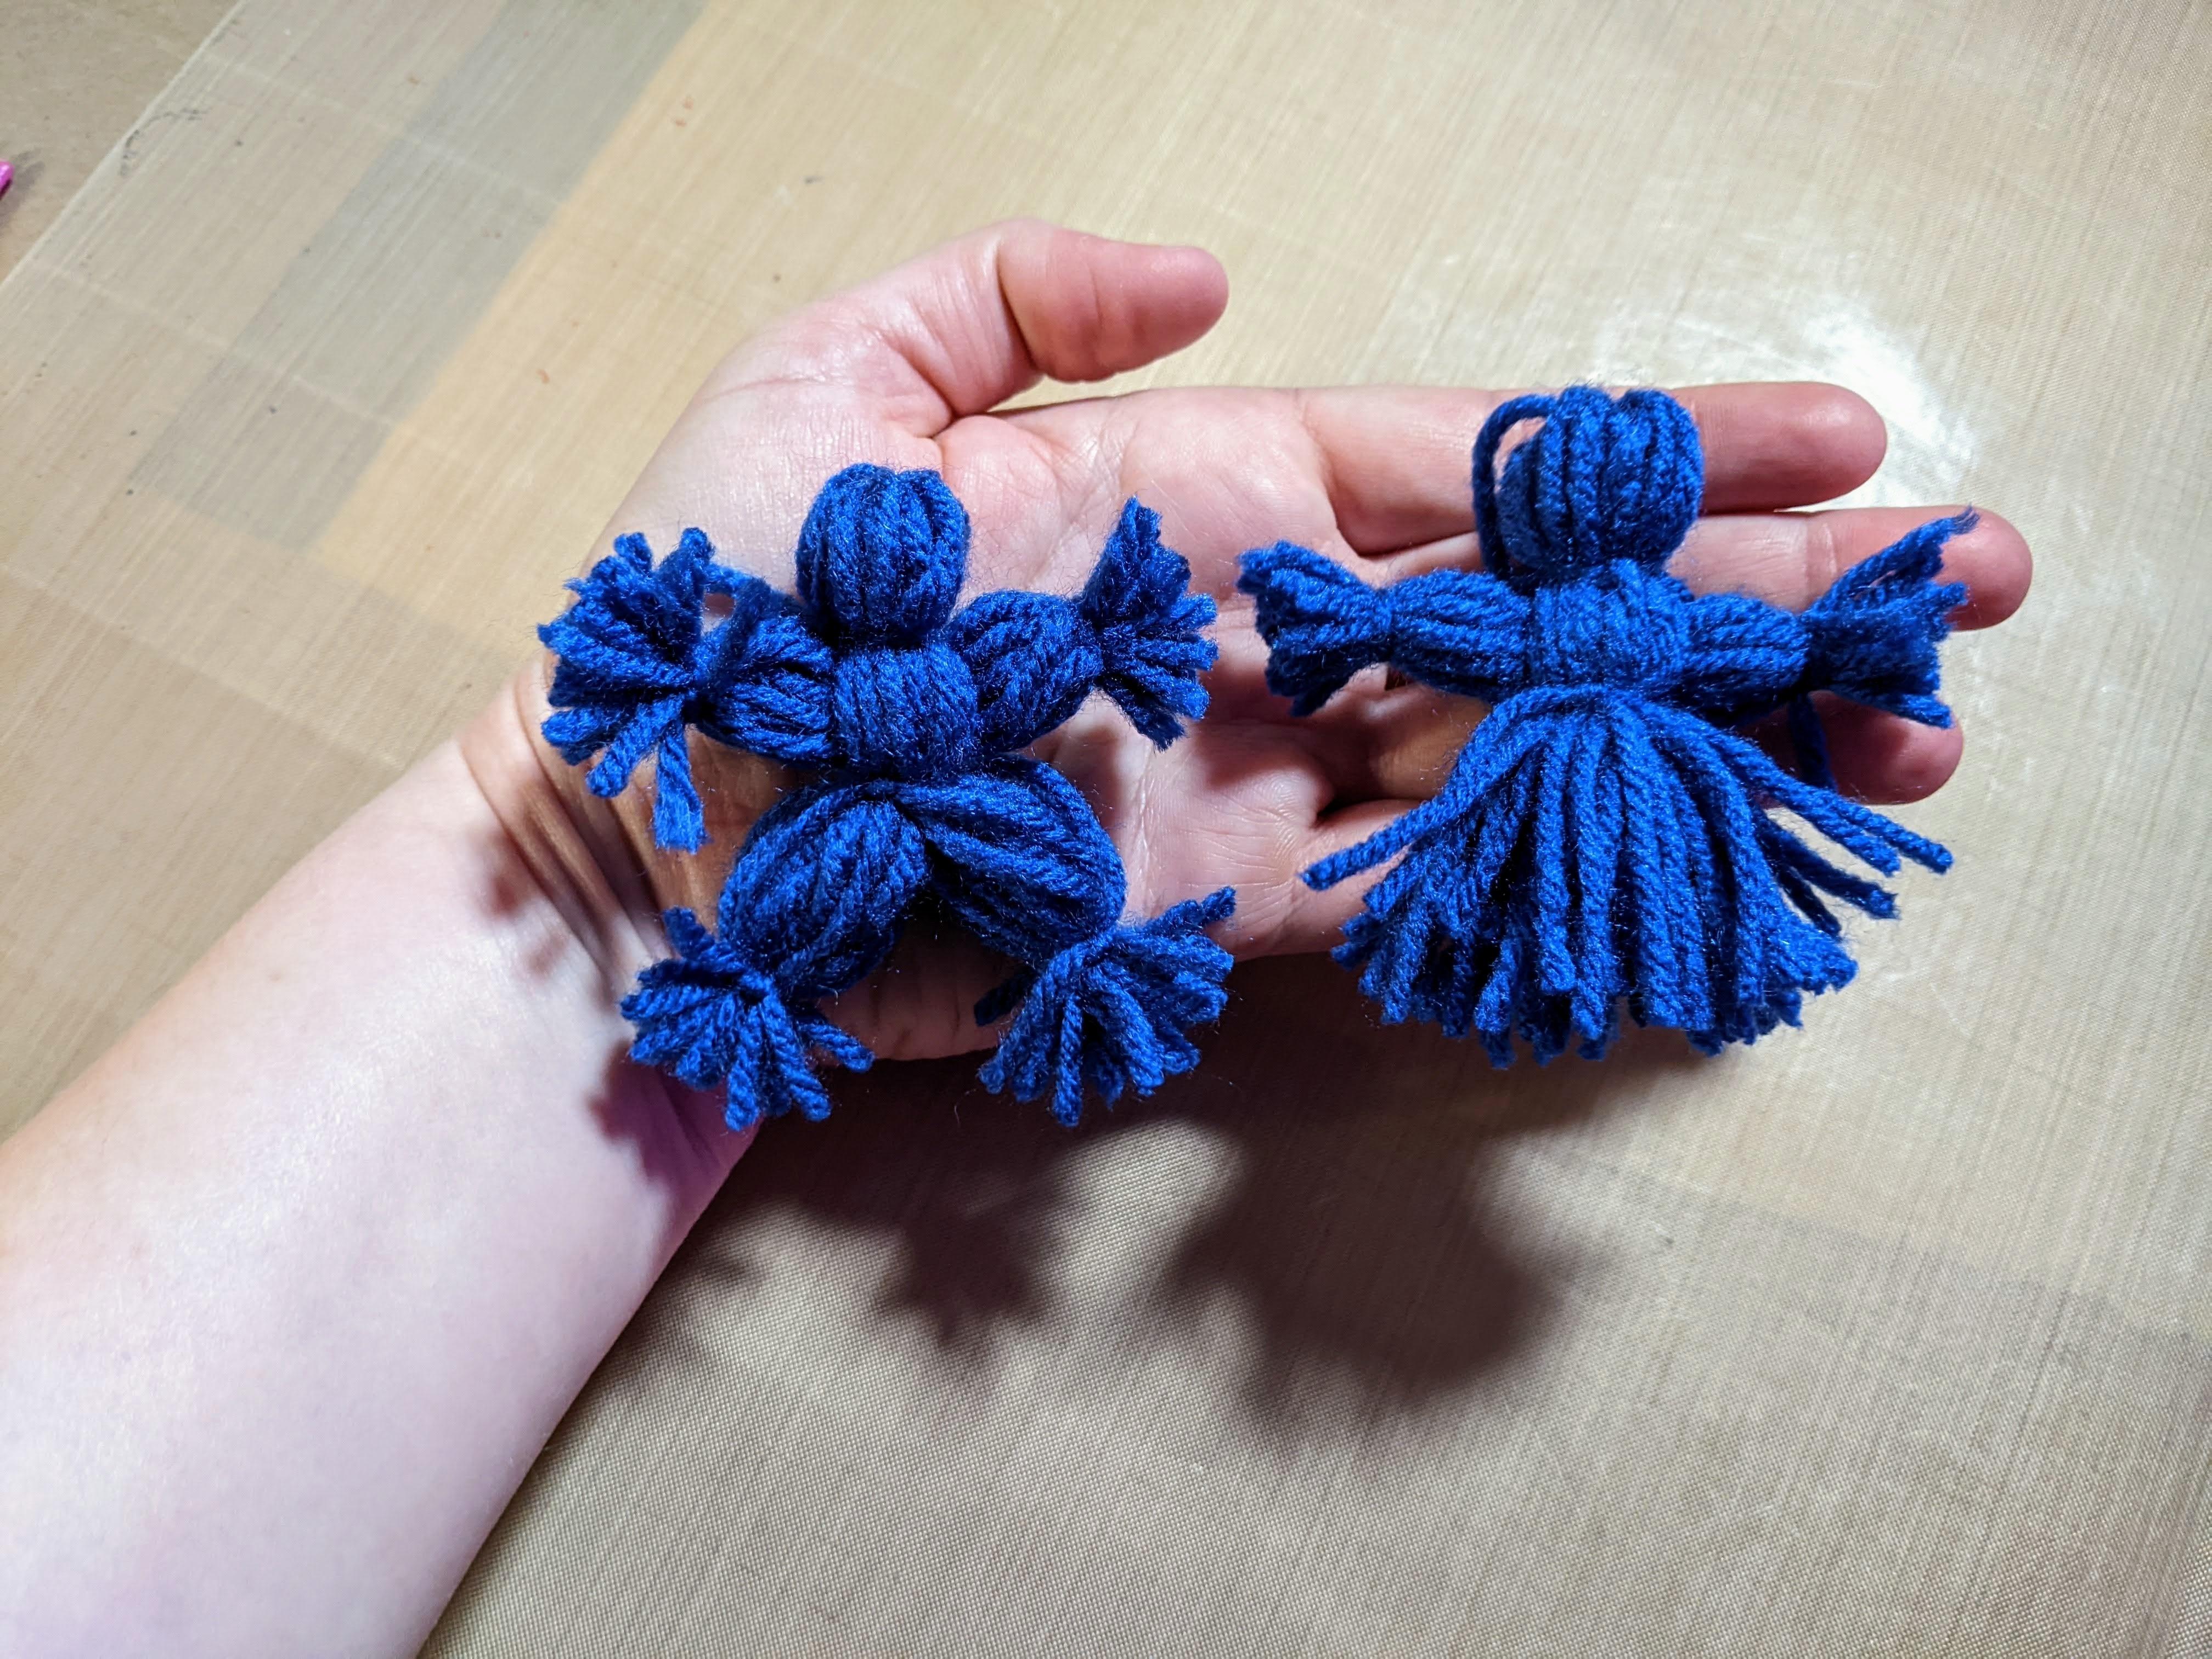
Hey hey! My name is Missy. I’m an artist and a blogger for PBS KIDS Utah. When I was a kid, I lived with my Grandma and Grandpa for a few years. My Grandma taught me how to make many things: a rock collection, clay snakes, dinner rolls, and yarn dolls. I thought it would be fun to teach you how to make the same yarn dolls she taught me to make all those years ago. 
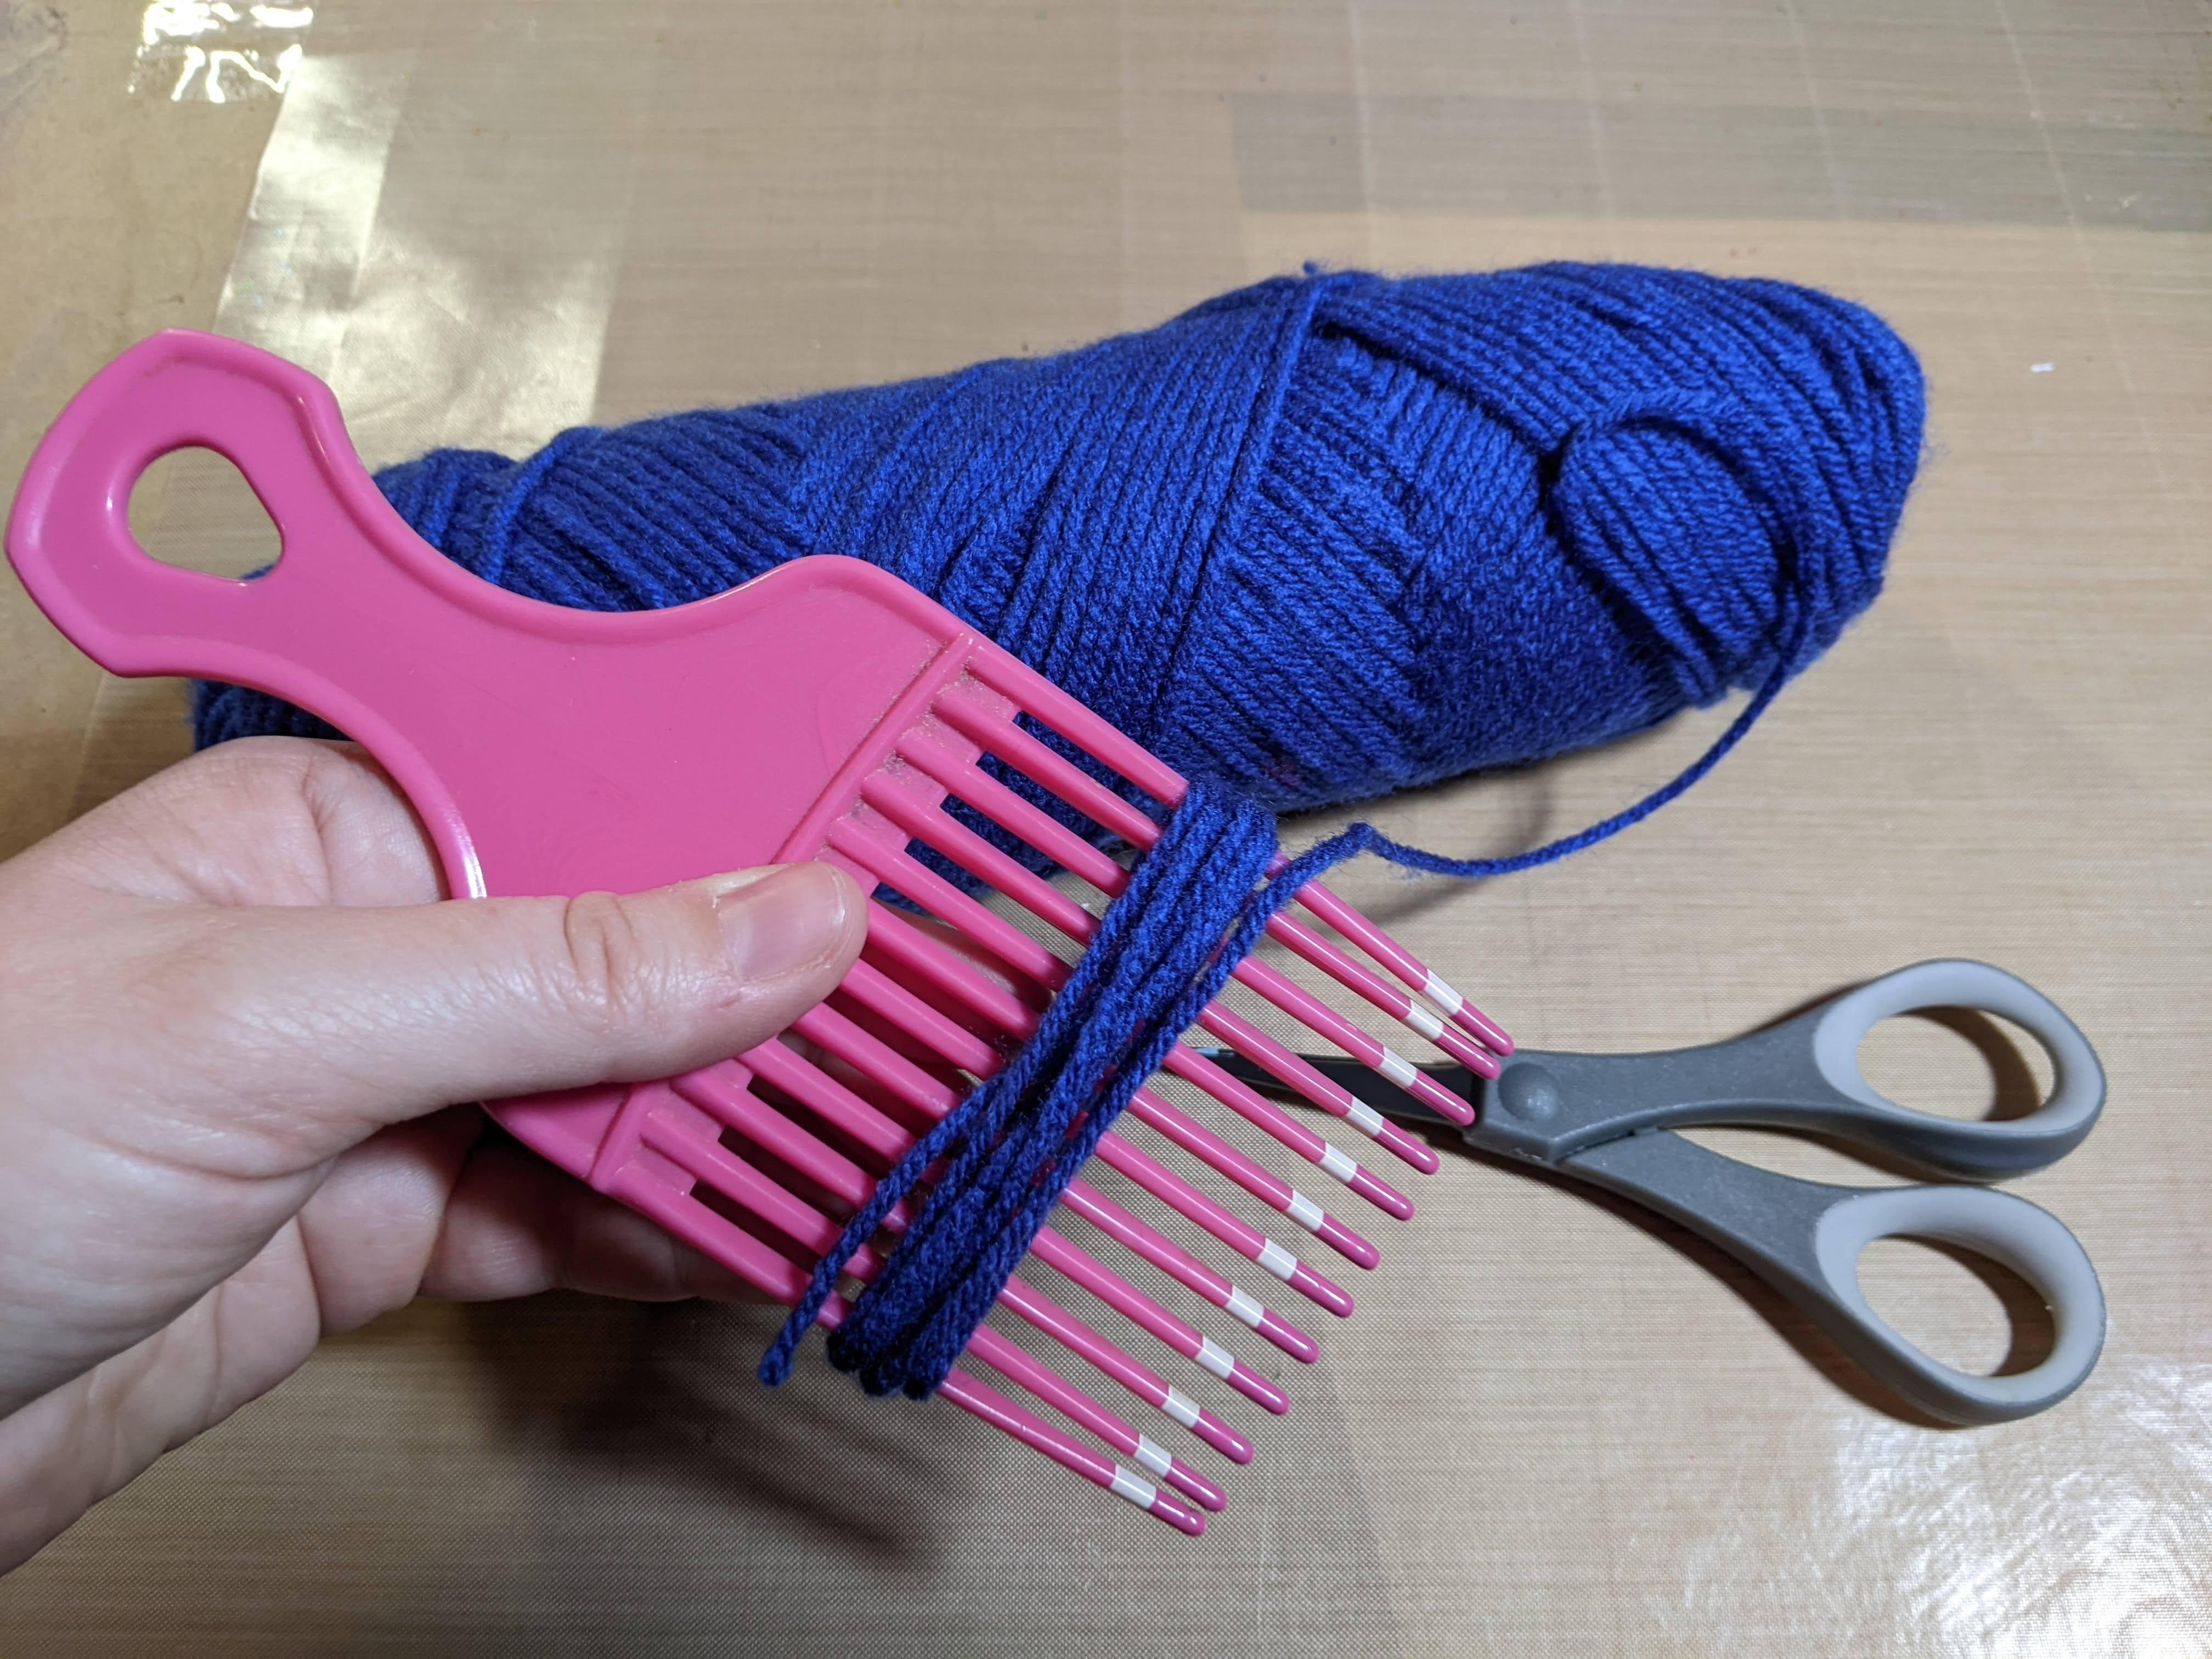
Supplies: Yarn, scissors, and a pick comb or piece of cardboard

Supplies:

  • Yarn
  • Scissors
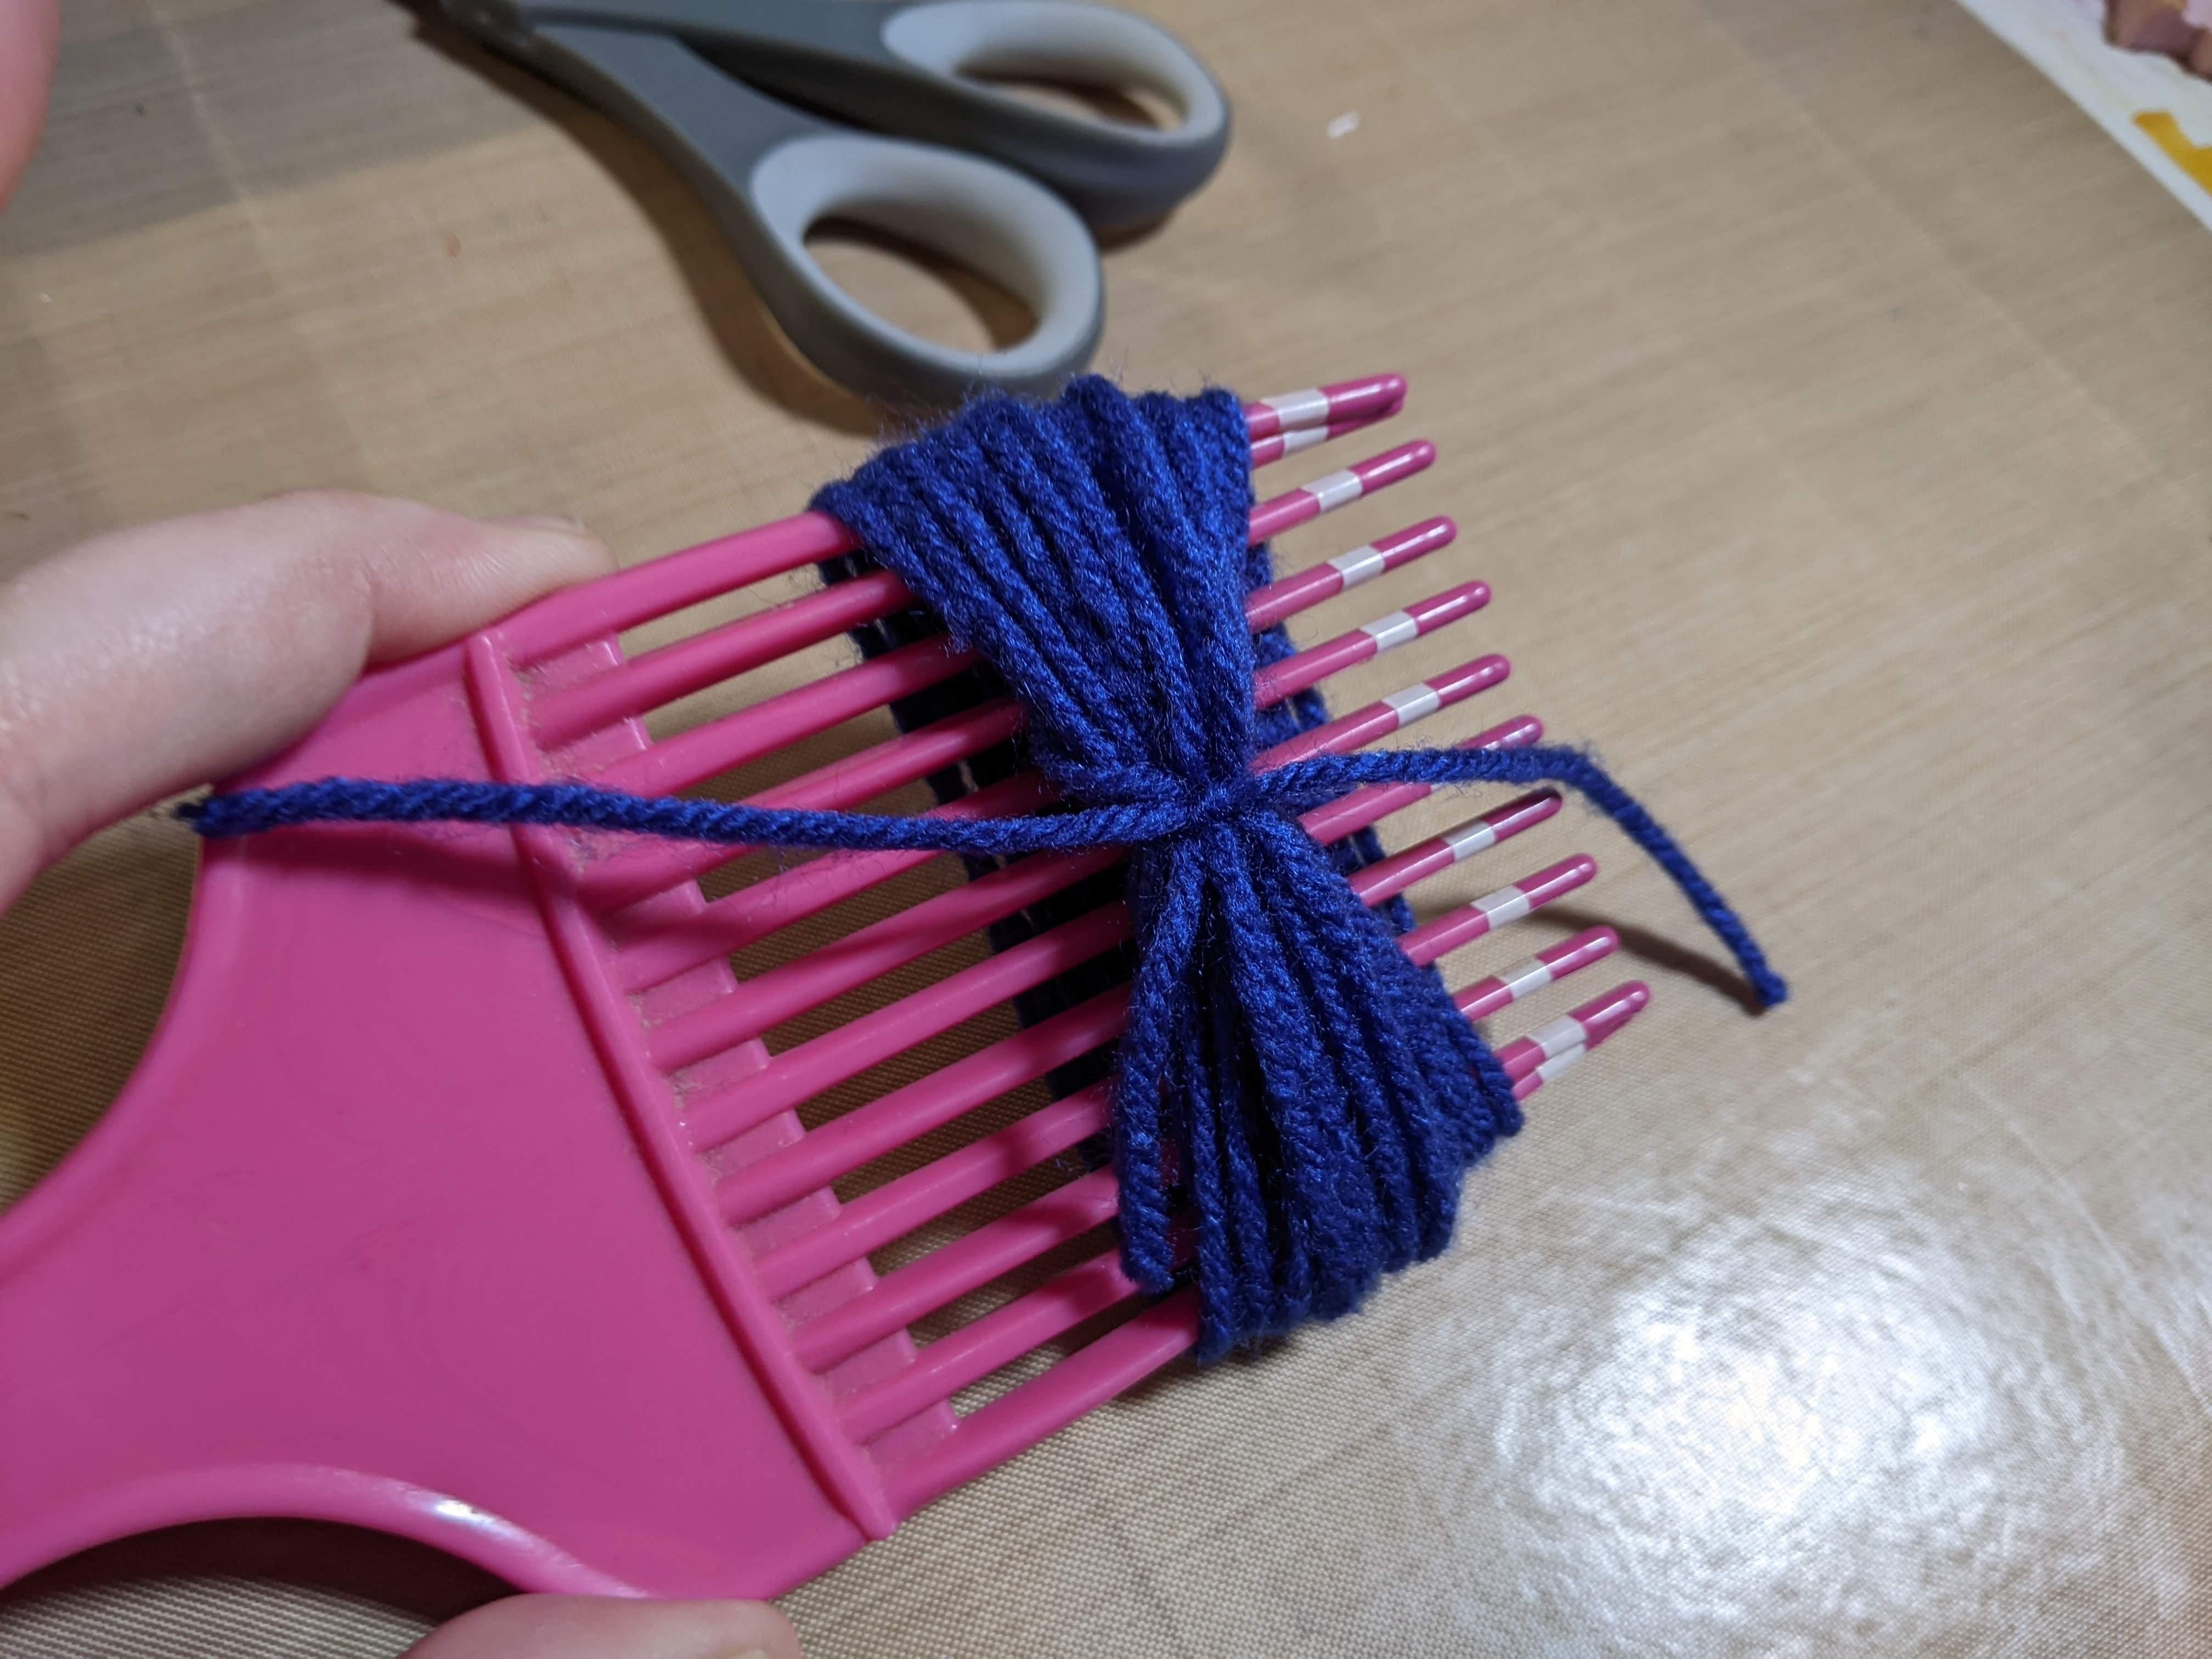
  • A pick comb (or piece of cardboard to hold your yarn)

Instructions:

  1. Wrap the yarn around the pick comb 25 times. Use your scissors to cut the end.
  2. Cut a 5” piece of yarn. String it through the yarn on the front half of the pick comb. Tie it in a tight knot.
  3. Remove the yarn from the pick comb. The tie is the top of the doll’s head.
  4. Cut another 5” piece of yarn. Tie it tightly around all the yarn near the top. This tie creates the doll’s neck.
  5. Now wrap yarn around the pick again, 15 times. Use your scissors to cut the end.
  6. Cut two 5” pieces of yarn. Tightly tie them all the way around near the top and bottom of the pick comb. These ties create the wrists of the doll.
  7. Remove the yarn from the pick comb. This is the arms piece of the doll.
  8. Cut the loops in each end, this will free the fingers.
  9. Feed the arms piece through, just under the neck tie.
  10. Secure the arms piece underneath it with another 5” piece of yarn tied around the whole thing. This tie will create the doll’s waist.
  11. If you want the doll to wear a dress, use your scissors to cut the loops of yarn at the bottom.
  12. If you want the doll to wear pants, cut two more 5” pieces of yarn. Separate the yarn under the waist into two parts. These will be the legs.
  13. Tie a 5” piece of yarn around each leg near the bottom. The ties will be the ankles.
  14. Cut the very bottom loops to release the toes.
  15. Trim all the loose and long ends to even it up.


Wrap-Up:

Now you have a yarn doll, or two, to play with! You can name your yarn doll. You can add hair and a face with other crafting supplies or leave it as is. Make a doll in every color of the rainbow! Be creative and have fun!

Filer image element 

Want to be a part of ANTIQUES ROADSHOW's 30th anniversary season? The @RoadshowPBS 2025 Production Tour is stopping in Salt Lake City, UT on June 3! Enter to win a pair of free tickets >