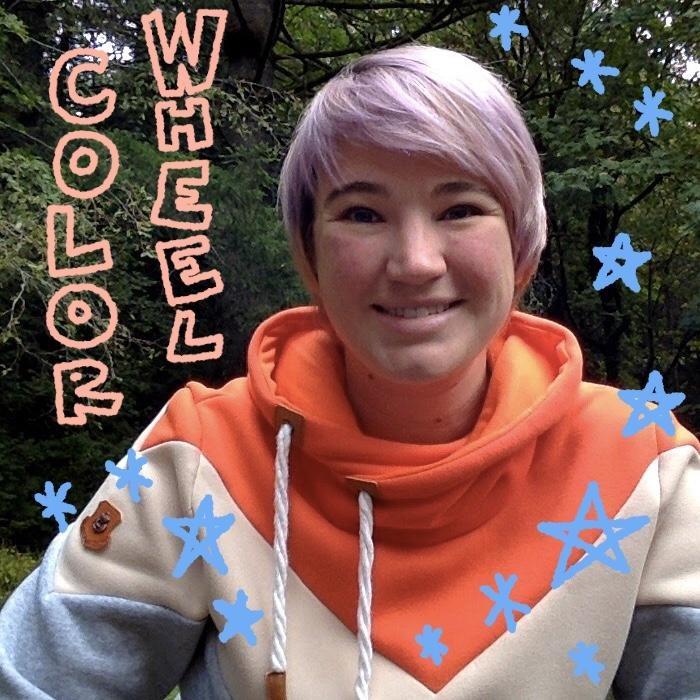
Hi everyone! My name is Missy. I’m an artist and blogger here at PBS KIDS Utah. This week we are focusing on one of my favorite things: COLOR! If you’re anything like me, you have a favorite color. But then that favorite color changes, and then it changes again, and then it changes again. And you just can’t decide which one is the best because they are all so good! We are going to learn about how colors work together by creating our own color wheel flower.
A color wheel is a way of displaying all the colors of the rainbow in a way that can help us learn how they combine to create colors and which colors work well together. In a basic color wheel, red is at the top and is a primary color. Yellow and blue are also primary colors. A primary color is one of these three, and they combine in different ways to create the other three. The other three, orange, green and violet (purple) are called secondary colors. So if you took some red paint and some yellow paint and mixed them together, that combination creates orange. So on the color wheel, going clockwise from red, orange comes next. It sits between red and yellow signifying it was created by mixing those two colors. If you took yellow and blue paint and mixed them together, green would be the outcome. So after yellow, comes green, then blue; again showing us that if you mix yellow and blue, you get green. After blue on the color wheel, we get violet (purple). It sits between blue and red back up at the top. So what do you think that means? Yep! If you mixed blue and red paint, you’d get violet (purple).
Now that we know the order of the colors and how they are set up on the color wheel, let’s make a color wheel collage!
Supplies:
- Printed PDF flower pattern
- Magazines (or old books, calendars, catalogs, etc)
- A black marker
Instructions:
- Look through magazines and rip out small pieces of red. They can be light or dark, patterned or not. Rip out 10-20 pieces.
- Repeat for orange, yellow (B on Diagram), green, blue and violet (purple). Keep them organized by color (C on Diagram).
- Take all your red pieces and line them up, lightest to darkest. If you squint your eyes, that can help you. The lightest pieces of red are called “tints” and the darkest pieces are called “shades.” The ones in the middle are the “pure color” (D on Diagram, shown with blue).
- On the petal labeled “red”, place the shades of red closest to the center of the flower. Pure color goes in the middle, and tints go on the outer edge of the petal (E on Diagram).
- Now glue all the red pieces down.
- If your pieces overlap the edge of the petal and you don’t like how that looks, you can go over it with a black marker. This will “clean up” your edges (F on Diagram).
- Repeat steps 3-6 with each color.
Wrap-Up:
Now you have a beautiful collage color wheel. It’s a stunning piece of art and a learning tool. Color is such an interesting thing to learn about. It’s a big part of our lives. When you see color out in the world, try to remember the color wheel. If you see a tree with orange leaves, what two colors were combined to create that color? If you see a blue sky, is that a primary color or a secondary color? Be creative and have fun!


.png)