Introducing the Seed Library at the Salt Lake City Public Library

What is a Seed Library, how do they work and why is having a free Seed Library so important for gardeners and communities? 

Filer image


Canning Tomatoes for Beginners

Email share
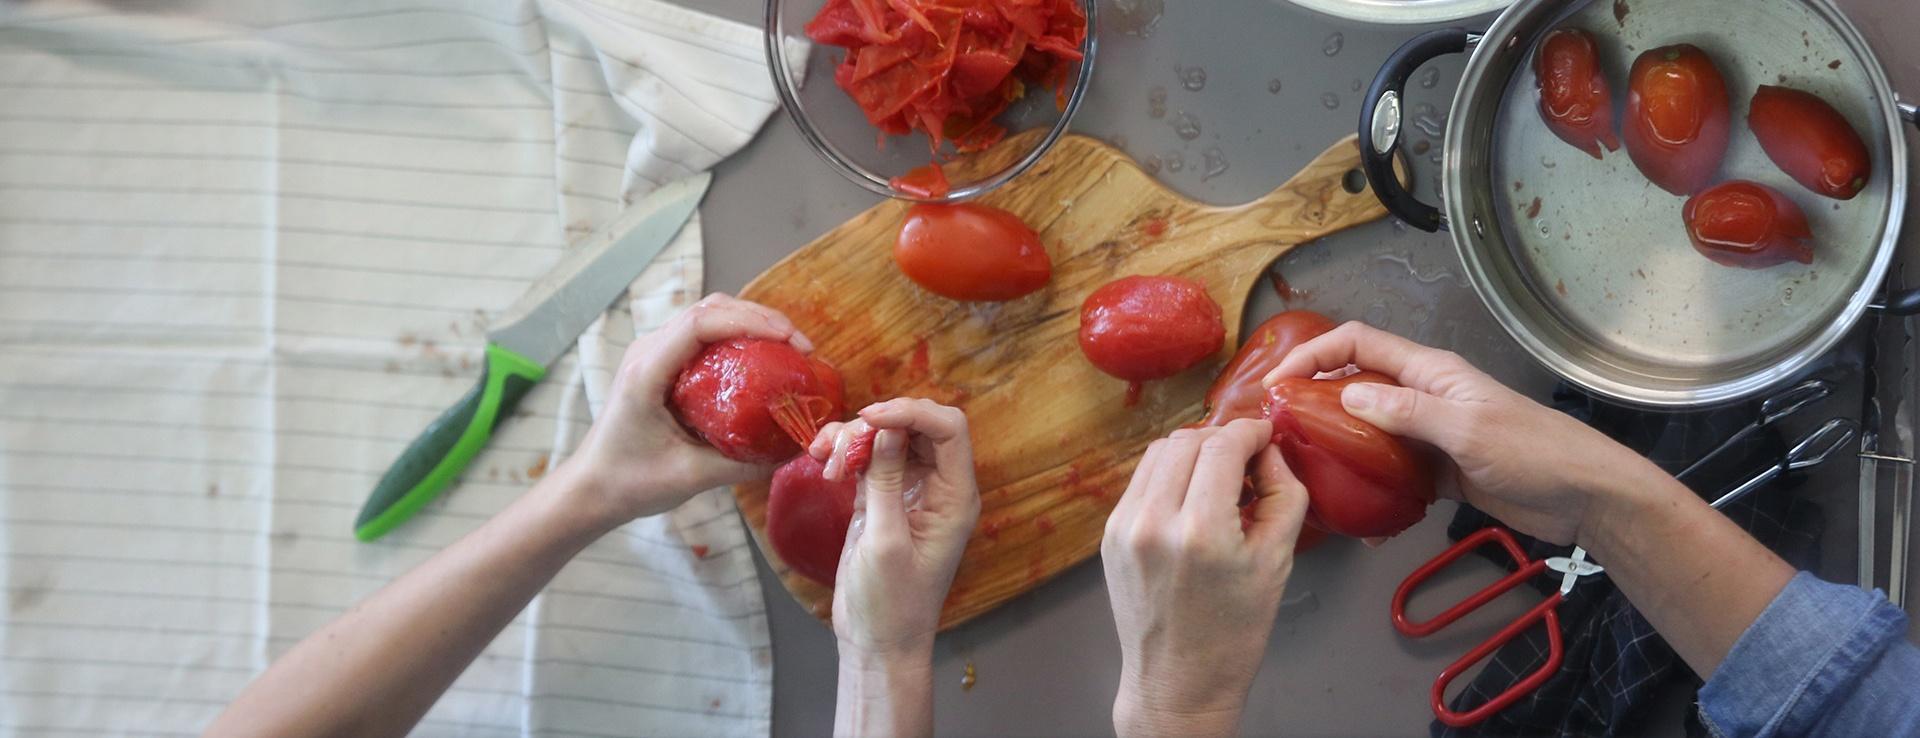
Preparing Salvaterra Select and Red Pear Abruzzese tomatoes for canning by removing the skins.

We’ve all seen gardeners’ prized harvest photos on social media, usually a kitchen table or counter top overflowing with harvest bounty. What do you do with all the tomatoes you’ve spent all season growing to perfection? Canning is a sure answer. By canning your tomatoes you can enjoy them throughout the winter months with your favorite stews, soups, steaming casseroles, or marinara recipe.  We met with canning expert and teacher Cindy Jenkins to walk us through the step-by-step process of canning tomatoes using the water bath method. 

In this blog post we’ll show you:

  • What tools you’ll need for canning tomatoes
  • Which tomato types are best suited for canning
  • How to prepare and peel your tomatoes for canning
  • Steps to take to fill your jars
  • How to properly seal your tomato jars, and best storing practices. 


Cindy also shares with us some important caning tips and noteworthy canning tricks along the way. 

Enjoy Your Tomatoes All Year!

It’s harvest season and suddenly it feels like everything is coming on at once. Trying to figure out what to do with all your produce without letting it go to waste can feel a bit overwhelming. Canning your tomatoes is a sure way to get the most out of your harvest and enjoy your tomatoes all year long. We met with canning expert Cindy Jenkins in Orem, Utah.  She's an Assistant Professor of Home and Community at Utah State University Extension and showed us how to properly can tomatoes.
What You’ll Need to Can Tomatoes

You don’t need many tools for canning tomatoes, but you will need time. It’s a long process. Depending on how many tomatoes you’re canning, be prepared to spend the better half of a day, even if canning just a small batch. 

Most of what you’ll need for canning tomatoes you can find at your local grocery store. You can even buy a canning kit that will have most of the tools you’ll use during the process. 

  • Tomatoes! See recommended tomato types below.
  • Water bath canner with a lid, and a rack
  • Glass preserving jars, lids, and bands (TIP: You can reuse bands but you’ll always want to use new lids! If you try and reuse lids that have already been used you’re less likely to get a proper seal.)
  • Jar lifter
  • Canning funnel 
  • Headspace tool and bubble freer
  • Magnetic lid lifter (This tool is used to place lids on jars without touching the lids, we didn’t use one in our demo but just placed the lids on the jars with our fingers.)
  • Ascorbic acid or bottled lemon juice. This helps preserve the tomatoes (In our demo Cindy used vitamin C tablets that she crushed with the back of a spoon into a powder.).


TIP: If using lemon juice, Cindy recommends always using bottled lemon juice from the grocery store as opposed to fresh squeezed. Bottled lemon juice has a consistent pH whereas fresh squeezed lemon juice may not be consistent in acidity and can result in spoiling, discoloration of tomatoes or shorter shelf life.

So now that we’ve gone over all that you’ll need, let’s dive into getting our hands messy with canning tomatoes! 

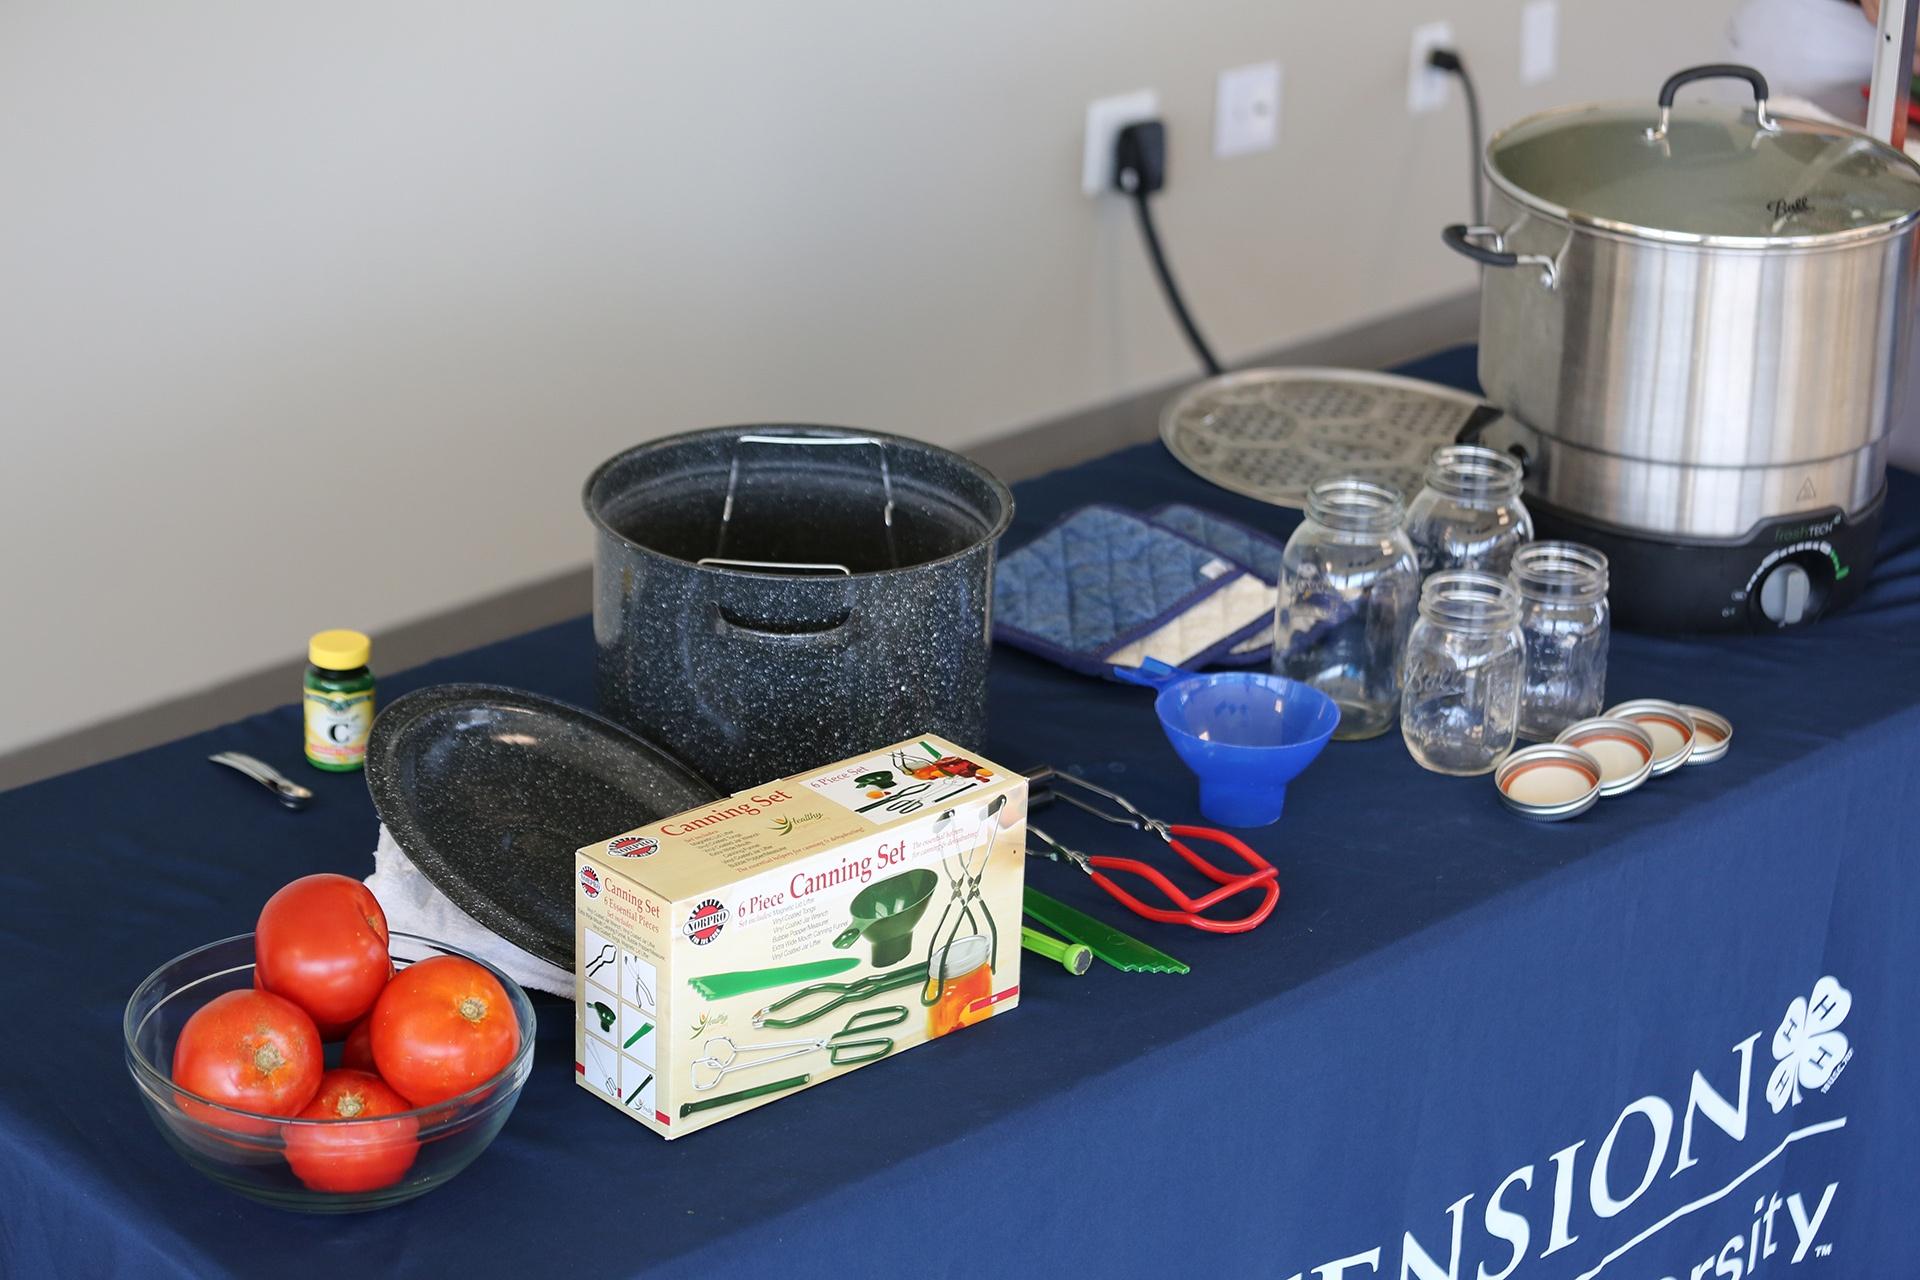
Photo of suggested equipment needed for canning tomatoes.
Items (clockwise from back row): Ascorbic acid for canning tomatoes, common stove top water bath canner with rack and lid,  hot pads, electric canner shelf (for canning lower and upper layers of smaller jars), electric canner with timer, quart and pint sized jars with lids, funnel, jar lifter, headspace tool, lid lifter, canning kit, bowl of Celebrity tomatoes. 

What’s the Best Tomato to Can? 

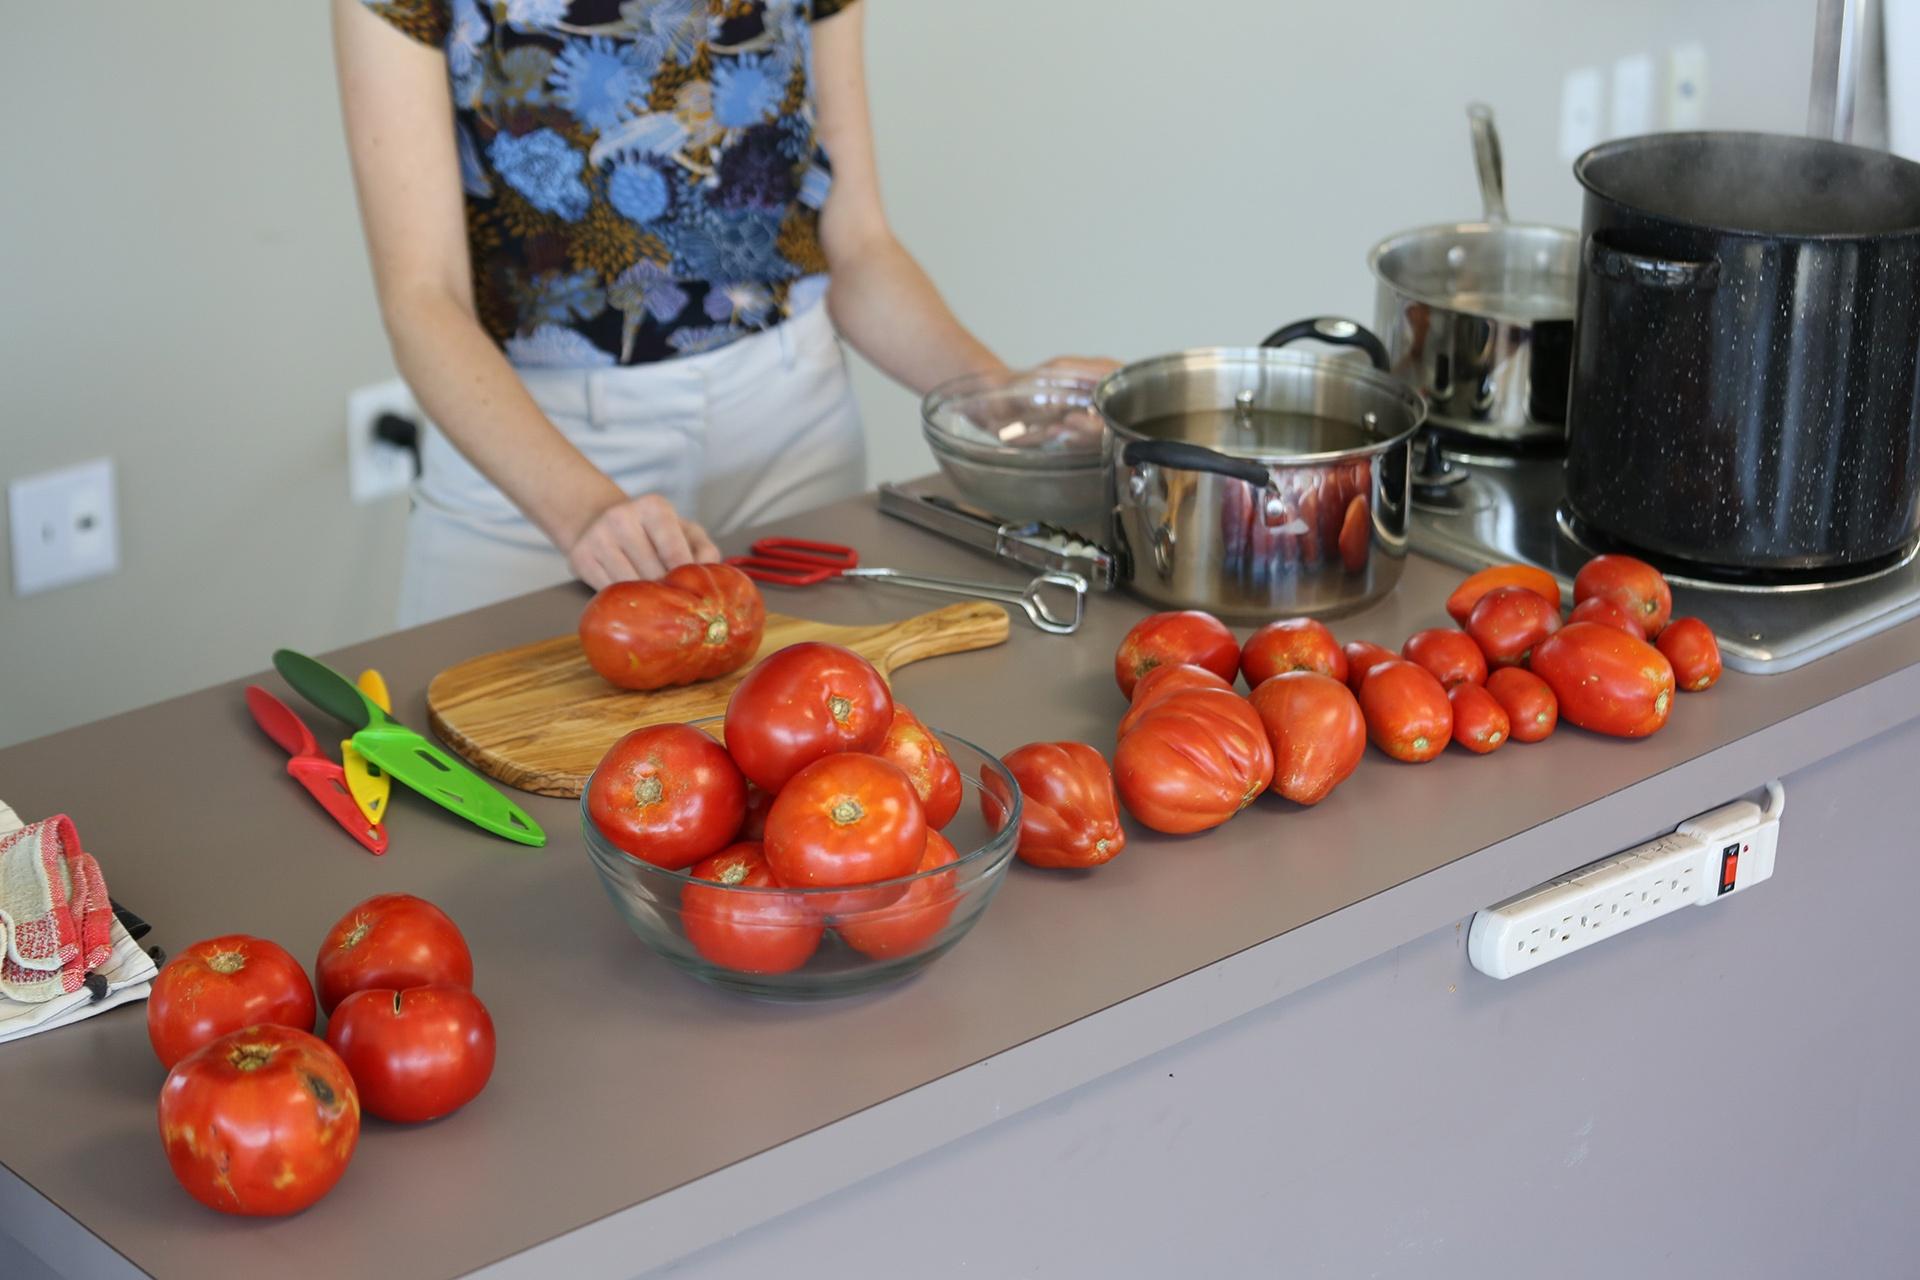
Image of beautiful tomatoes, of many different varieties, on the counter before canning preparation.
Tomato varieties (left to right): Celebrity tomato (examples of bad parts), Celebrity (in glass bowl), Red Pear Abruzzese, and Salvaterra Select. 

You can use any tomatoes for canning, and there are hundreds of different types of tomatoes. A good rule of thumb is to start by thinking of some of your favorite cold season dishes you enjoy that call for a can of diced tomatoes: soups, stews, sauces, casseroles, a traditional lasagna, or salsa.

Many avid tomato canners, such as our canning expert, Cindy Jenkins, prefer canning paste type tomatoes because they are more meaty than other types of tomatoes which may be more watery. As Cindy said, “with paste tomatoes you get more bang for your buck.” 

You want ripe, firm fruits that are free of any bruising or rotten parts. For safety reasons, Cindy recommends not using any tomatoes that have been bruised or are cracked. You may think you could just cut that part off and use the rest of the tomato, but there could be mold throughout the tomato that isn’t isolated to just the part you can see. 

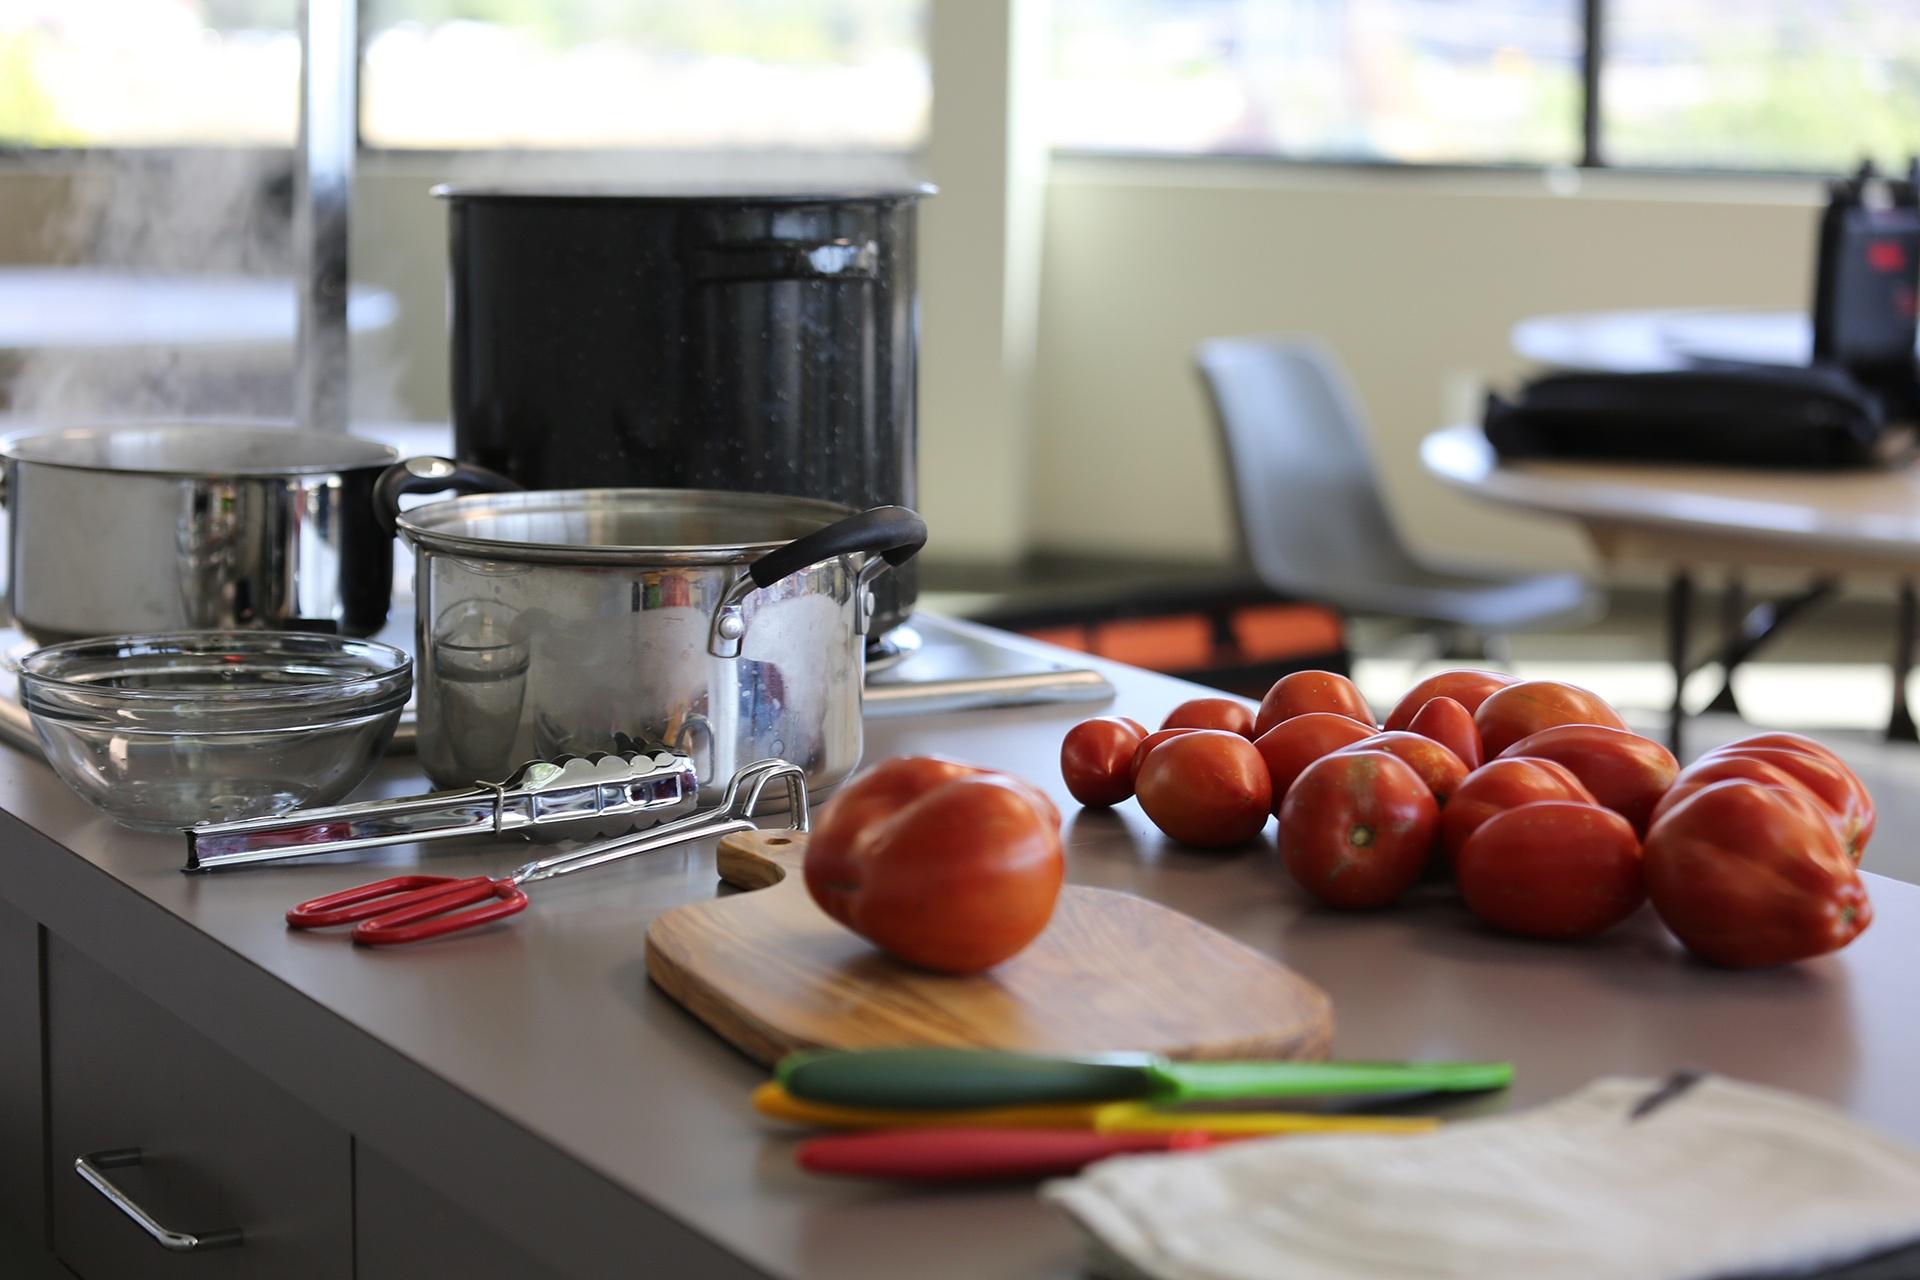
Set up for preparing tomatoes for canning with a large pot of boiling water for sanitizing jars, a pot of boiling water for blanching tomatoes, as well as an ice bath.

Preparing Your Tomatoes

Scoring, Blanching, and Removing Skins
 

To prepare your tomatoes for canning you’ll first need to remove the skins. Here’s a list of what you’ll need for the blanching and peeling part of the process.

  • Large pot for boiling water
  • Large bowl for ice bath
  • Large bowl for tomatoes
  • Tongs for lifting tomatoes
  • Sharp paring knife
  • Cutting board


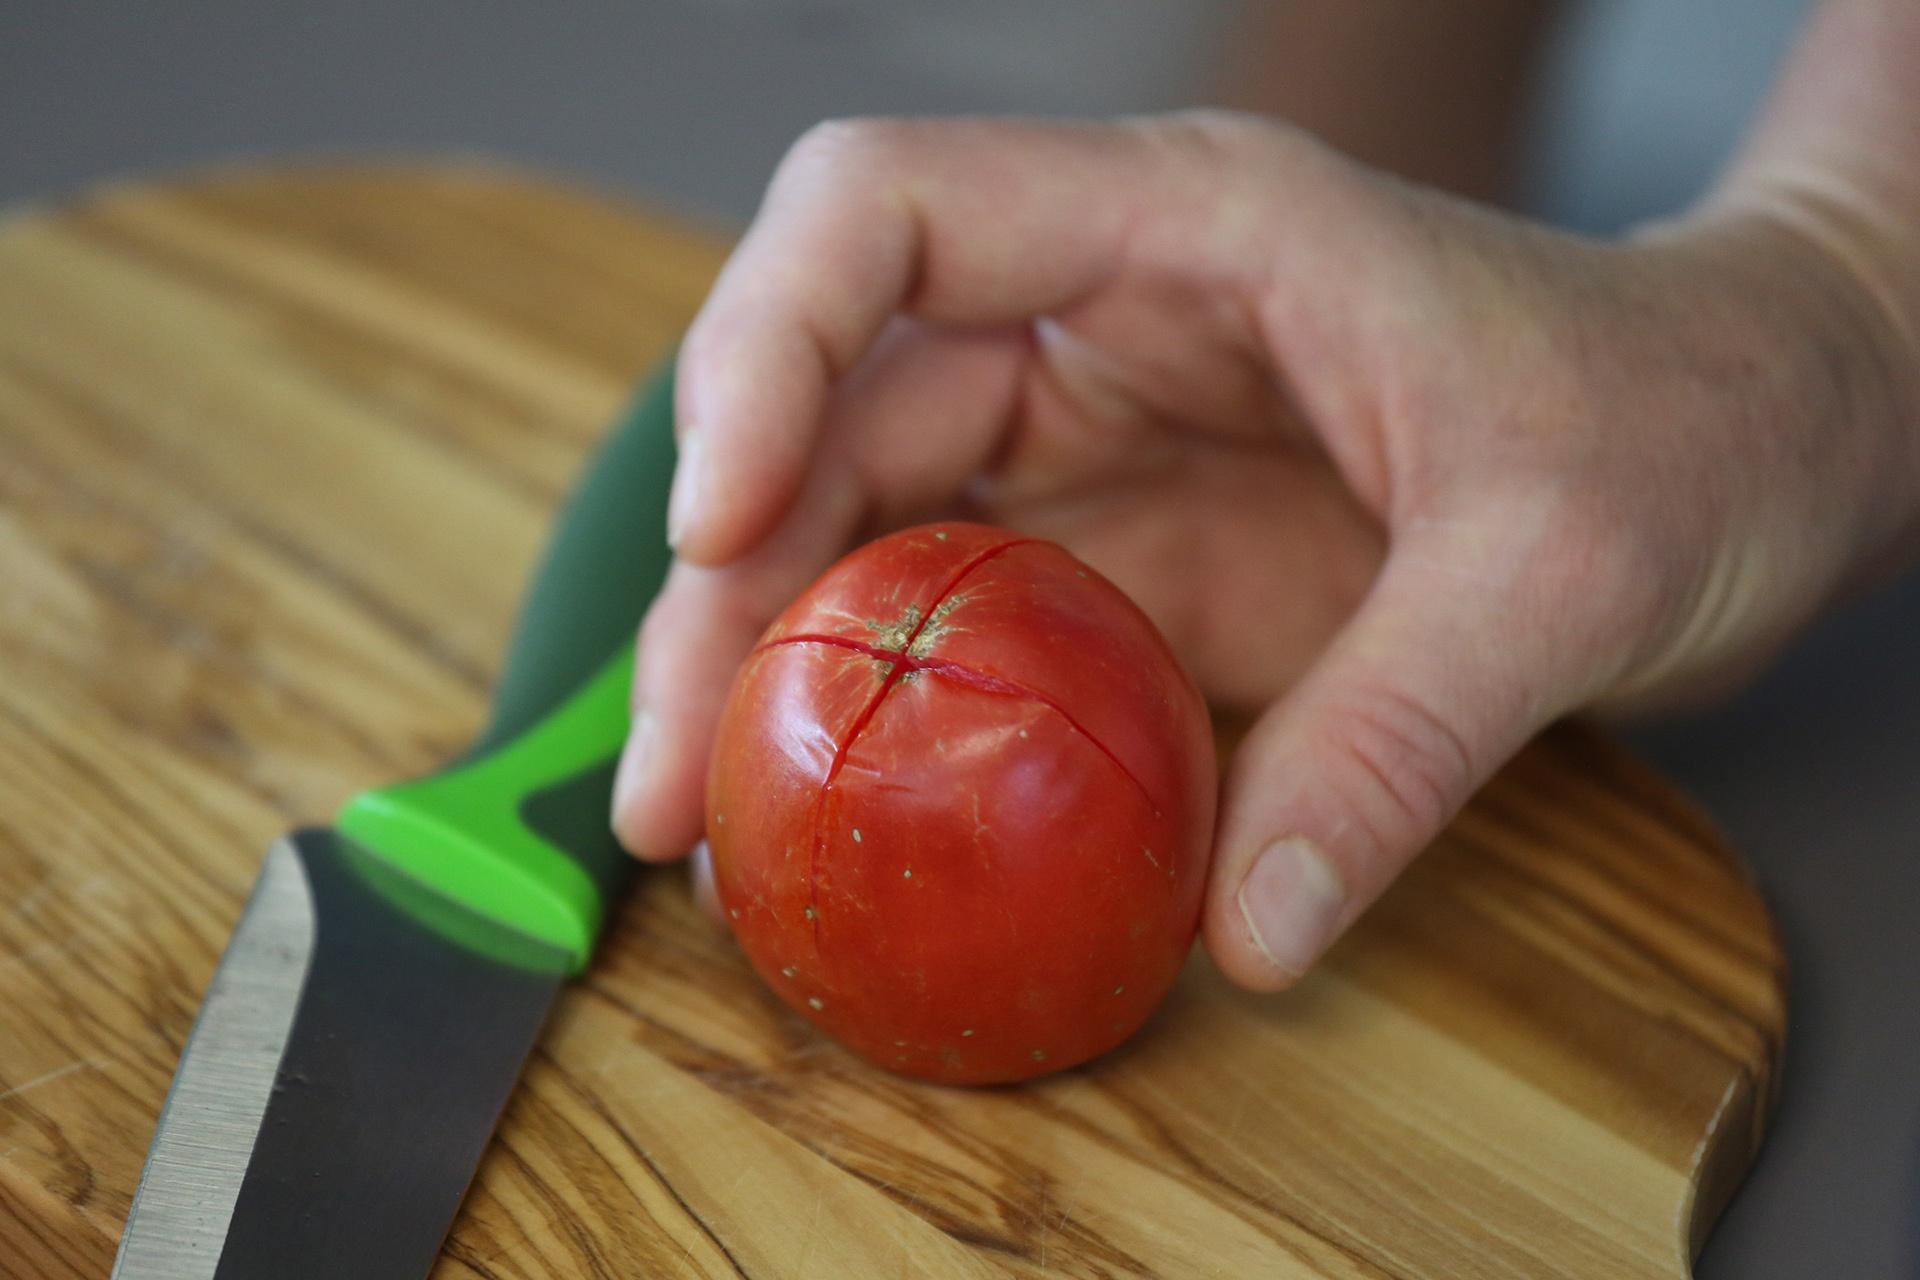
Start by scoring your tomatoes by cutting an “x” on the bottom. You don’t have to score your tomatoes, but Cindy says it makes it easier to remove the skins.

Bottom of Salvaterra Select tomato scored.
Photo: Bottom of Salvaterra Select tomato scored.

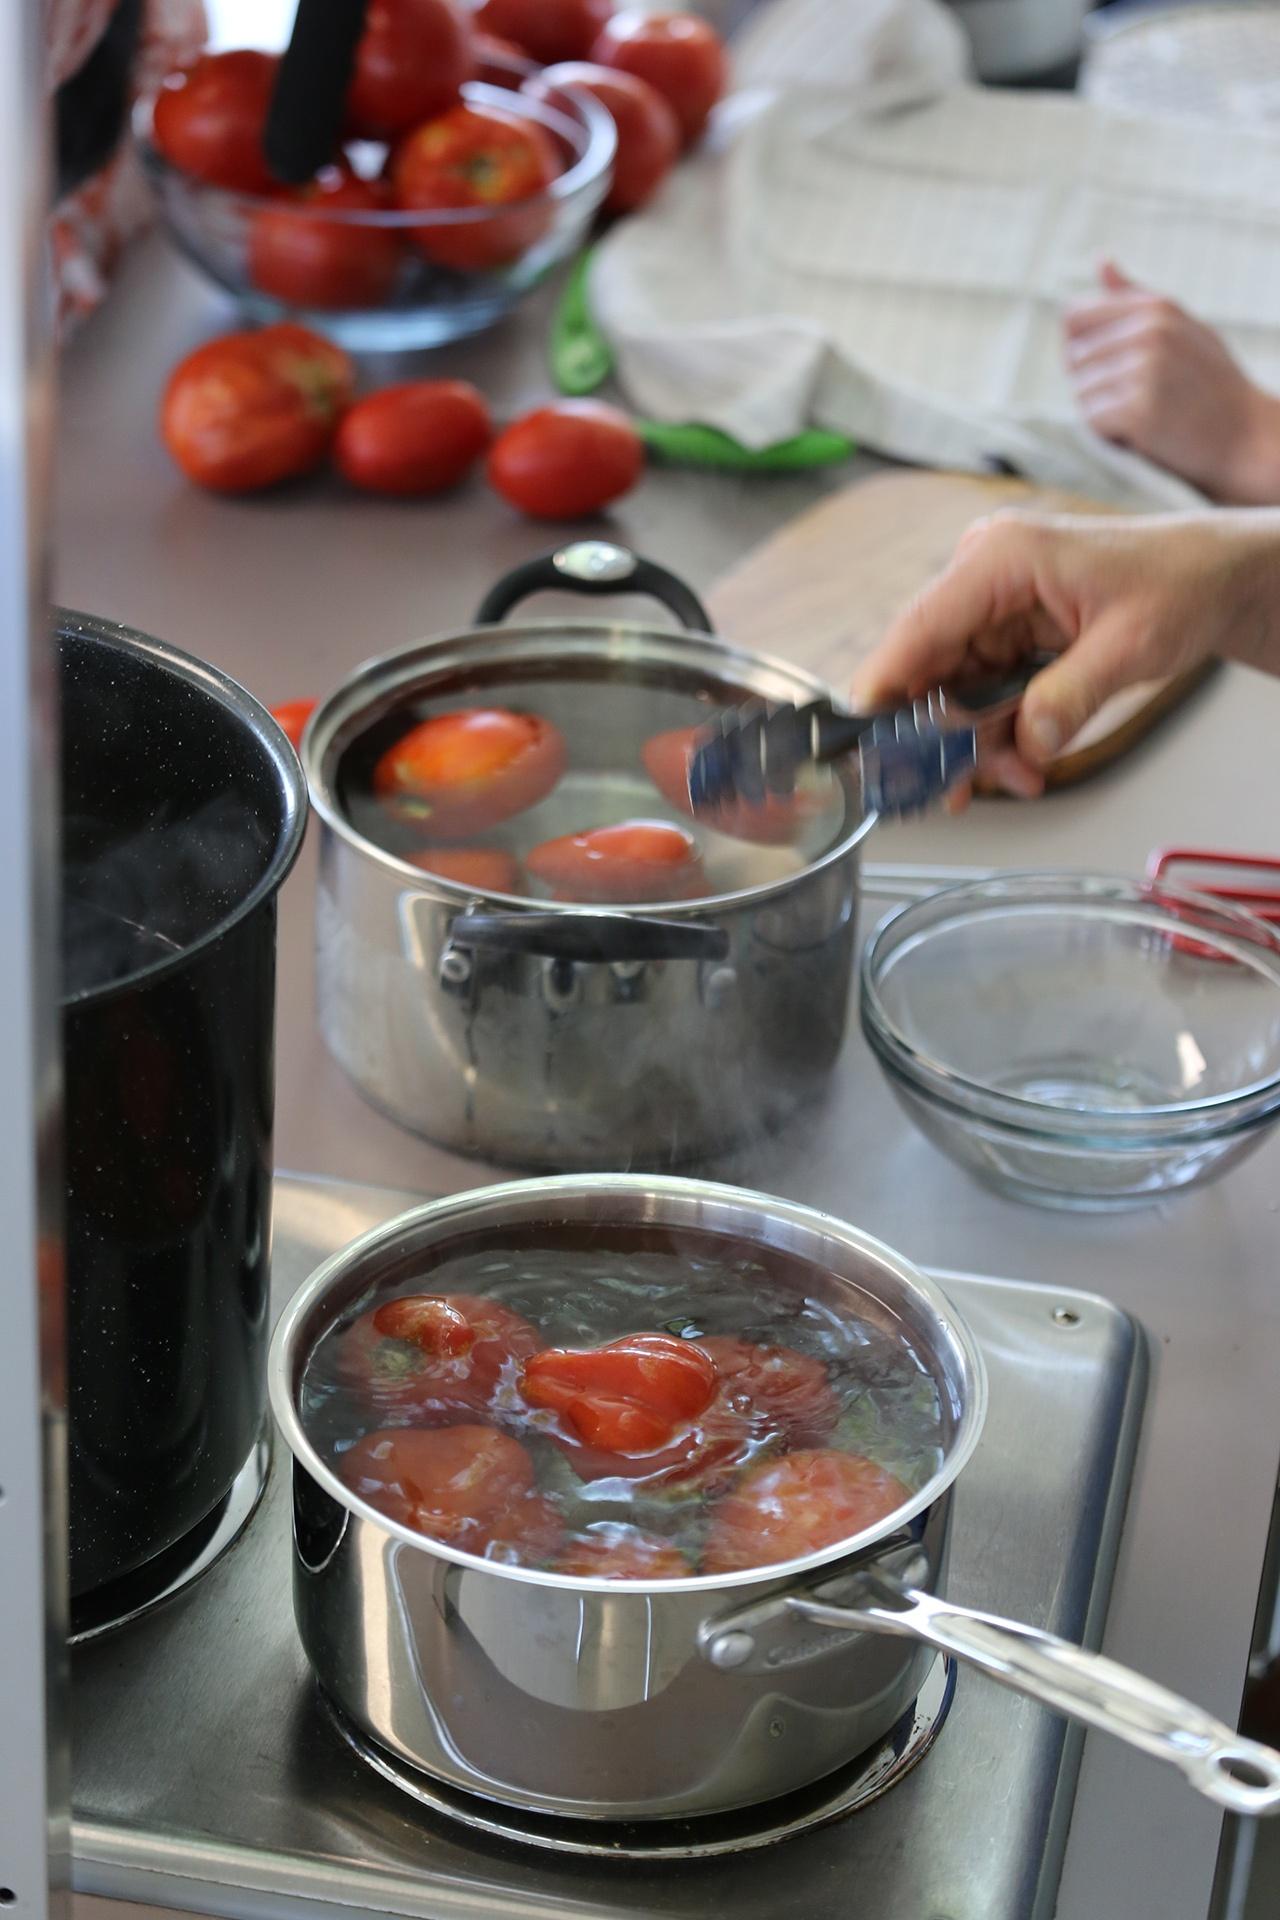
Fill a large pot with water and bring it to a boil for blanching your tomatoes. Fill a large bowl with cold water and ice. If you're processing lots of tomatoes the ice will soon melt, but it’s ok so long as the water is kept cool. 

Tomatoes in boiling water and cold water bath.
Photo: Tomatoes in boiling water and cold water bath.

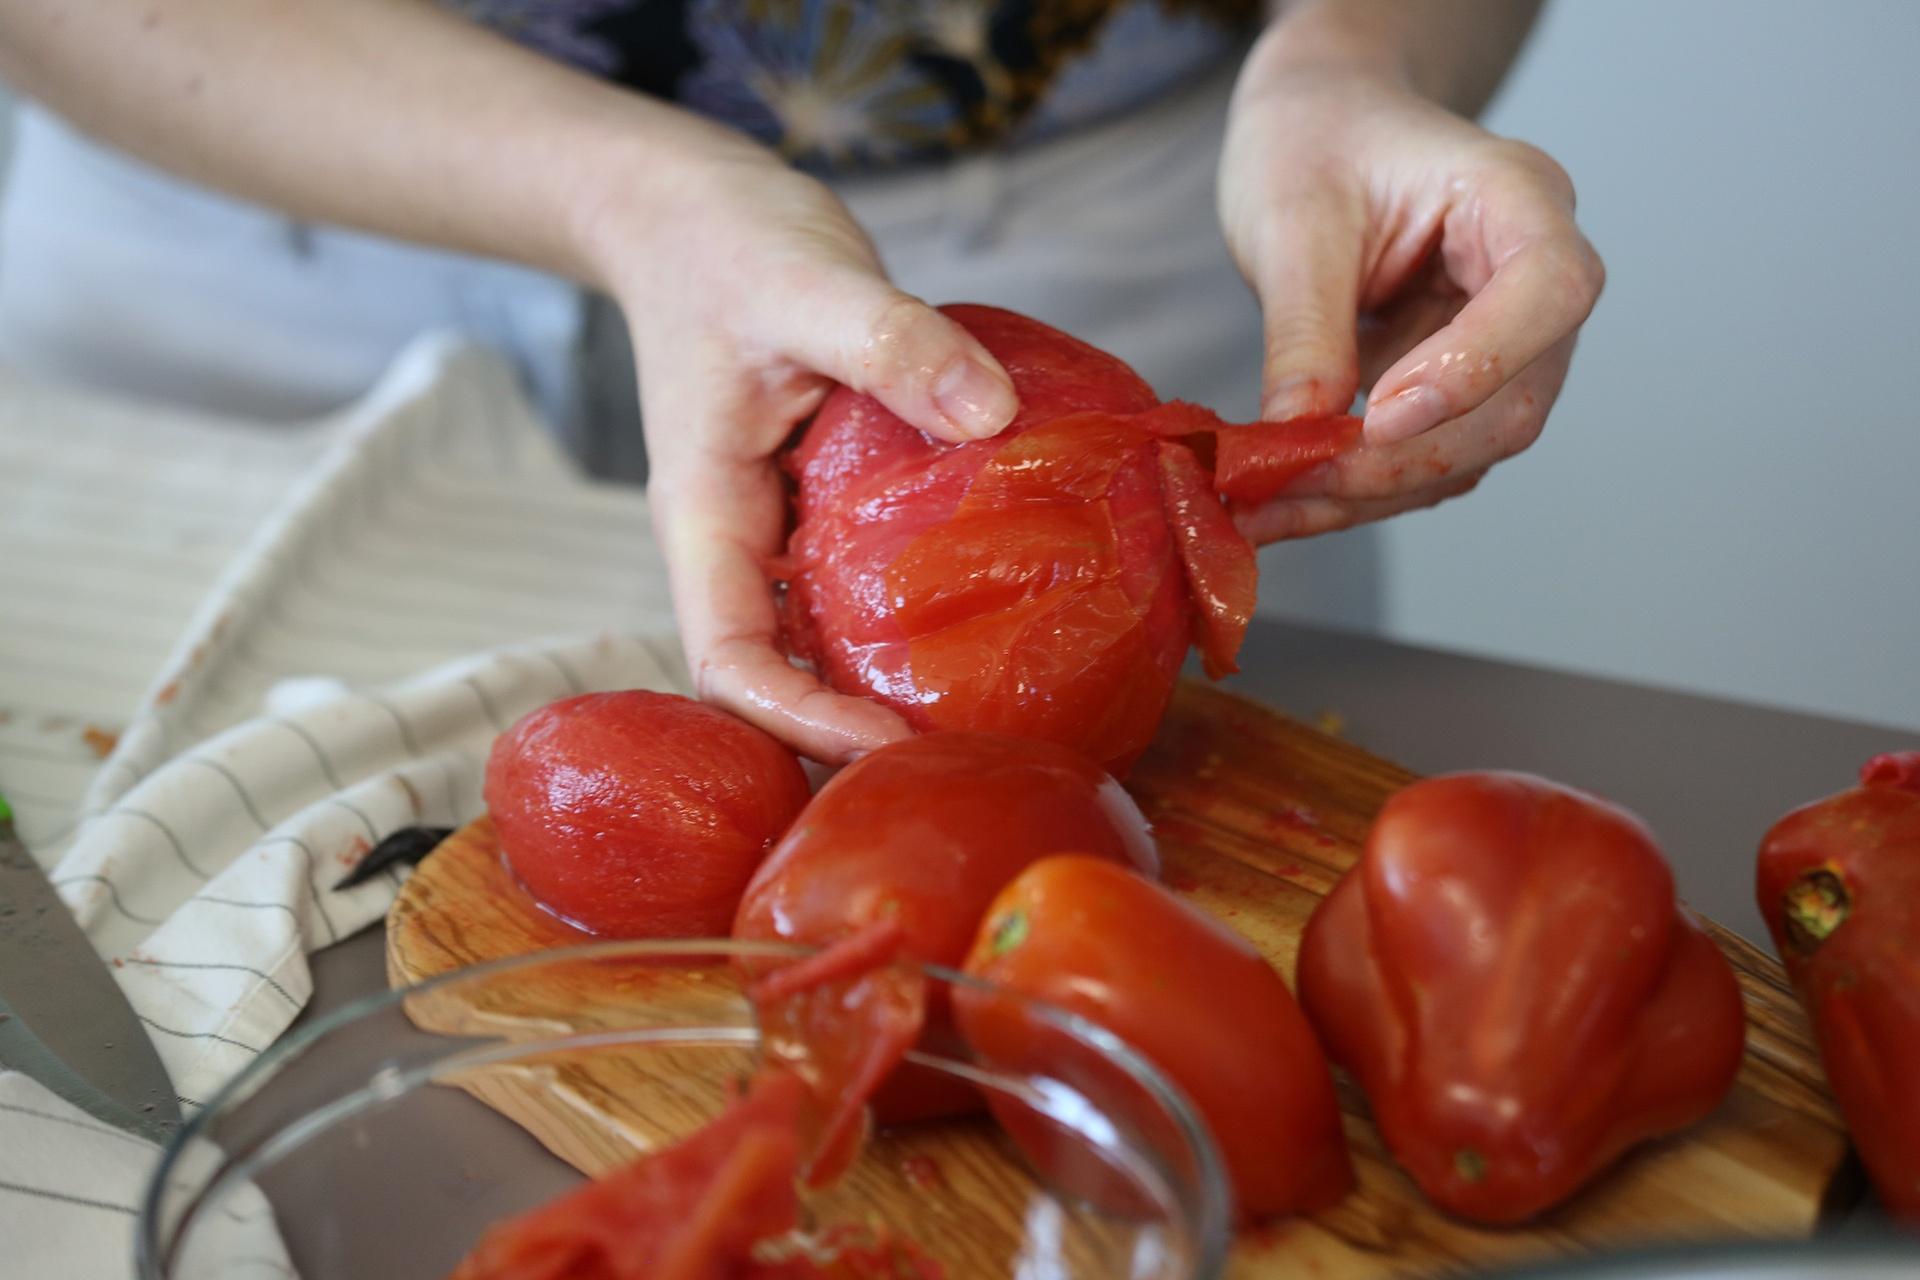
Using the tongs, carefully place tomatoes into the boiling water. After 60 seconds, remove tomatoes from boiling water and submerge into the ice bath for 30 seconds. The cold water helps loosen the tomato skin while also cooling down the tomato, so it’s not too hot to handle. The skin should easily peel off. Using the paring knife, remove the core. 

Filer image
Photo: Cindy Jenkins peels the skin off of a Red Pear Abruzzese, a large Italian heirloom paste tomato, just prior to canning it.

Sanitize Jars, Lids, and Bands 


Before filling your jars, you’ll first want to sanitize them. We washed our jars, lids, and rings in hot, soapy water and rinsed them with hot water. 

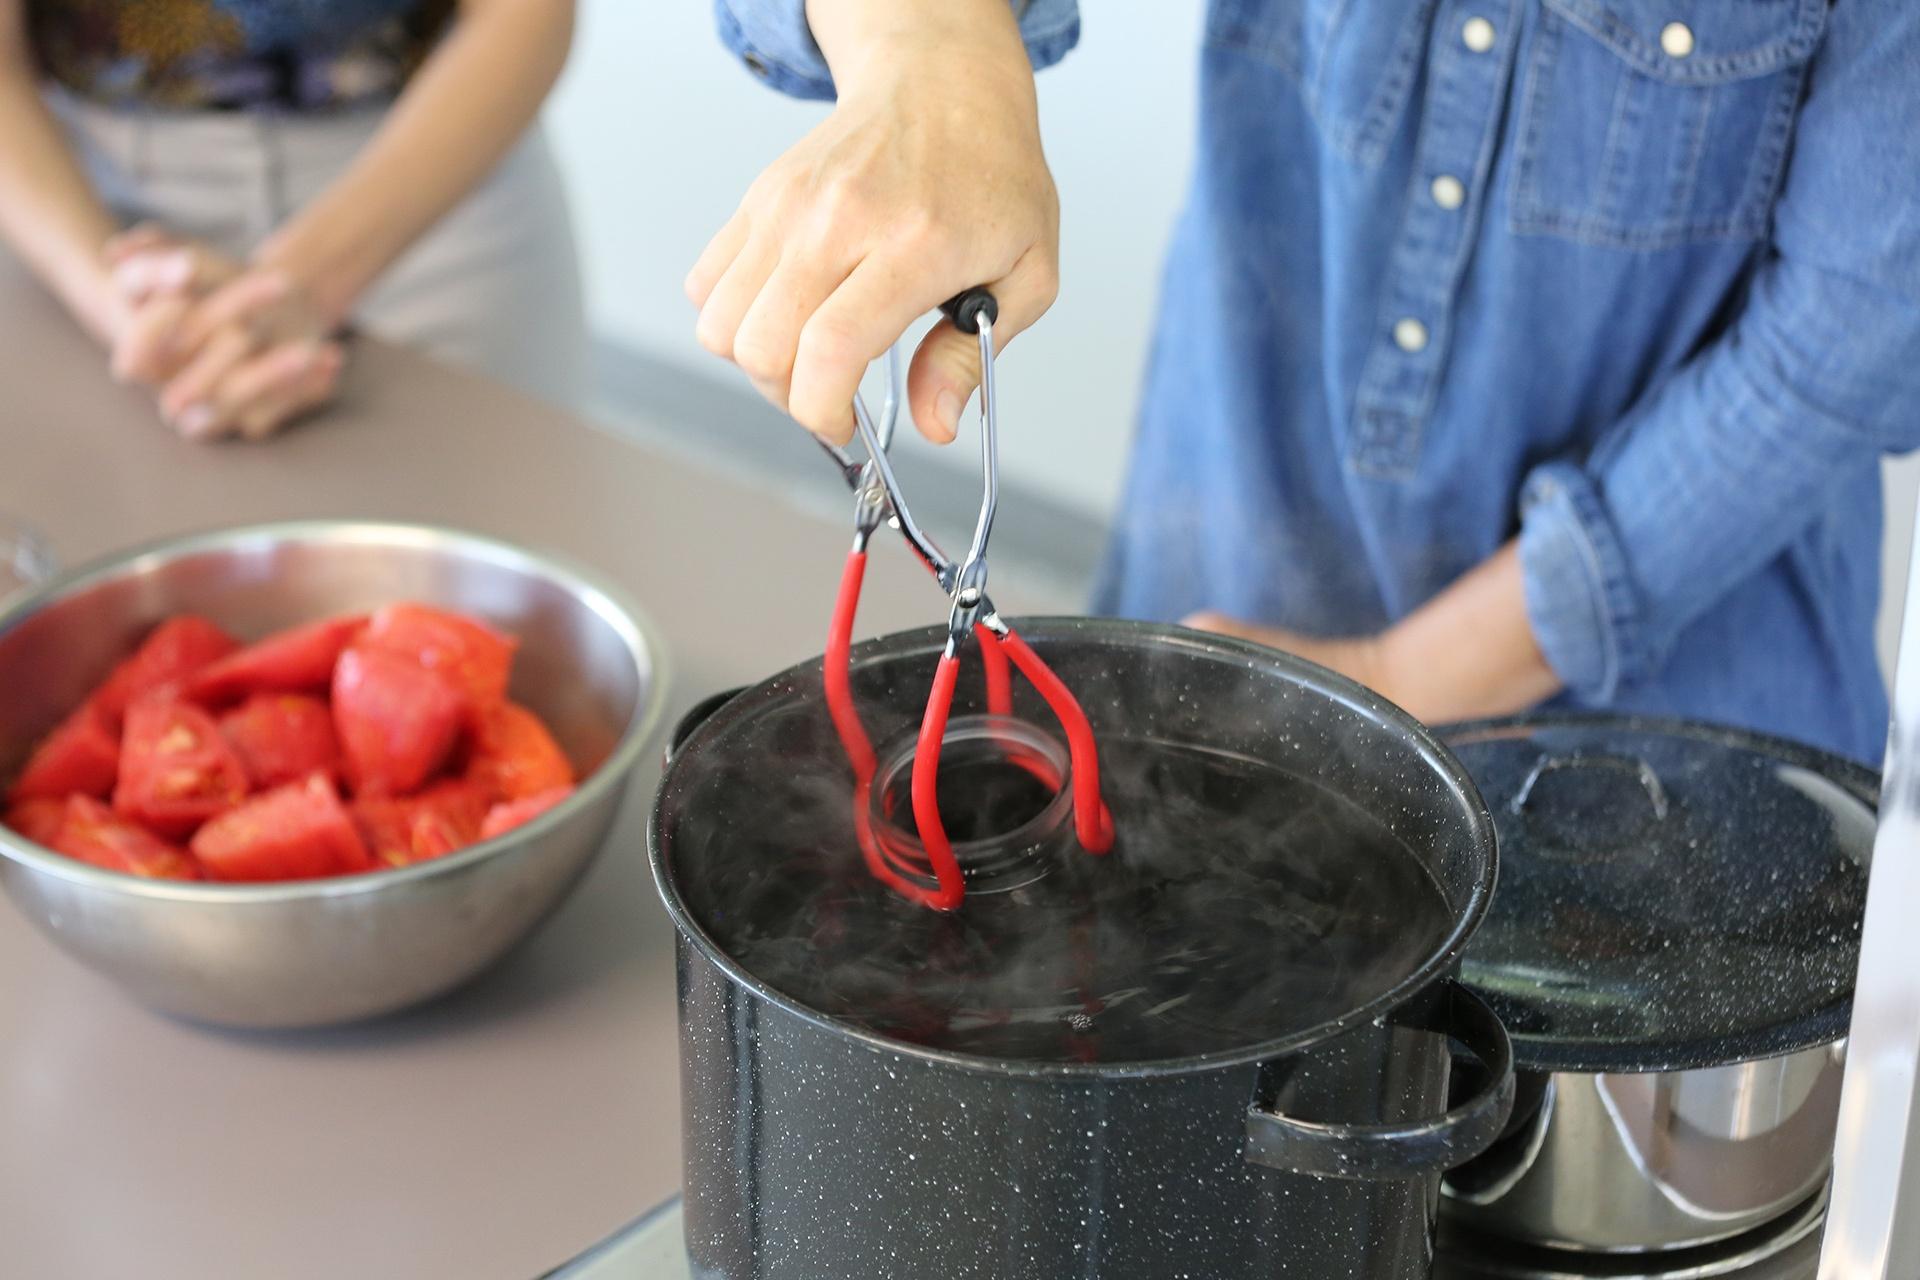
As an extra precaution, Cindy also recommends sanitizing the jars further in simmering water for 10 minutes. By the time we pulled the jars out of our simmering water, they were so hot the excess water on them evaporated quickly. If you take this extra sanitizing process, only do the jars. The rings and bands can be sanitized safely in hot soapy water.


TIP: Don’t put your lids in the simmering water with your jars — it can damage the seal, resulting in an improper seal. Just sanitize the lids in hot, soapy water and rinse with hot water. 


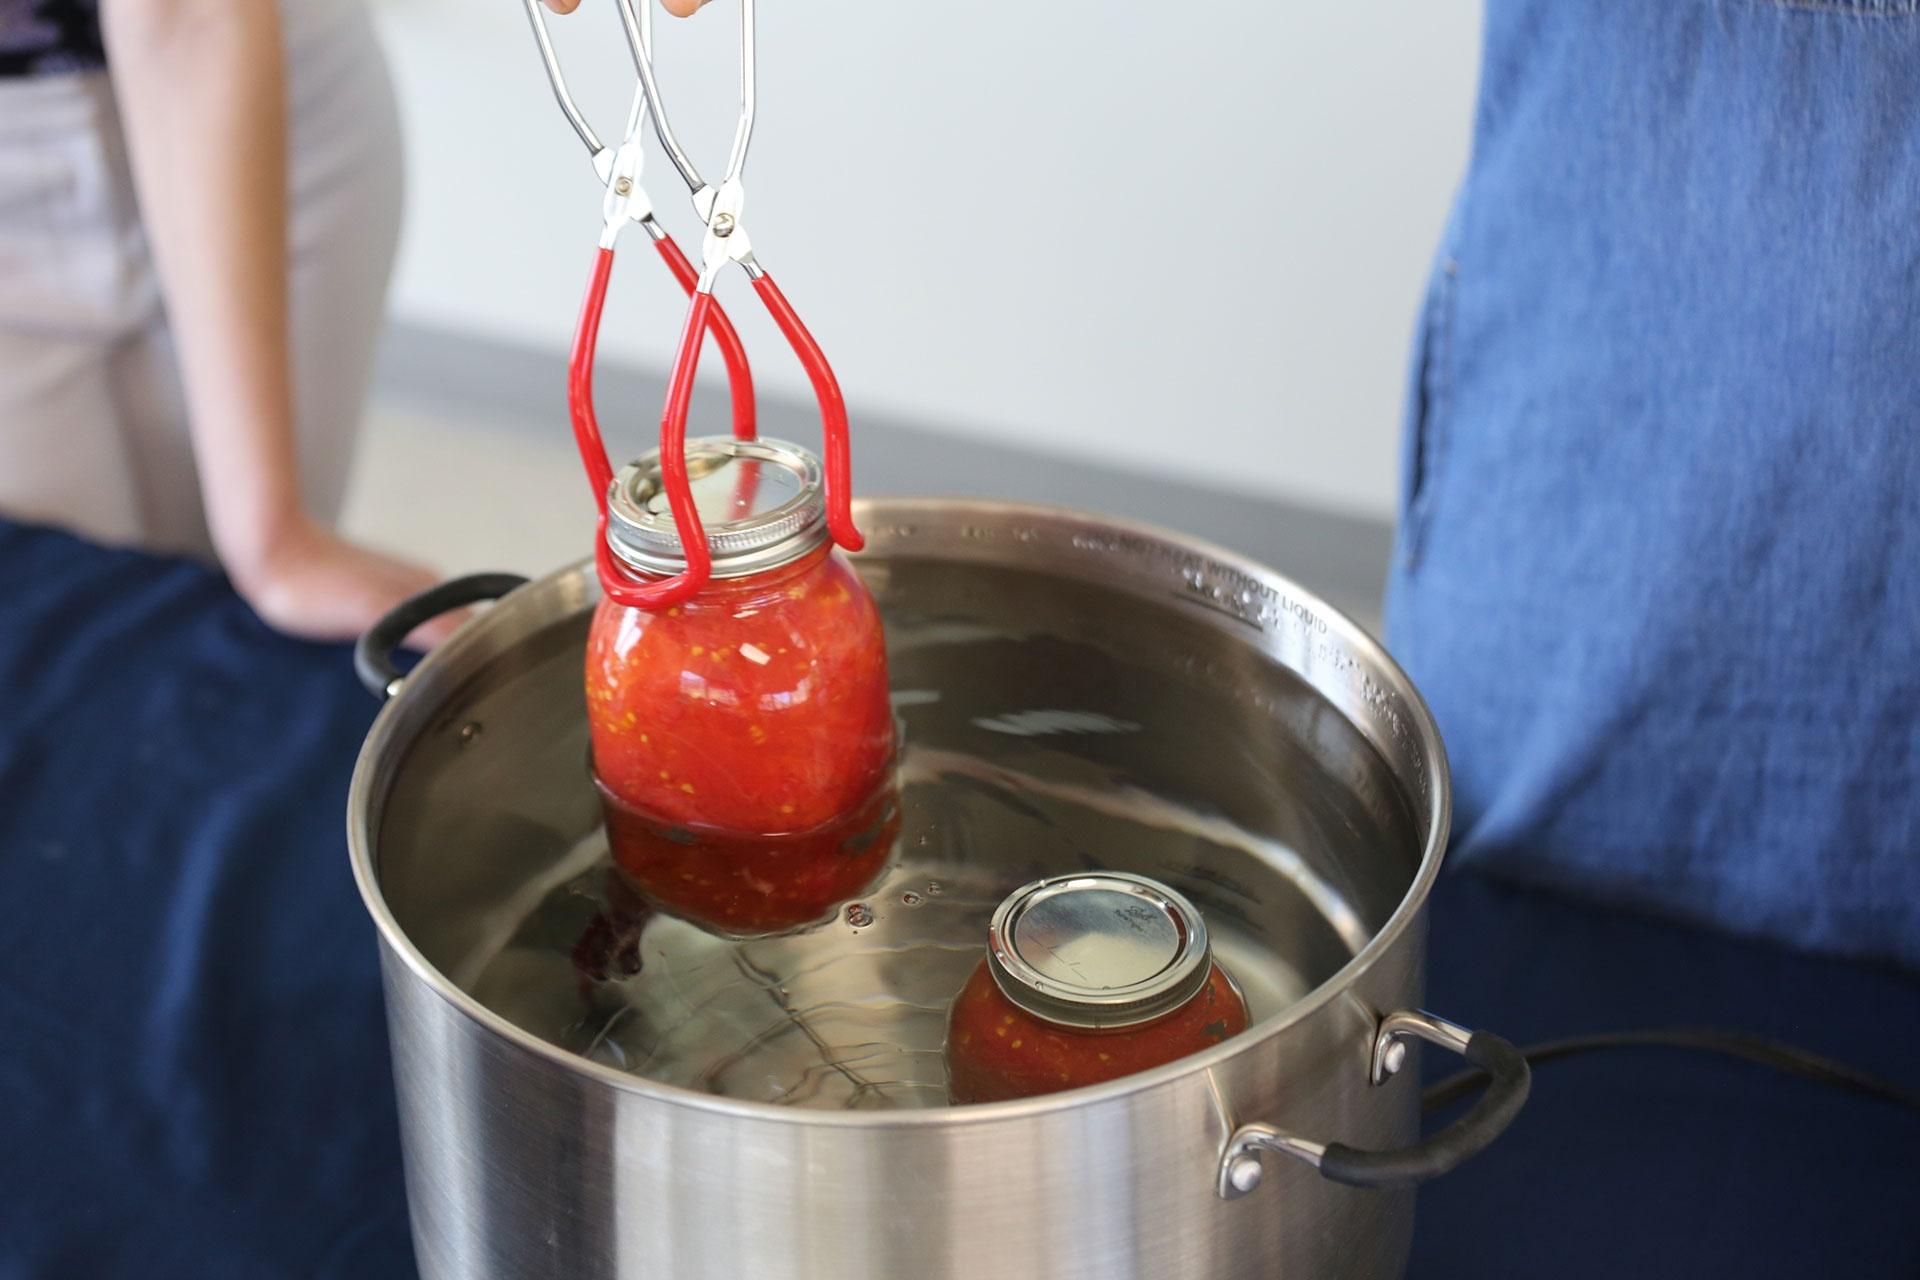
Using the jar lifter to sanitize the jars by placing them in simmering water for about 10 minutes.
Photo: Using the jar lifter to sanitize the jars by placing them in simmering water for about 10 minutes.

Canning Diced, Halved, or Whole Tomatoes


You can stew your tomatoes or cook them down prior to canning them; it depends on the canning recipe you’re following. In our water bath canning demo we are canning our tomatoes raw. 

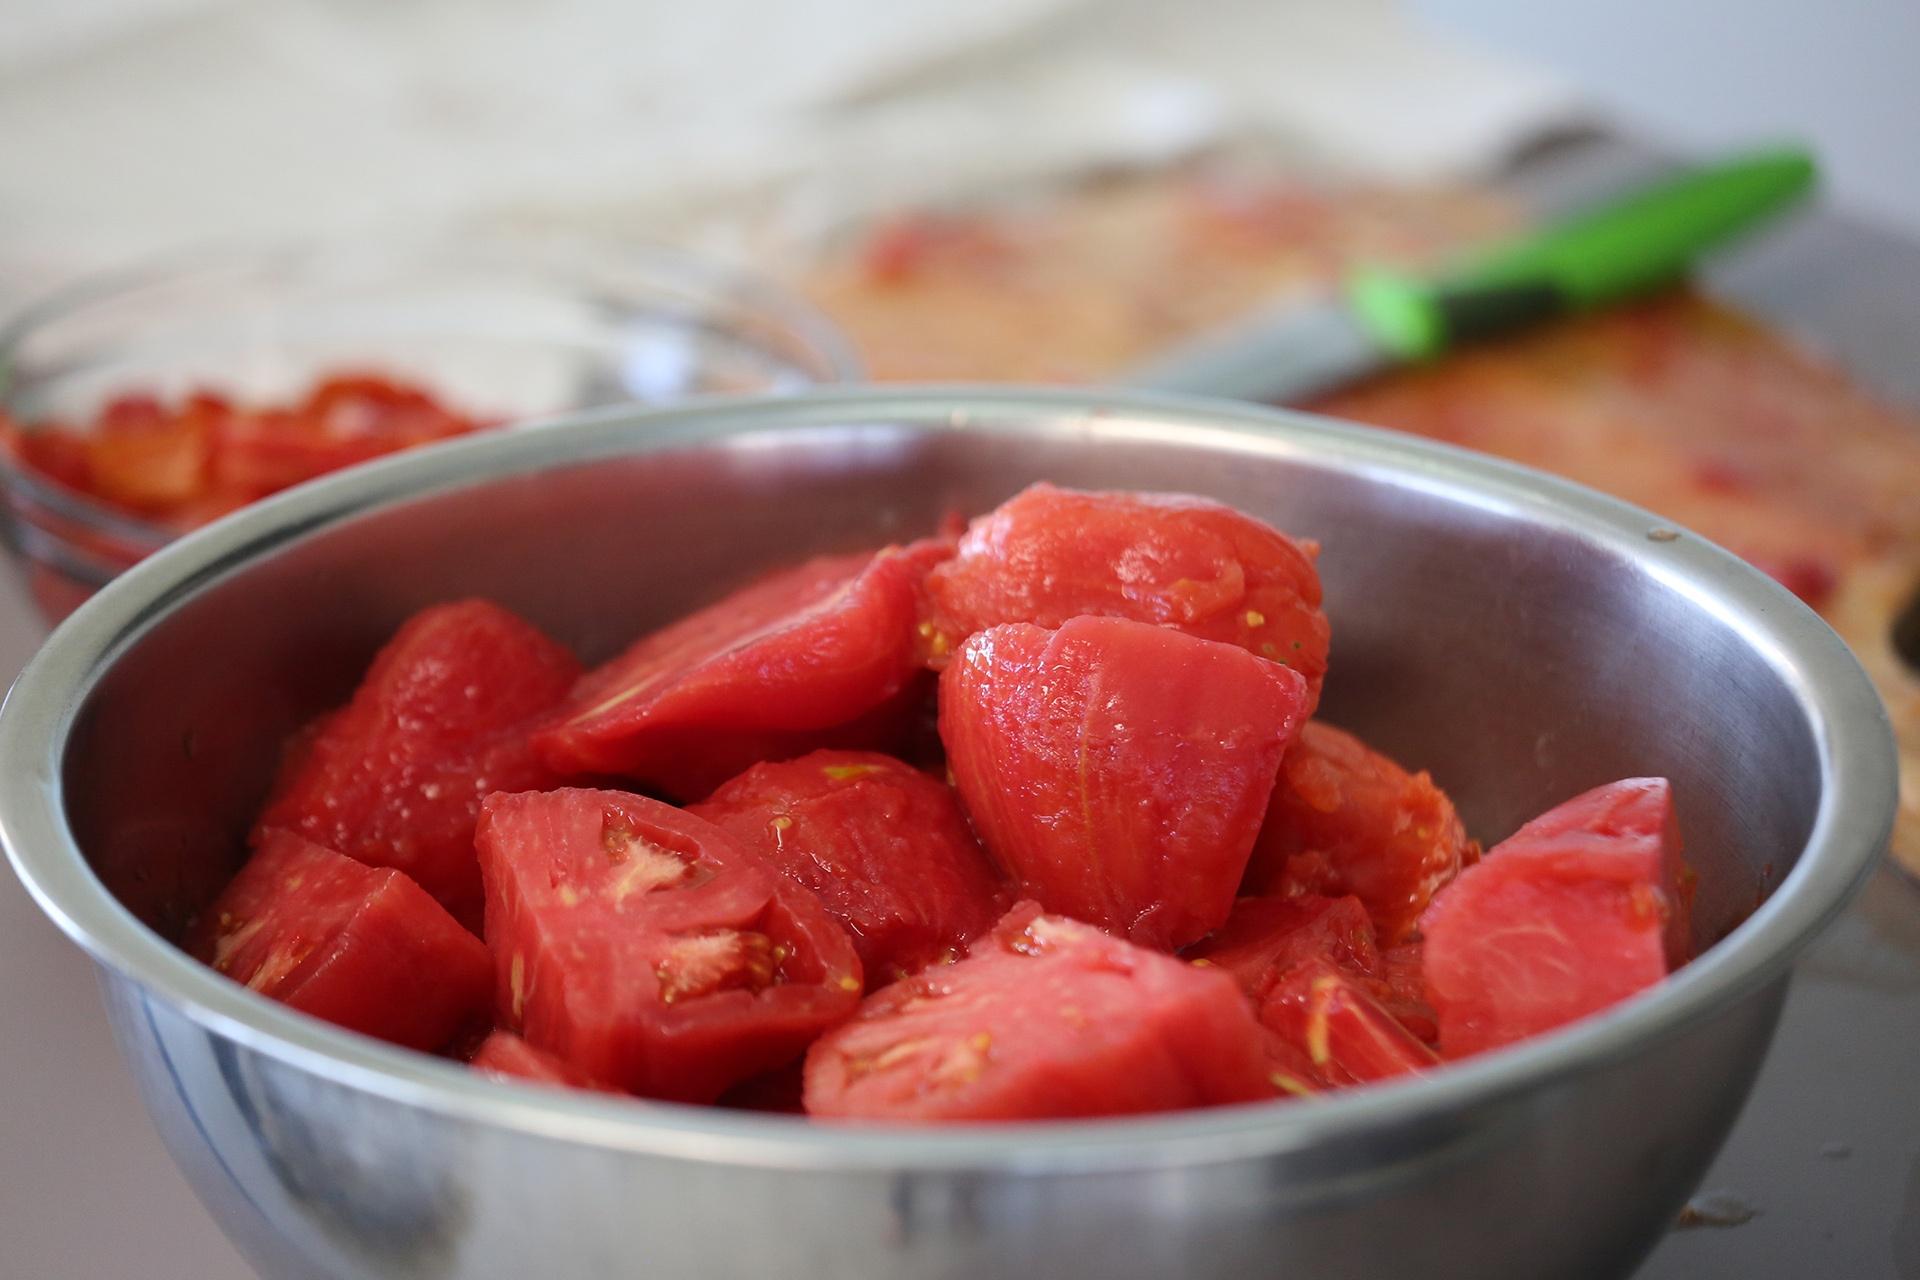
You can dice, halve, or can your raw tomatoes whole! Some of the tomatoes in our demo were too large to fit through the lid so we had to cut them in half or quarter them.

Red Pear Abruzzese and Salvaterra Select tomatoes ready for the jars!
Photo: Red Pear Abruzzese and Salvaterra Select tomatoes ready for the jars.

Filling Jars with Prepared Tomatoes!


Now that you’ve sanitized your jars and lids and prepped your tomatoes, it’s time to fill your jars! In our demo we’re filling two regular mouth quart jars. 

First add lemon juice, ascorbic or citric acid to each jar, it helps preserve the food and prevent spoiling. Cindy put ½ teaspoon of powdered vitamin C tablets to each of our quart jars. 

  • If using bottled lemon juice add 2 tablespoons to each quart jar and 1 tablespoon to each pint jar.
  • If using citric or ascorbic acid add ½ teaspoon to each quart jar and ¼ teaspoon to each pint jar. 


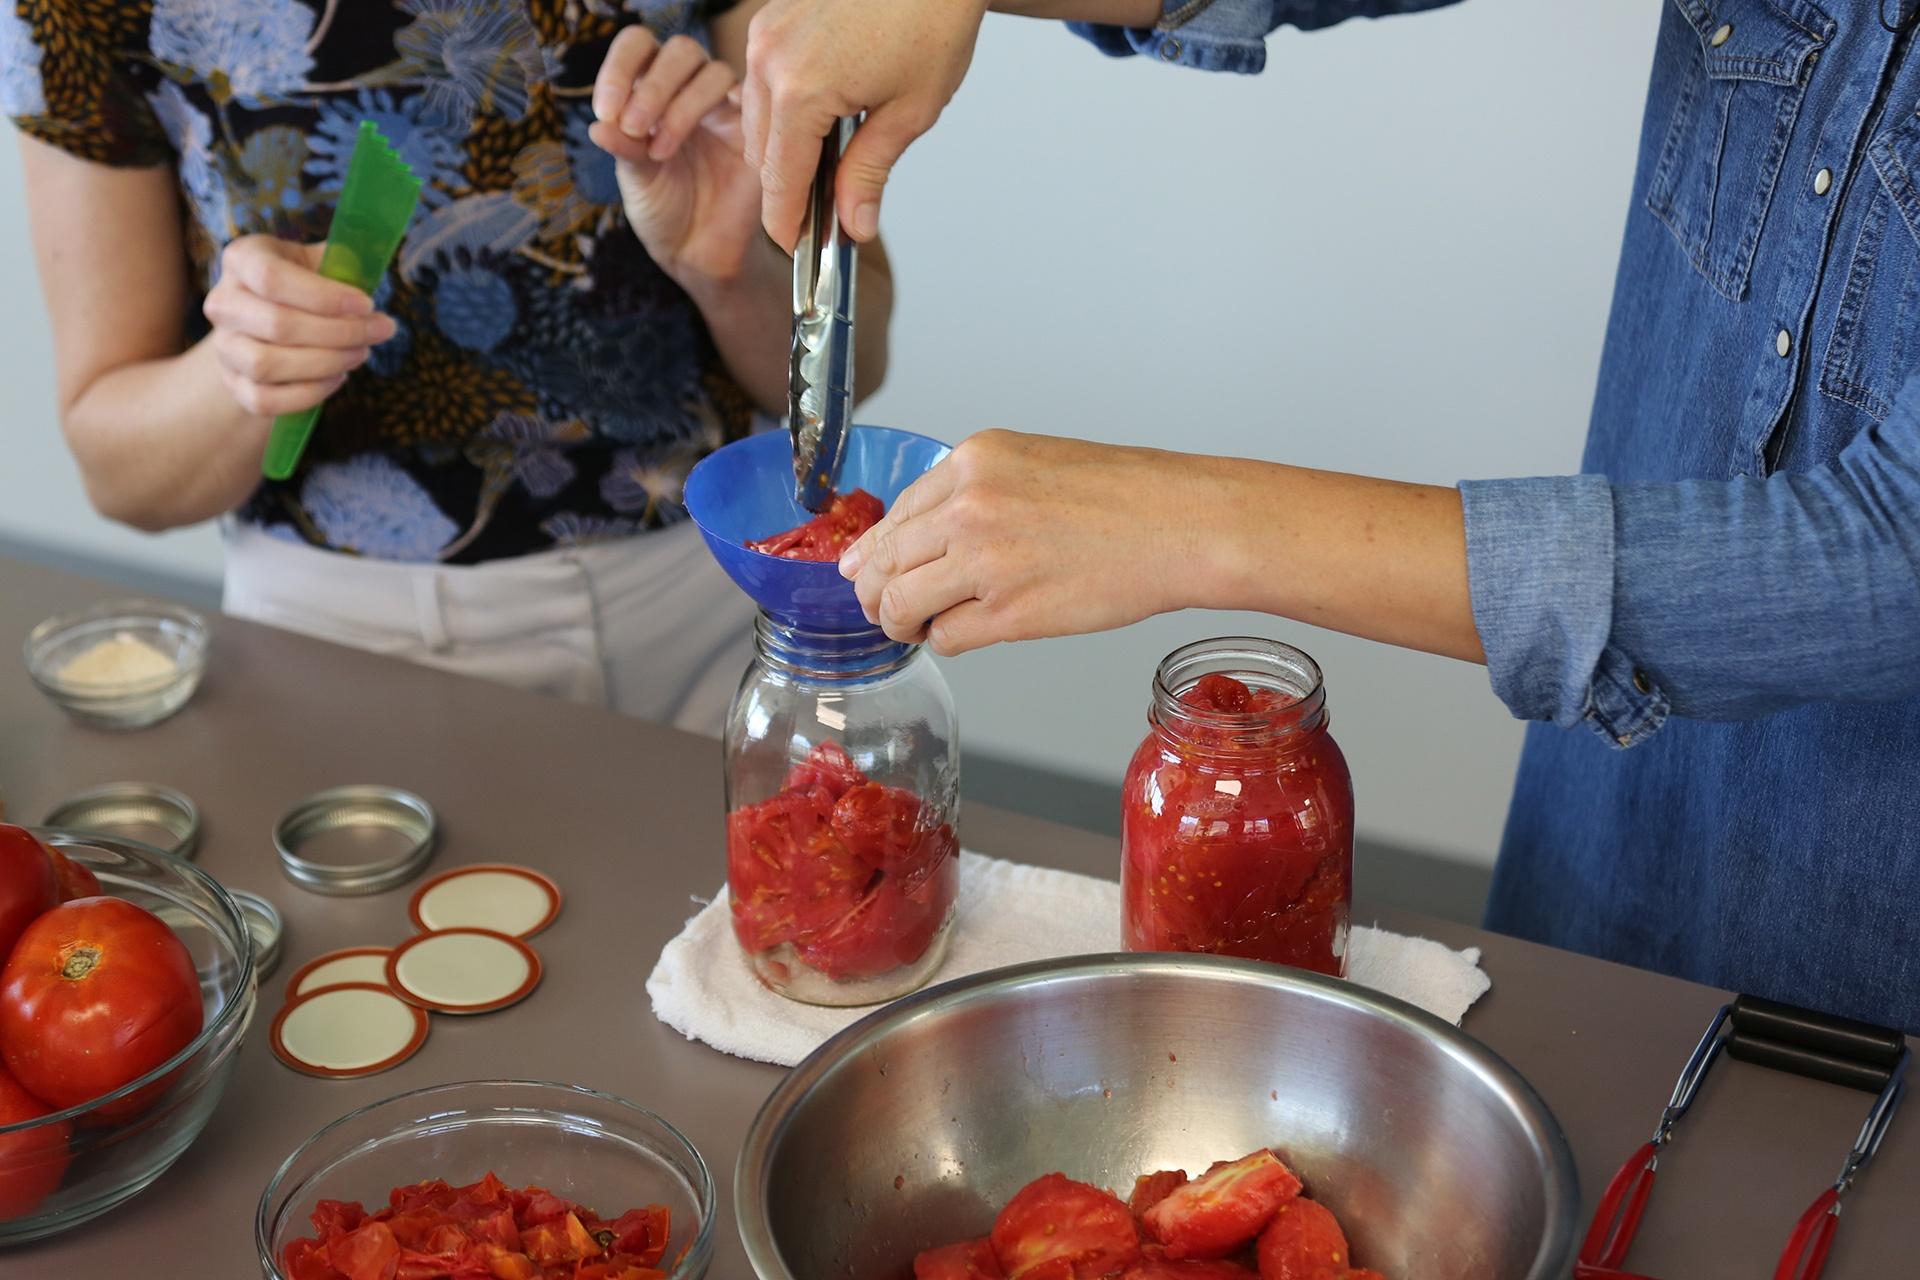
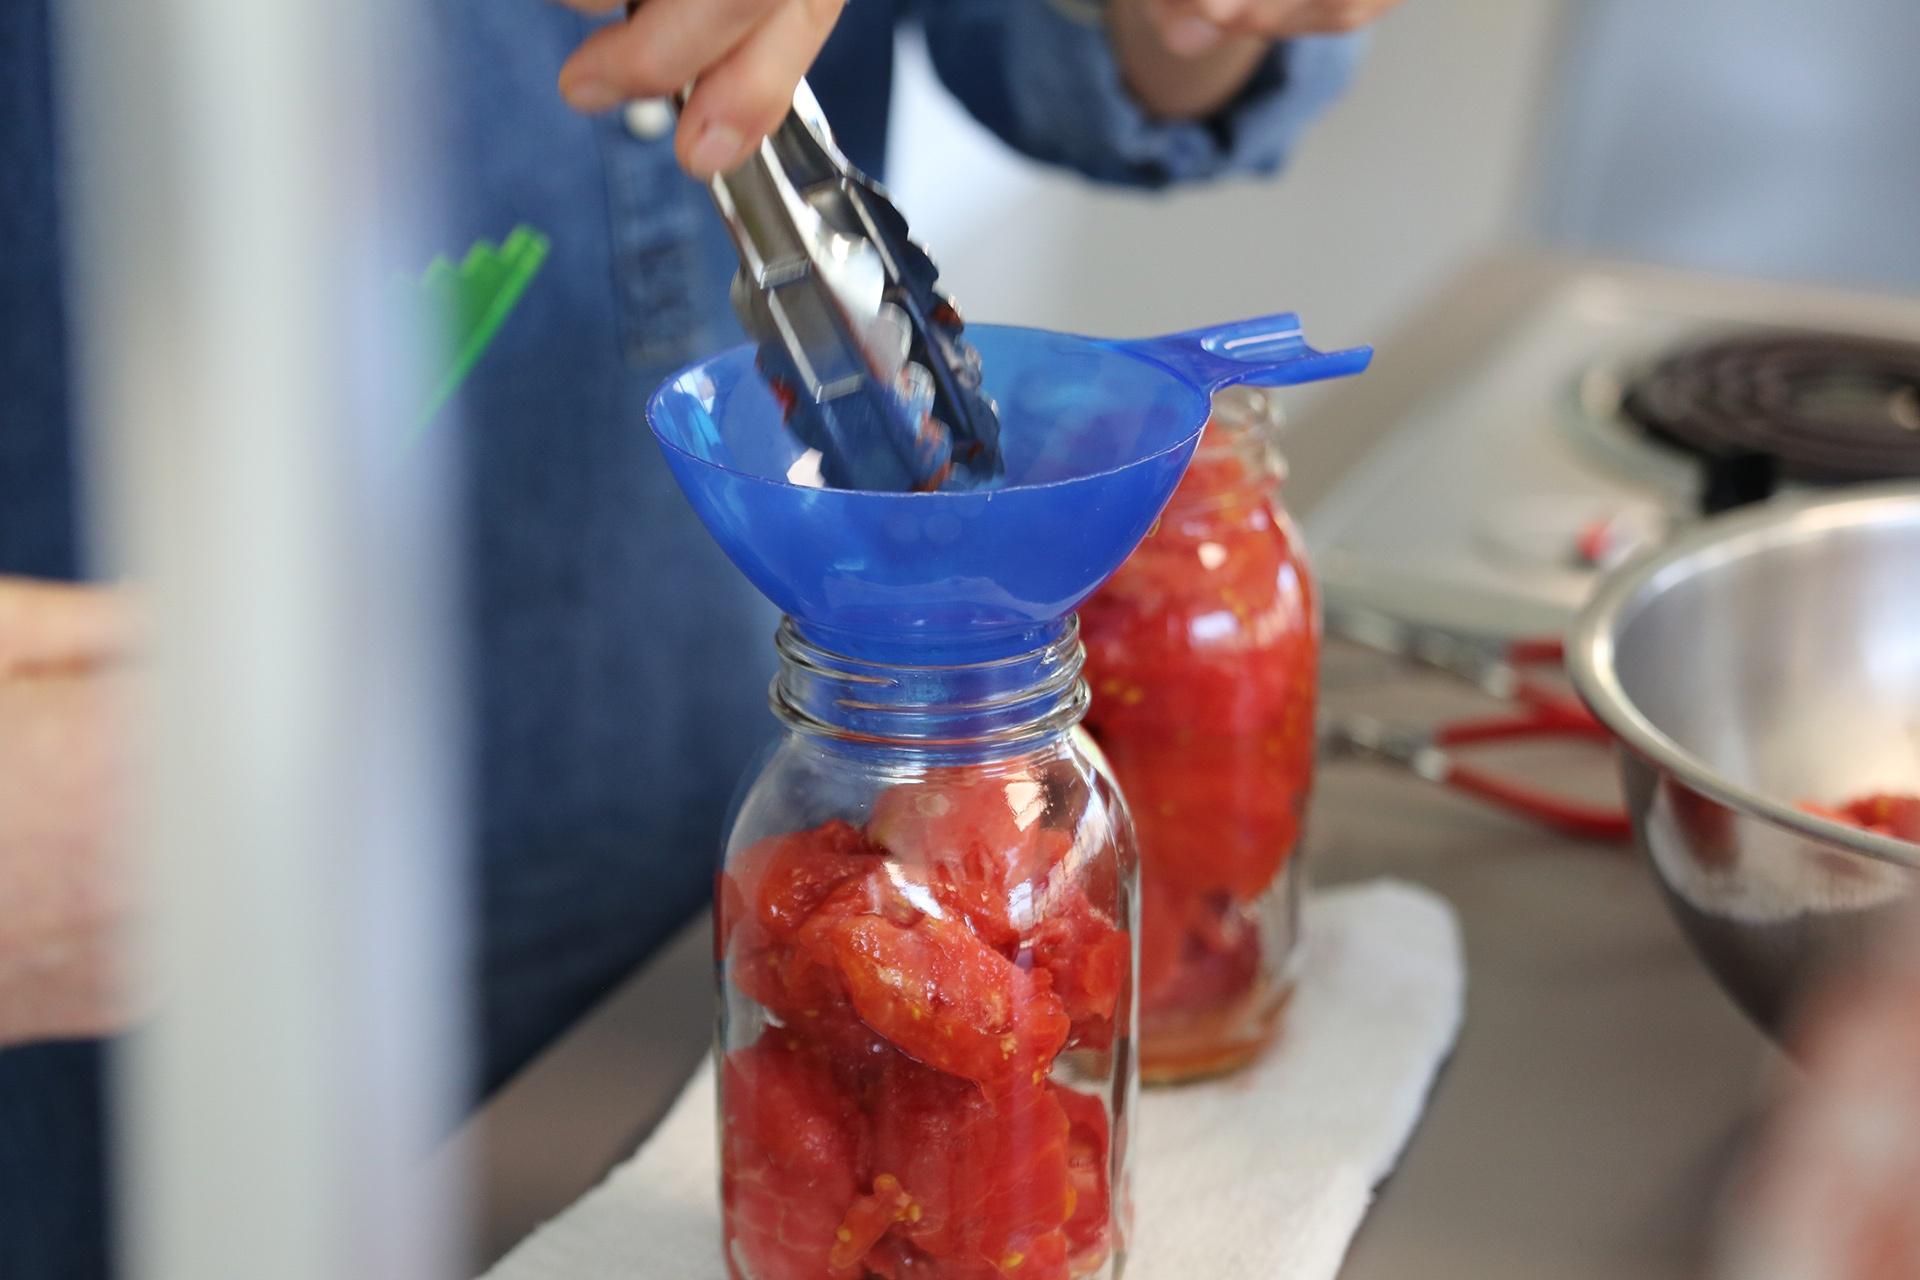
Place the funnel on the jar and use the tongs to fill the jars with your prepared tomatoes. You can use the tongs to gently push the tomatoes down in the jar. We didn’t add any water to our jars; it’s not necessary! Just add lemon juice or ascorbic acid and tomatoes. 

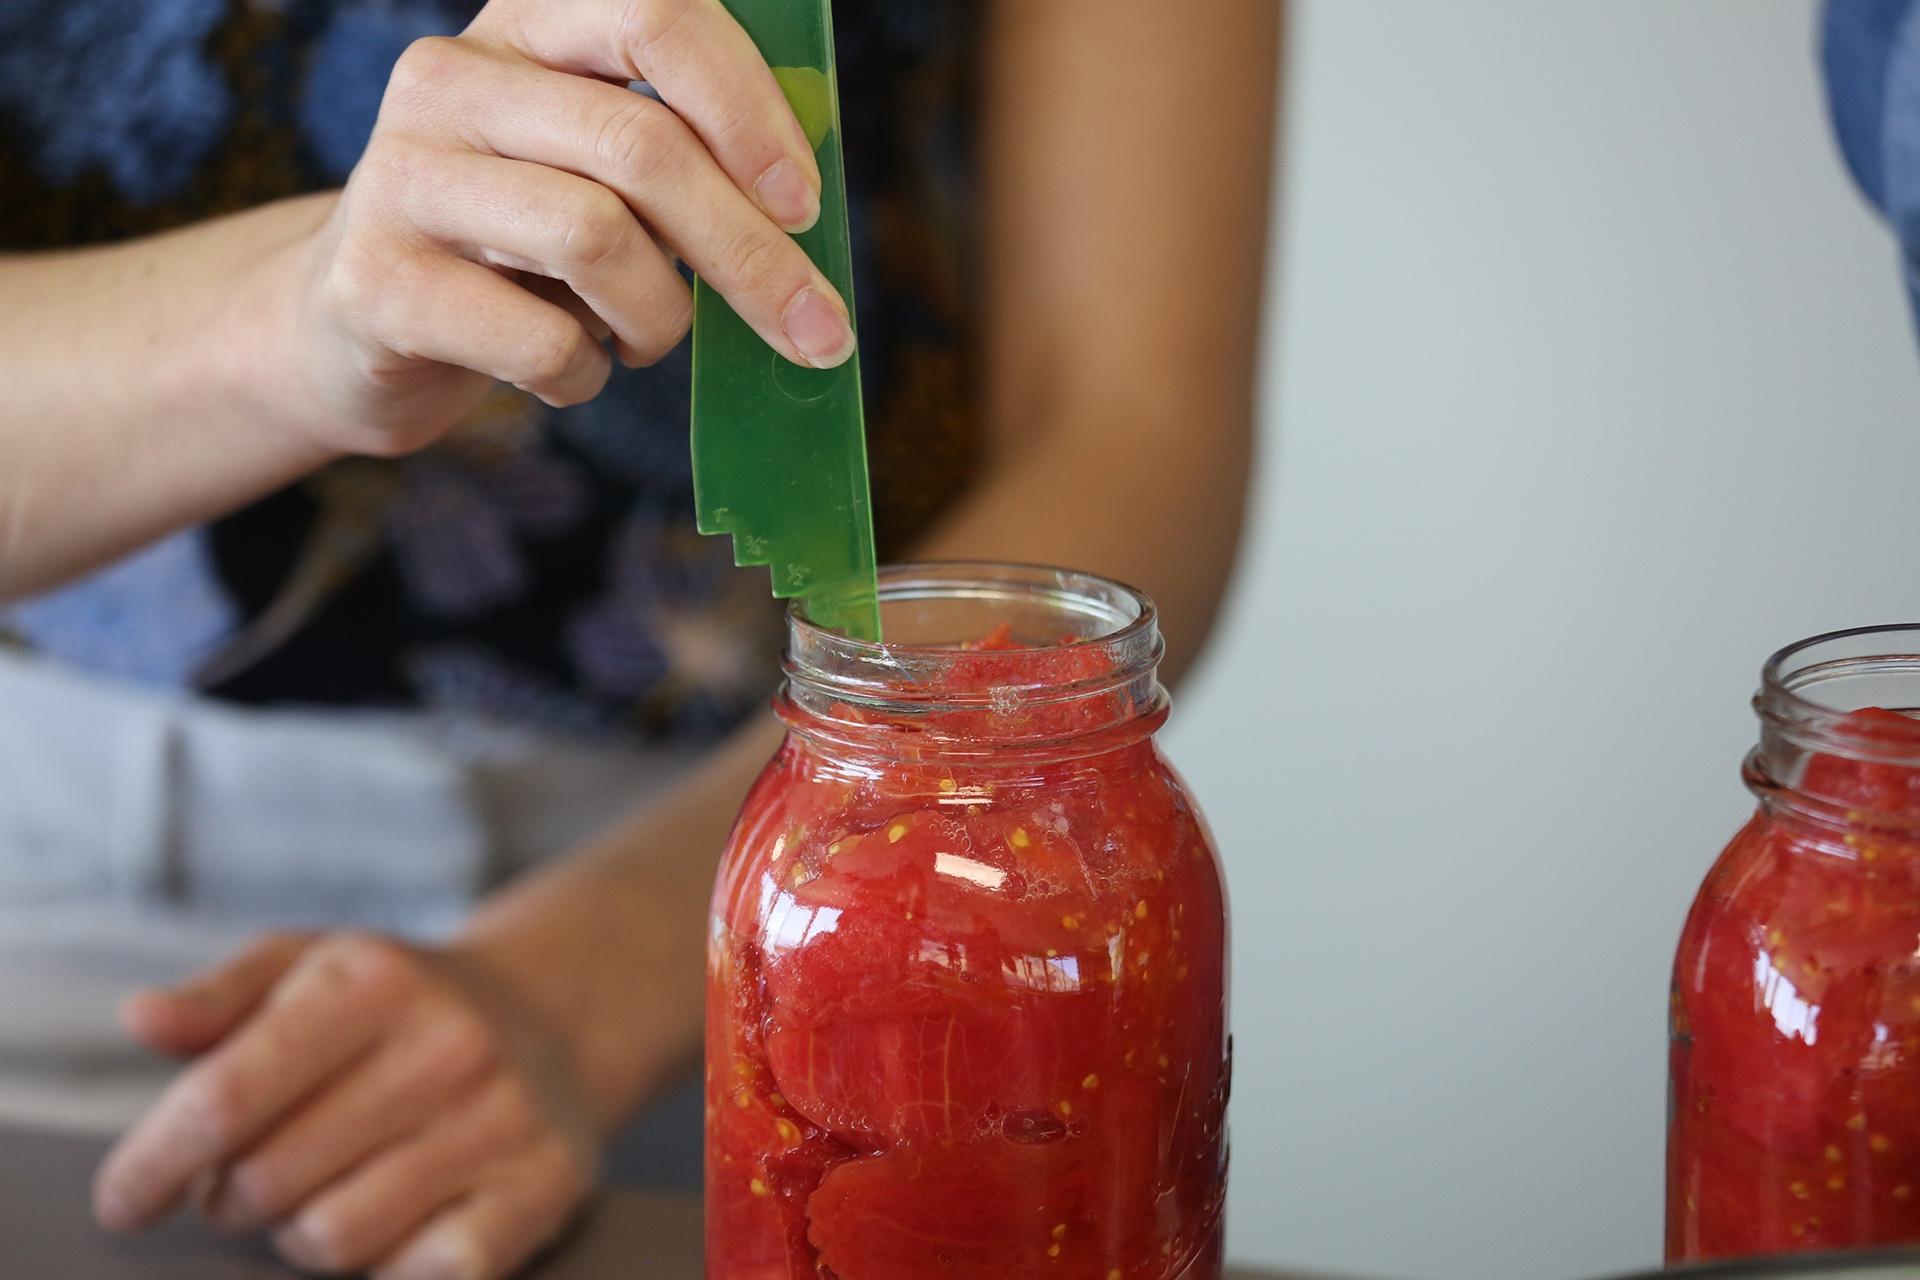
Using your headspace and bubble freer tool you can scrape the sides of the jar to help release air pockets. This will make more room for more tomatoes.

Red Pear Abruzzese and Salvaterra Select tomatoes ready for the jars!
Photo: Filling jars with funnel.
Red Pear Abruzzese and Salvaterra Select tomatoes ready for the jars!
Photo: Using tongs to push tomatoes down.
Red Pear Abruzzese and Salvaterra Select tomatoes ready for the jars!
Photo: Measuring headspace with headspace tool.

Using the headspace tool, make sure you have a half of an inch of space at the top of the jar. If your jars are too full, food or liquid leaking out can break the seal during the processing time, or worse yet, break the glass, and if there’s too much headspace it can promote spoiling and bacterial growth like botulism.

Once the jars are filled, you’ll want to make sure the rim of the jar is clean and doesn’t have any pieces of tomato or juice on the rim. If it’s not clean, wipe it with a clean cloth. 

Carefully place the lids on the jars then the ring and twist until just finger tight; twist the ring with your fingers until snug, but don’t grip it with your whole hand and crank it tight.


TIP: If you tighten the rings too tight it can cause the lids to buckle during the canning process and result in an improper seal. 


Canning Your Tomatoes

Placing our filled quart jars in an electric canner for processing.
Photo: Placing our filled quart jars in an electric canner for processing.

Fill your water bath canner about half full with water. Using your jar lifter, carefully place your jars of tomatoes in the canner.

Water bath canners can typically hold 7 quart-sized jars and about 8 pint-sized jars. As the water comes to a boil your jars may shake a little bit during the long processing time. You’ll want to place your jars so there’s about an inch of space between them so that they don’t clank into each other during the canning process. 

Make sure there’s an inch to two inches of water above the lids of the jars. You may need to add more water to your canner. Place lid on canner.

Even if your water was boiling before putting the cans into the canner, wait until it returns to a boil, then start your timer! 
 

Processing Time for Canning Tomatoes 
 

The processing time depends on your elevation — check a researched base canning guide on the processing time for your location. Our demo is based in Orem, Utah which is about 4500 feet above sea level, so we added 10 minutes to our canning process for a total of 95 minutes of processing time.
 

Removing Jars from Canner
 

You may think the canning process is done when your timer goes off, but the natural cooling off of your jars is actually a part of the sealing process! So they’re still working and you don’t want to bother them too much by moving them around or tilting them. Let them just sit and cool. 

When your processing time is up, use the jar lifter to carefully remove your jars from the canner. Try not to tilt the jars, but rather pick them straight up and place them on a flat surface. When your jars first come out of the canner they are very hot, you may even see your tomatoes boiling right in the jar. There will be water on the top of your jar. Resist the urge to tip the jar as this can result in food getting in between the seal and rim of the jar, which may cause the jar not to seal. You’ll want to leave the water on the top of the jar and not wipe it off as this can create a false seal. Let your jars stand and cool for at least 2 hours before handling them. 

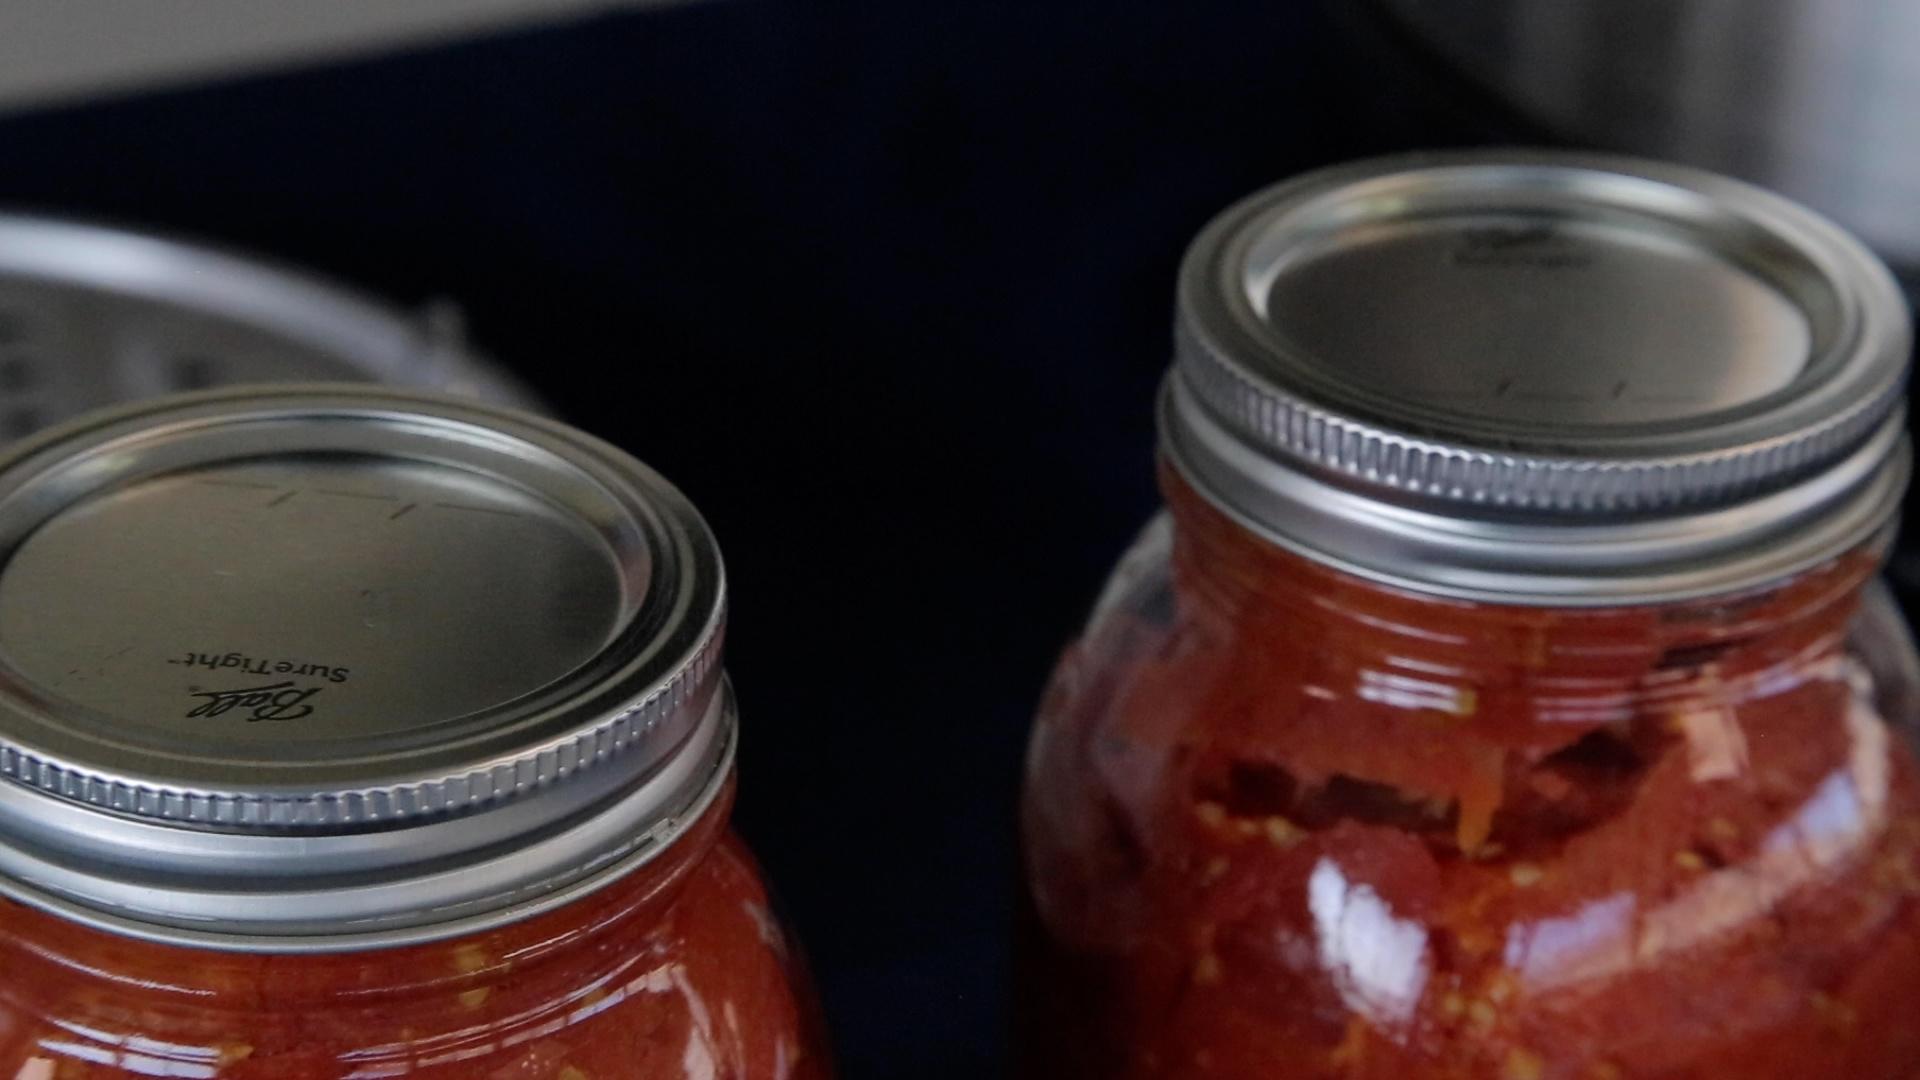
As your jars cool the lids are sucked in, sometimes resulting in a popping sound. Usually within a few minutes of the cooling process you’ll most likely hear your jars pop. You may even see a slight concave dip in the lids. 

If you don’t hear a pop, don’t worry, it doesn't mean the jar didn’t seal!

Cindy says about 24 hours after your jars have cooled you can test the seal! Remove the ring from the jar and pick the jar up by the lid. The lid will hold tight if the jar is properly sealed.

Top of the lids may appear slightly concave after sealing.
Photo: Top of the lids may appear slightly concave after sealing.


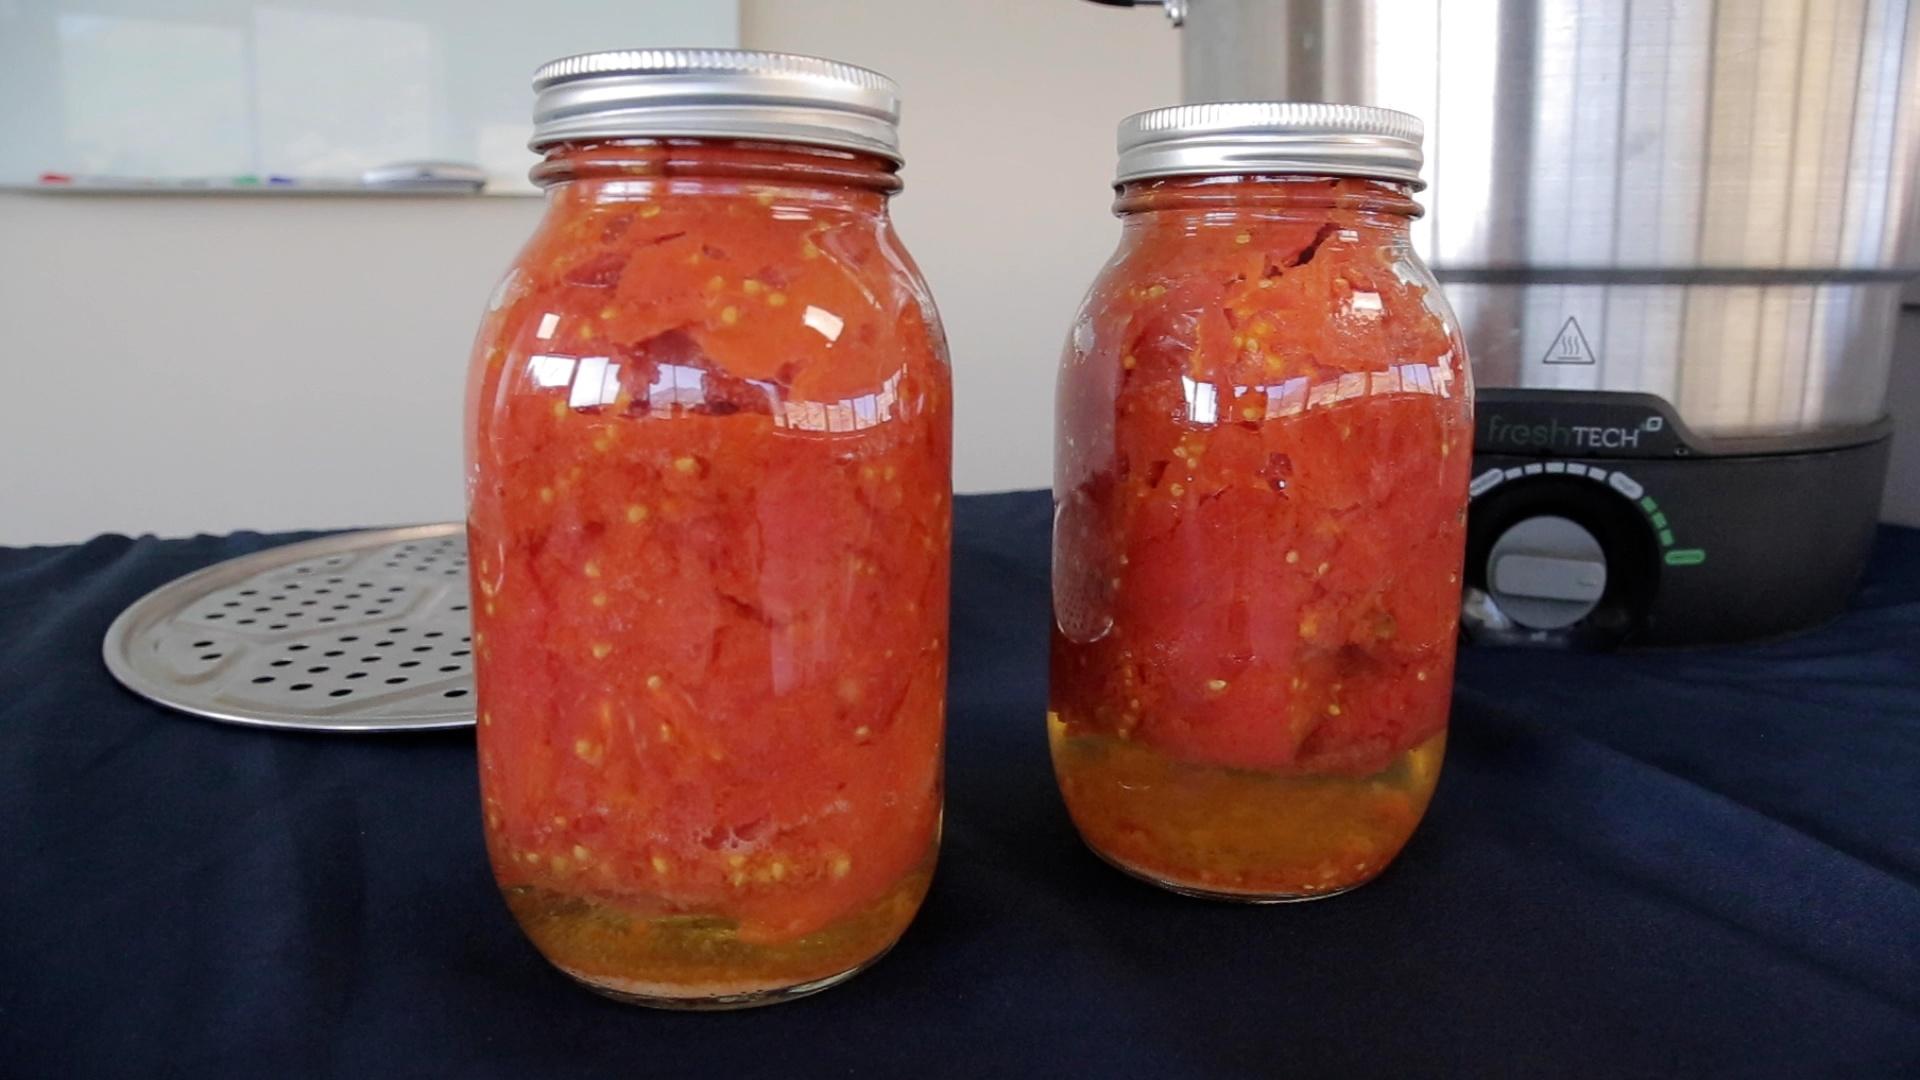
You may see some separation of tomatoes and water in the processed jars; this is natural. During the hot processing time the juice from the tomatoes may separate, but this doesn’t affect the safety of the jars or sealing process. 

Natural separation of tomatoes and their juice after processing.
Photo: Natural separation of tomatoes and their juice after processing..
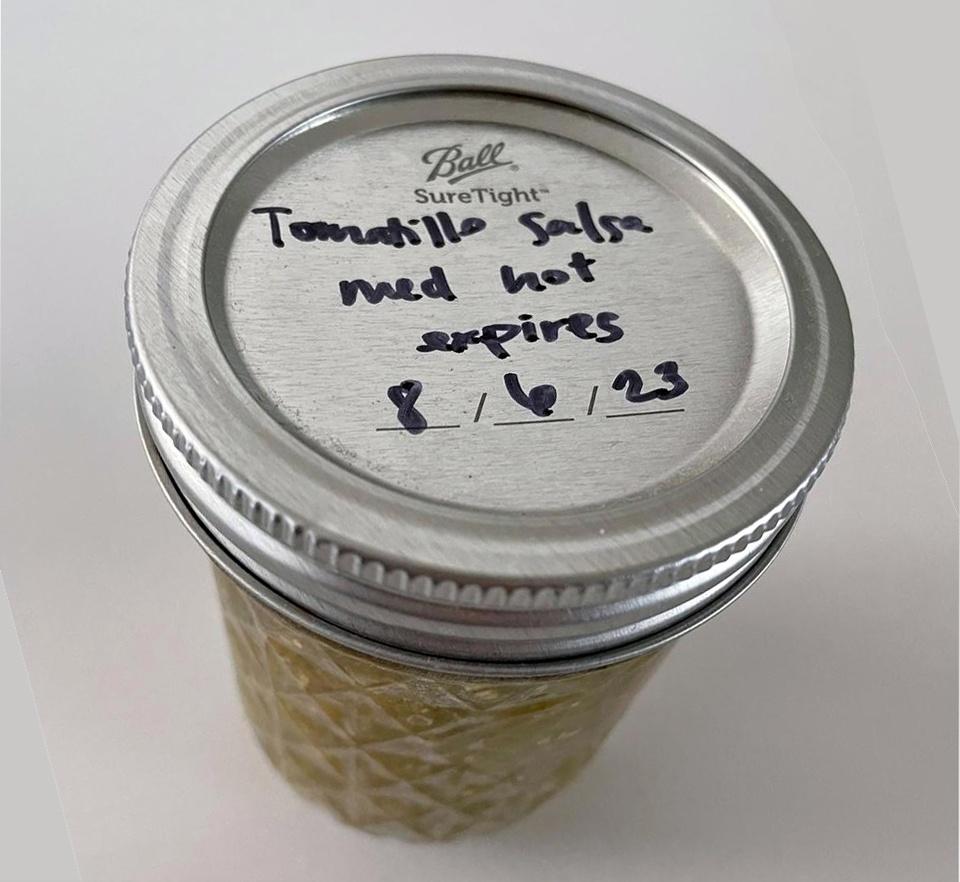
Photo: Cindy's canned Tomatillo Salsa, labeled with expiration date.

Best Practices for Storing Canned Tomatoes 

Label and date! You can label the jars by content and date processed. Cindy prefers labeling her jars by the expiration date. 

The best environment for storing canned tomato jars is in a cool, dark place. About 50-70 degrees fahrenheit is ideal. You also don’t want sun exposure on your jars, as the light and warmth can encourage bacterial growth. 

When stored under these ideal conditions, canned tomatoes should keep for 1-2 years. Cindy recommends not using jars that are over 2 years old. If you live in an apartment or don’t have access to a cellar pantry or basement, Cindy suggests storing canned jars under your bed.

Some canners prefer to store their jars without the rings. By removing the rings, Cindy says it’s easier to determine if the seals have been broken.


If you’d like to learn more about preserving food from your garden, check out our jam video and blog post with award winning and master jam makers Amour Jams.
Watch & Read Now >


Additional Canning Resources

Cindy says she’ll sometimes have students who come to class wanting to use their grandmother’s or a neighbor’s personal canning recipe, but for safety reasons she strongly recommends following researched-based recipes that are current and up to date. Here are some canning resources she recommends to help you along your canning journey. 


USDA Guide to Home Canning
USU Extension Preserve the Harvest
So Easy to Preserve (book)
Ball Blue Book (can be purchased online at Walmart or Amazon)
Center for Disease Control - Botulism and Canning

Photo of finished jars of canned tomatoes
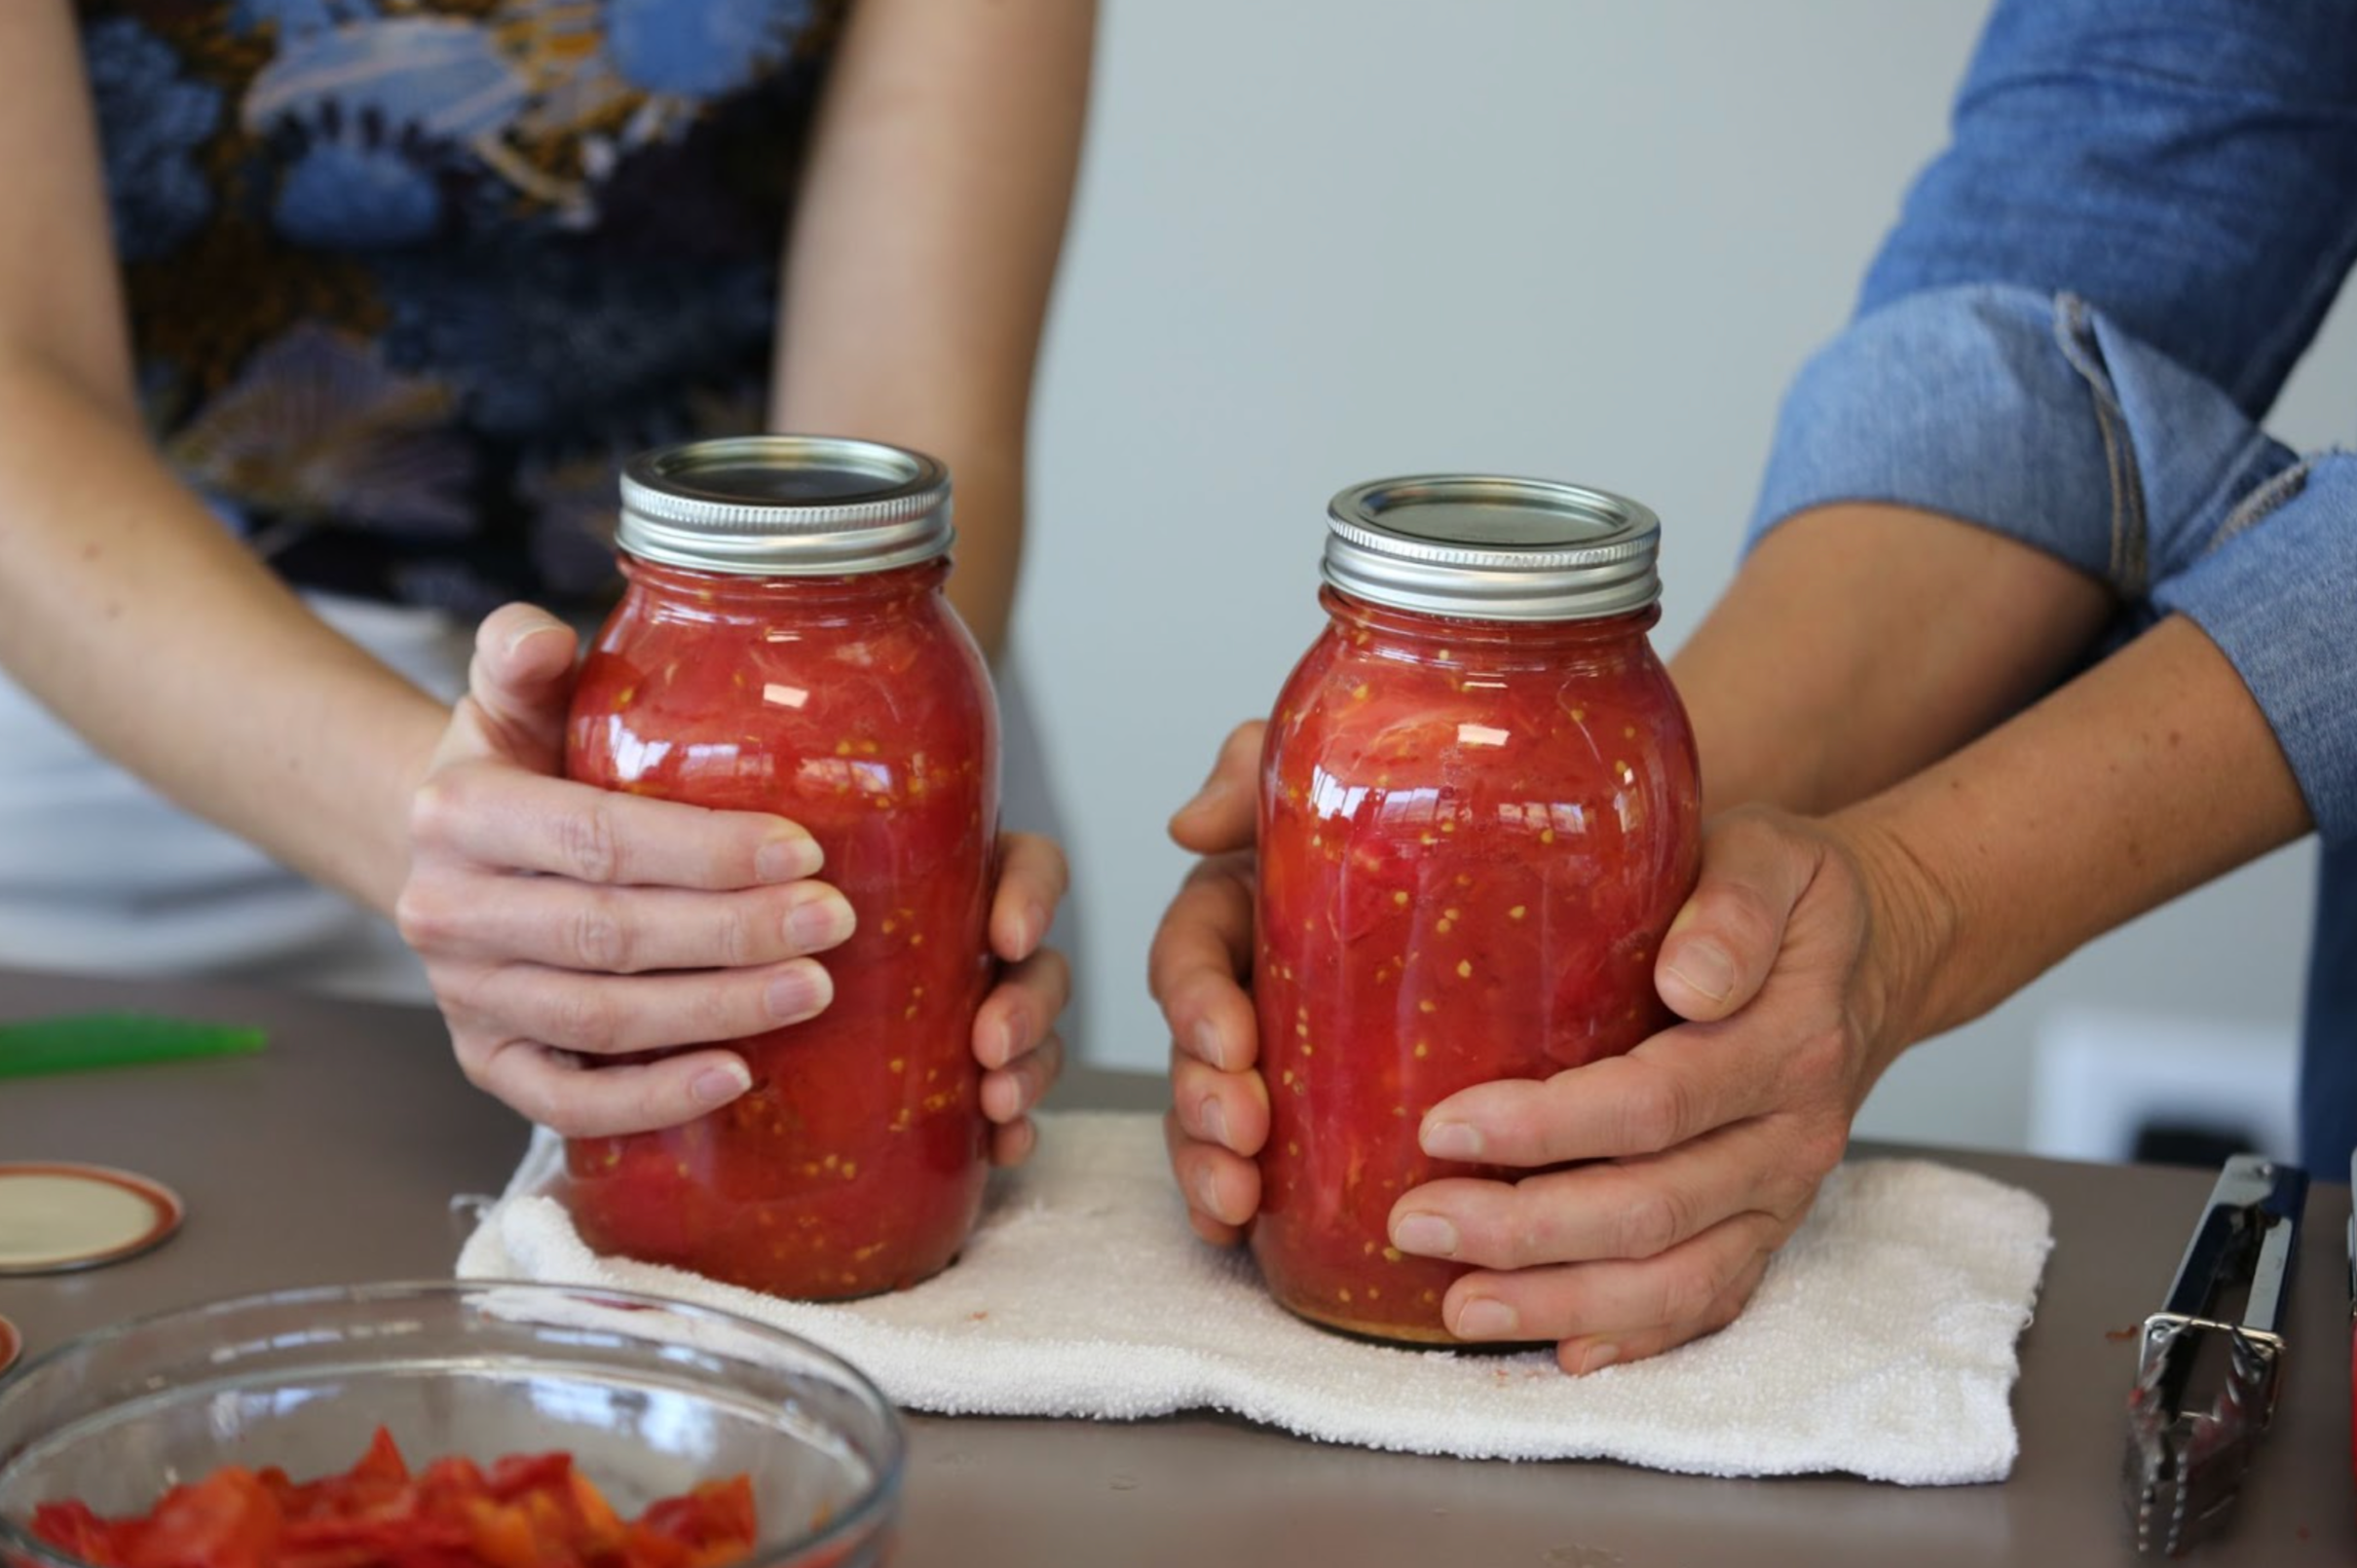
Photo: Our quarts of canned tomatoes!

Share Your Favorite Things to Can With Our Modern Gardener Community

Canning is a rewarding and resourceful way to preserve your harvest! If you're just diving into canning for the first time, we hope you find this step-by-step guide with tips helpful and resourceful. Let us know how your first canning went! And if you're a seasoned canner, please let us know what you like to can and what you like to do with your canned goods.


Don’t forget to subscribe to Modern Gardener YouTube channel for more videos and information on gardening, and chime in with your own food preservation tips and stories in the comments section! Thank you.

If you live in Utah and have a garden or garden project that you'd like to be featured on Modern Gardener, click here!

STREAM ANYTIME, ANYWHERE